AIRSTREAM RENOVATION: BEFORE
Everyone has been romanced about the idea of renovating a vintage Airstream, but can (and should) you renovate a newer Airstream? We were on the fence about touching our 2017 Airstream International that we bought brand new a few years ago.
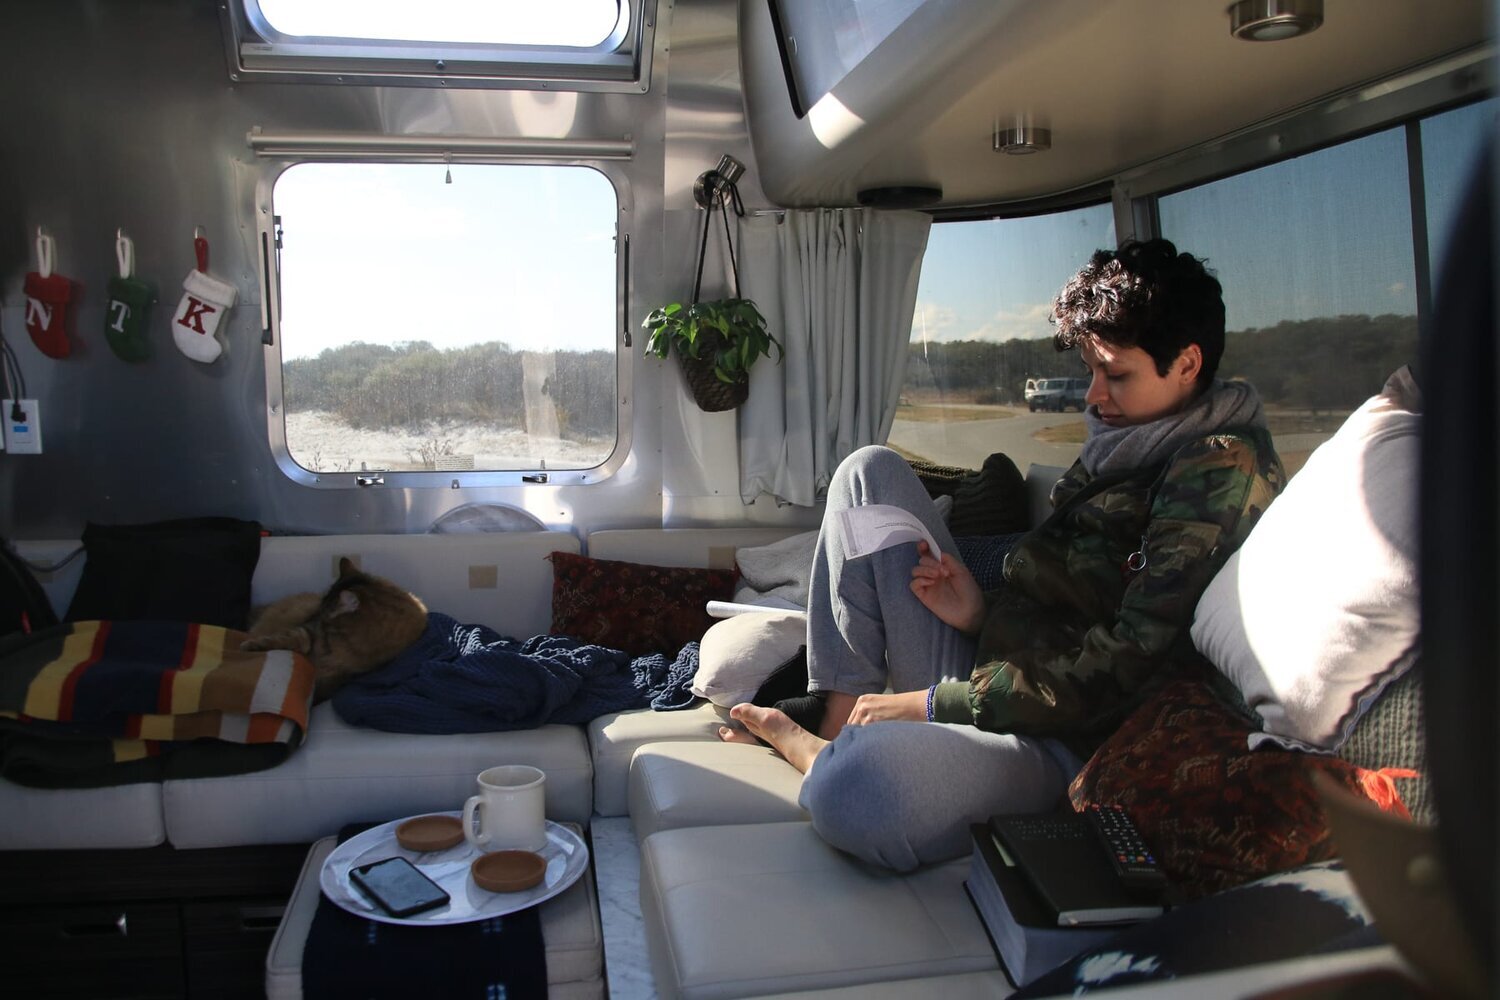
We lived and worked in our trailer full-time for over 18-months while on the [HAS HEART] 50 States: Veterans + Artists United tour. During that time, we unintentionally created a running laundry list of changes, updates, and personal touches we would make for it to feel more like our home and lifestyle.
As you may have read back in the “THE TOUR MUST GO HOME?” post, the project funding ran dry with just 11 states remaining — taking us off the road and into Kendra’s parents basement for well over a year.
Then in early 2020, we were approached by an old college connection of mine Caleb Hartung who went on to build Campspot, a campground B2B software product that was set to launch its consumer-facing online travel marketplace www.campspot.com. He had been following the tour and thought we’d be a great fit to help build out their consumer lifestyle and bring some creative direction and content creation to the brand.
We were excited about the opportunity and felt like this would be a great fit for us both professionally and personally. But, we knew in order to re-transition into the Airstream life again that we’d need to either make some modifications or look at upgrading it. After looking at the newer models, which have significantly improved but have become hard-to-get due to a post-COVID world RV-industry wide sales boost, we decided to improve what we already had with some key help from our friends at Woodland Airstream.
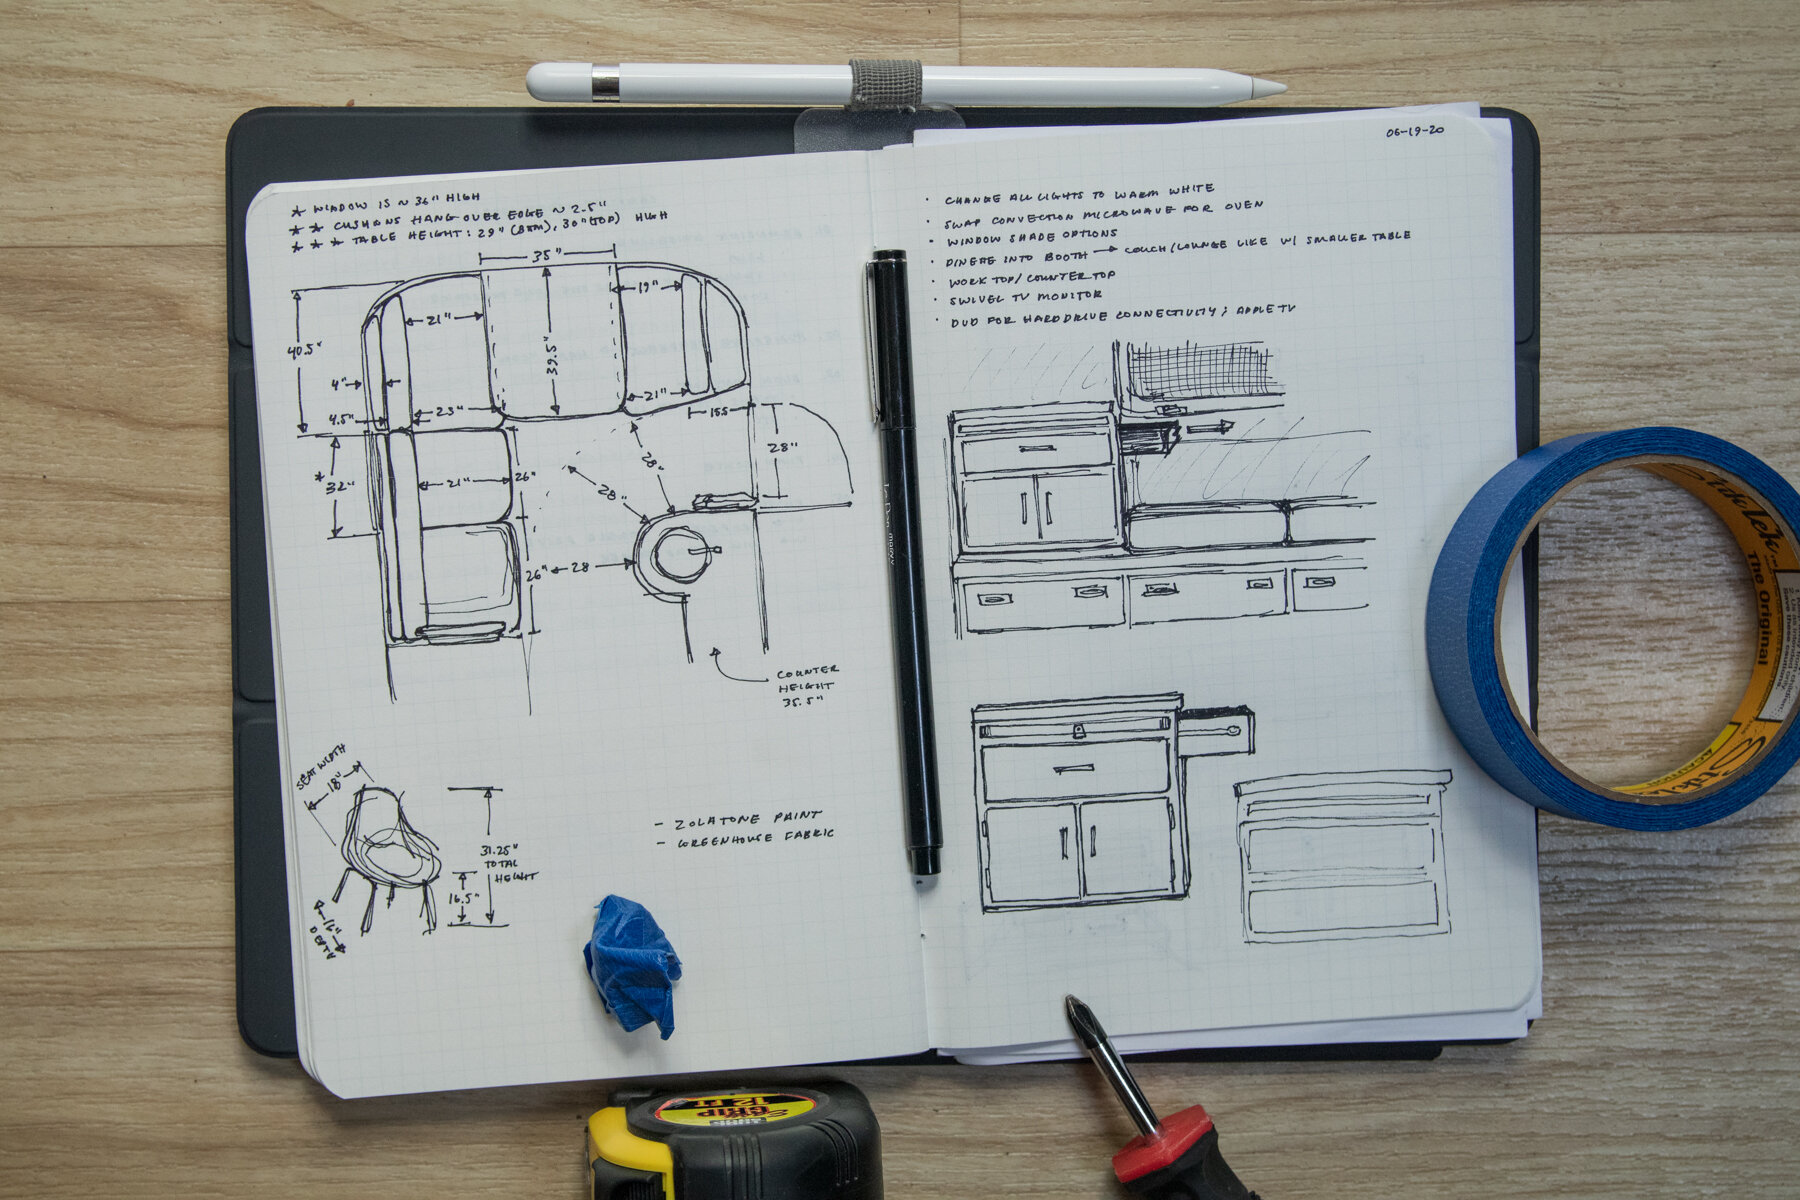
We put together a wish-list of updates for Woodland’s reno team that included:
Swap all interior lighting from harsh “Bright White” light to a “Warm White”
Add wrap-around booth/couch; Reduce table size & upgrade to adjustable pedestal leg
Build storage cabinet underneath TV against the wall adjacent to fridge
Remove convection microwave and stove to upgrade to oven/stove combo unit
Add a pull-out tabletop workspace for Kendra
Enhance TV/electronics with swivel mount & easier cable access


After receiving back a quote for $18,000 worth of parts and labor (mostly labor), we had to come up with some cost-saving creative solutions and also roll up our sleeves to do as much of it ourselves as we could.
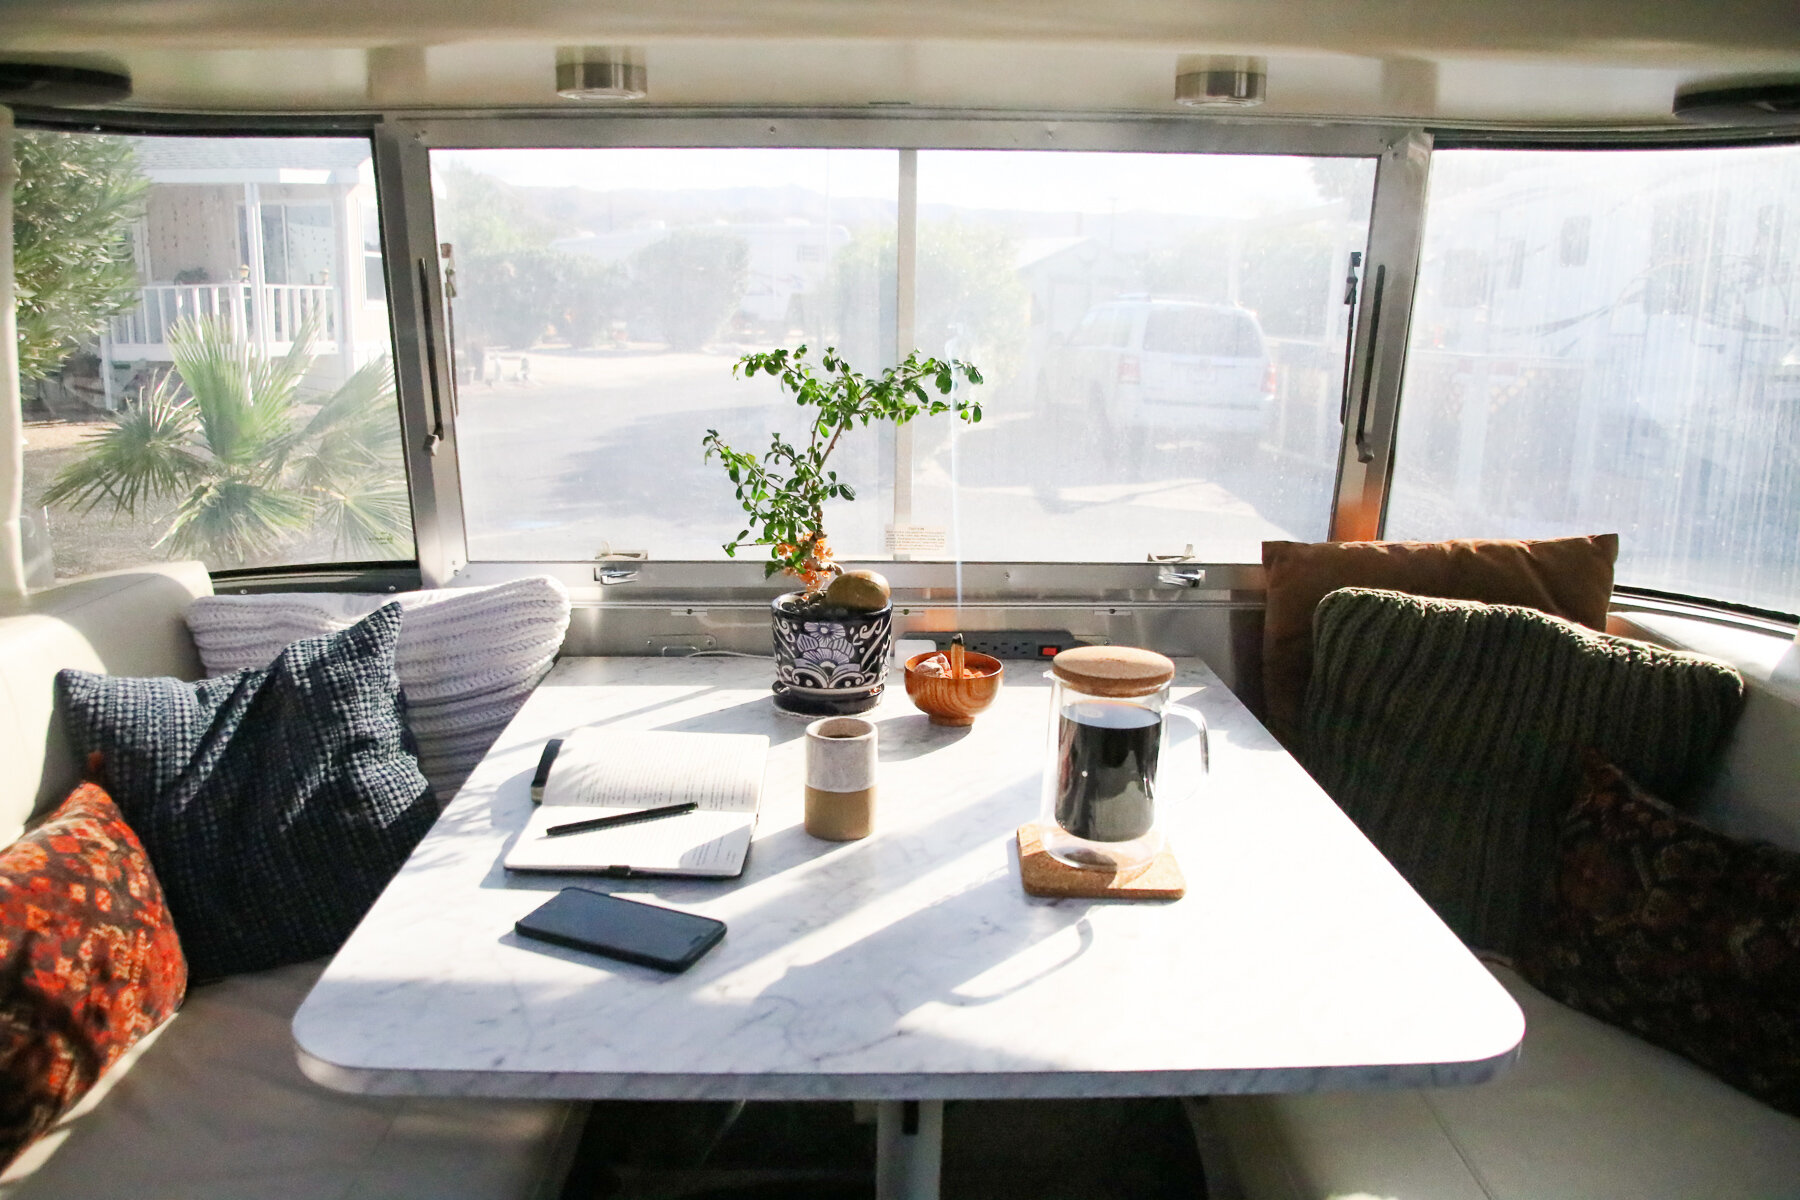
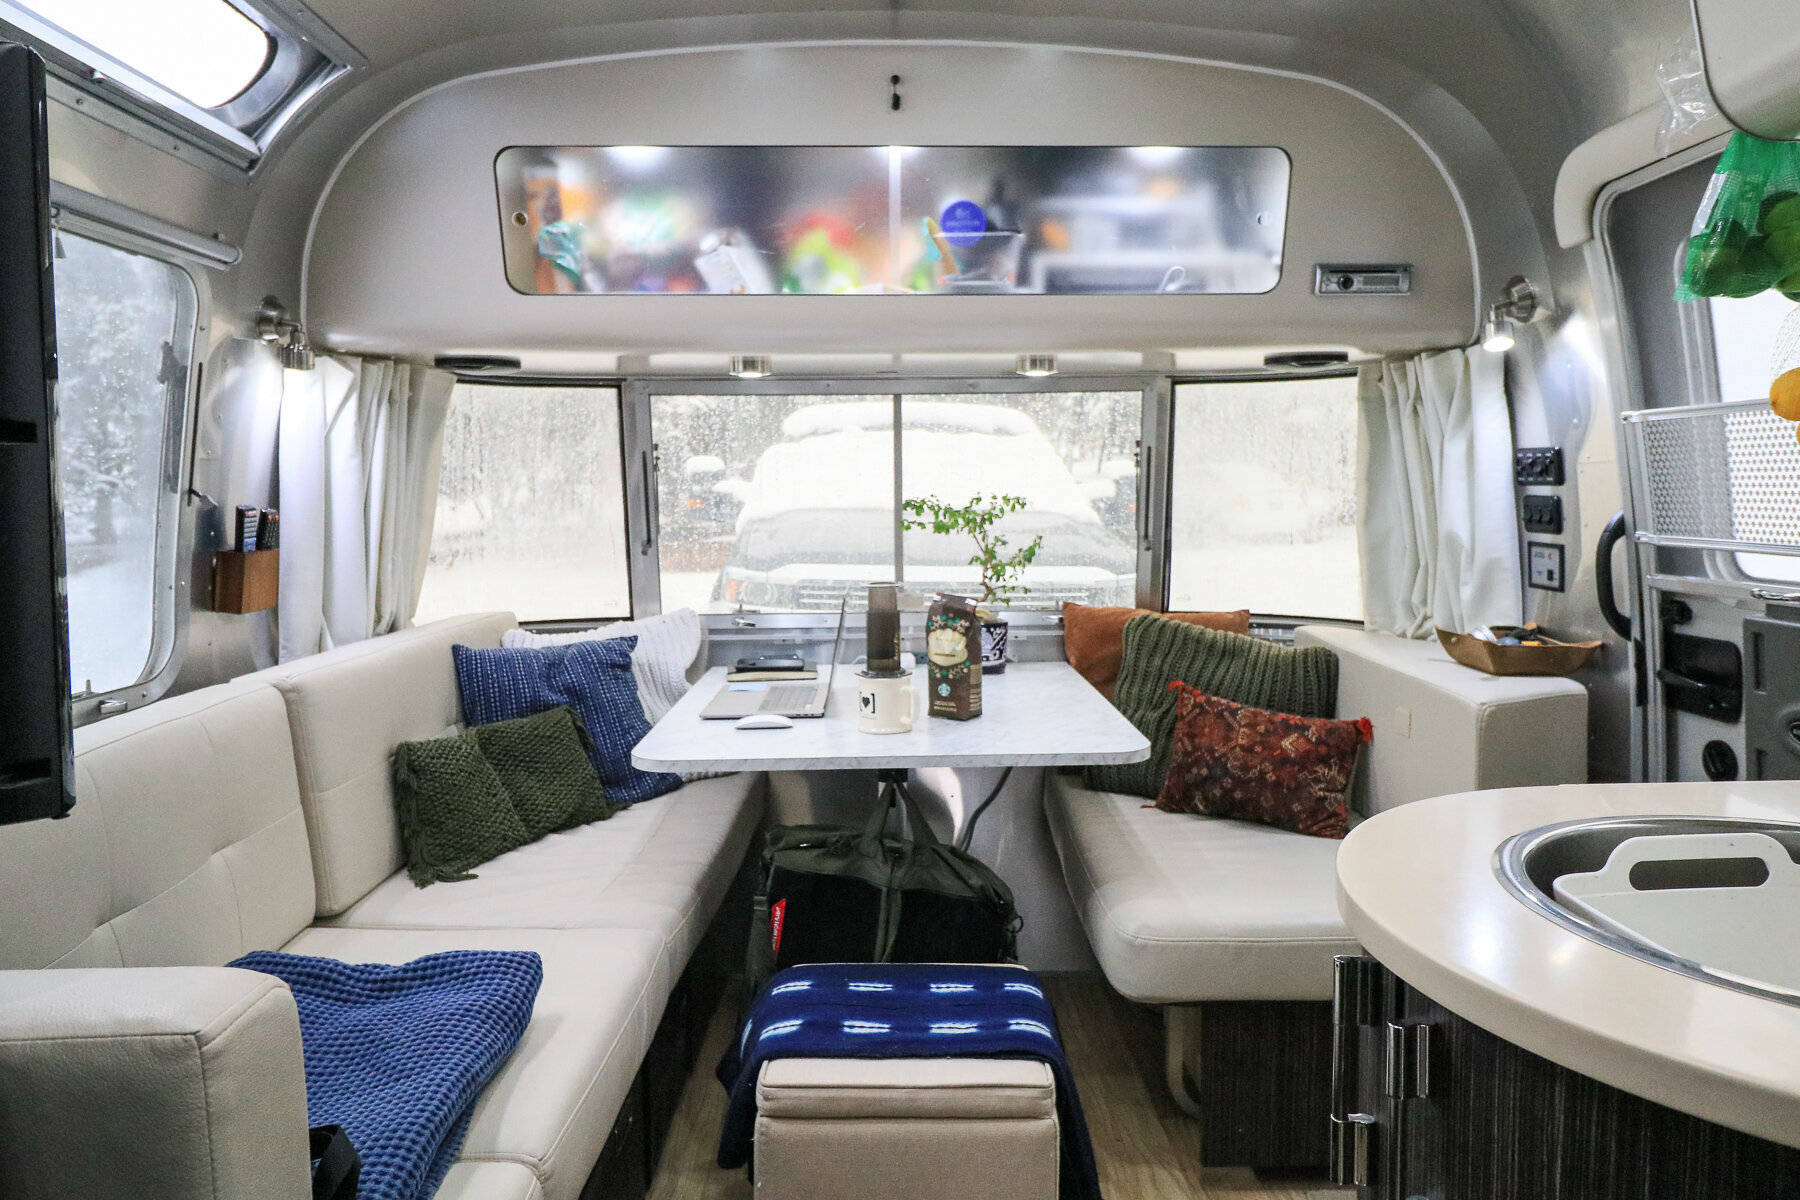
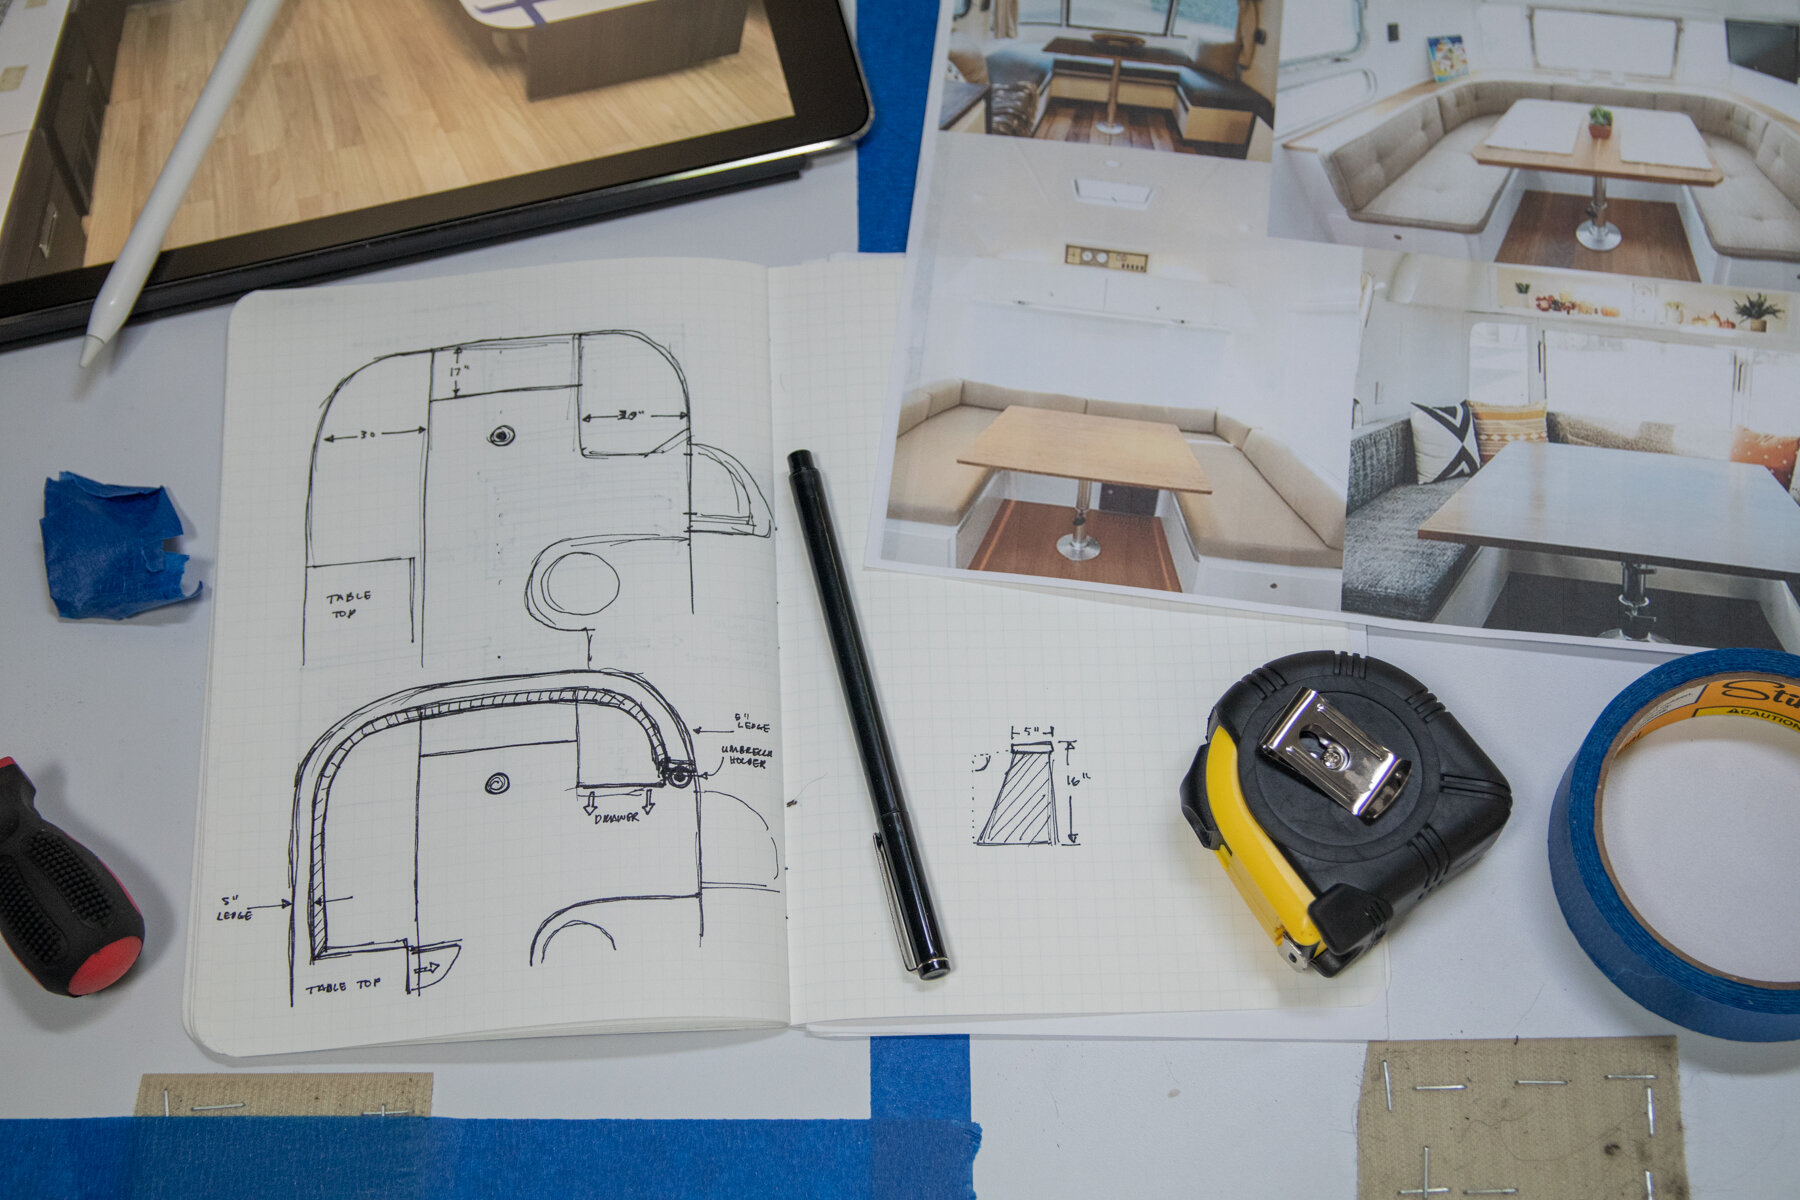
The biggest “pain spot” was the dinette booth/couch area — the table was too big and uncomfortable to sit at and the extended couch area was an underutilized space. We wanted to change this into a wrap-around booth by trimming the table size in half and adding a bench along the front window, switching to an adjustable pedestal leg, and reupholstering from the ultra faux leather material to a tweed-like fabric designed by Jonathan Adler.
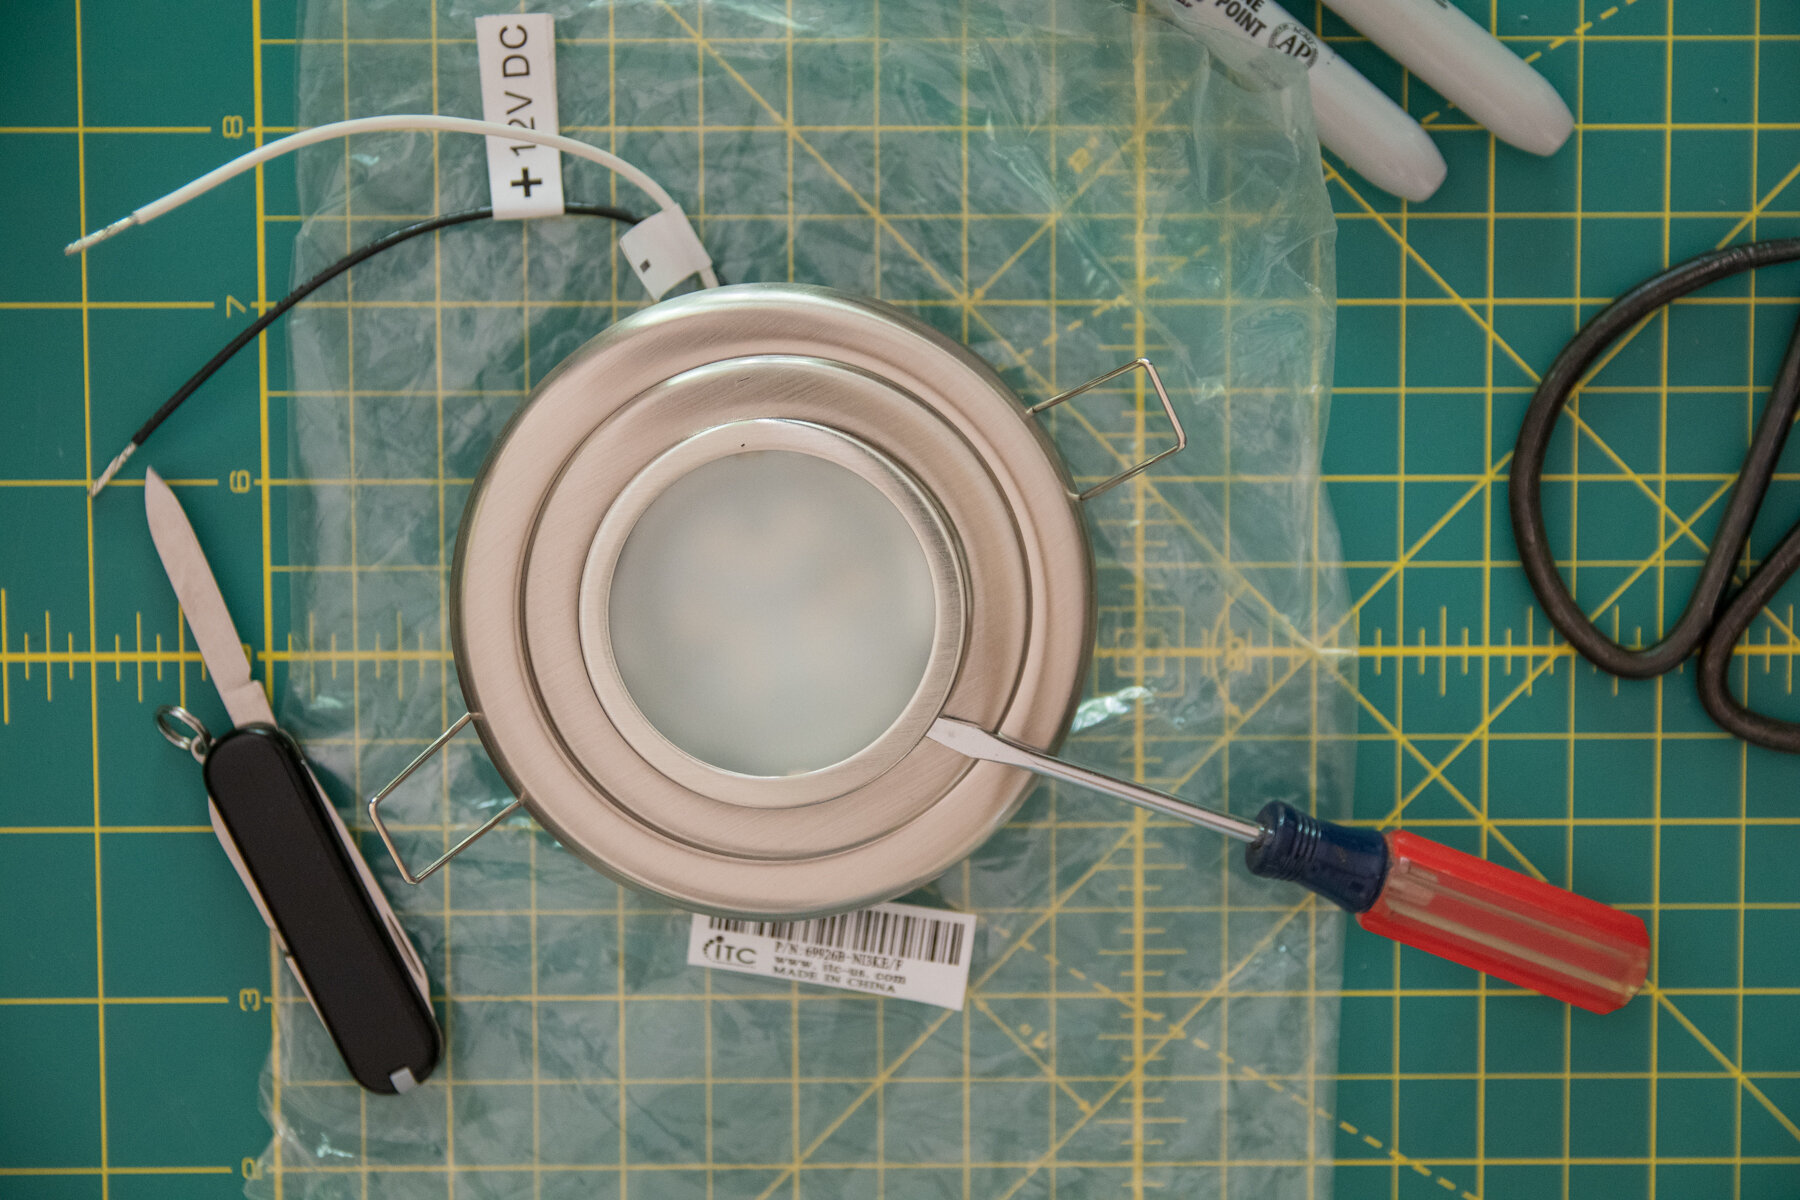
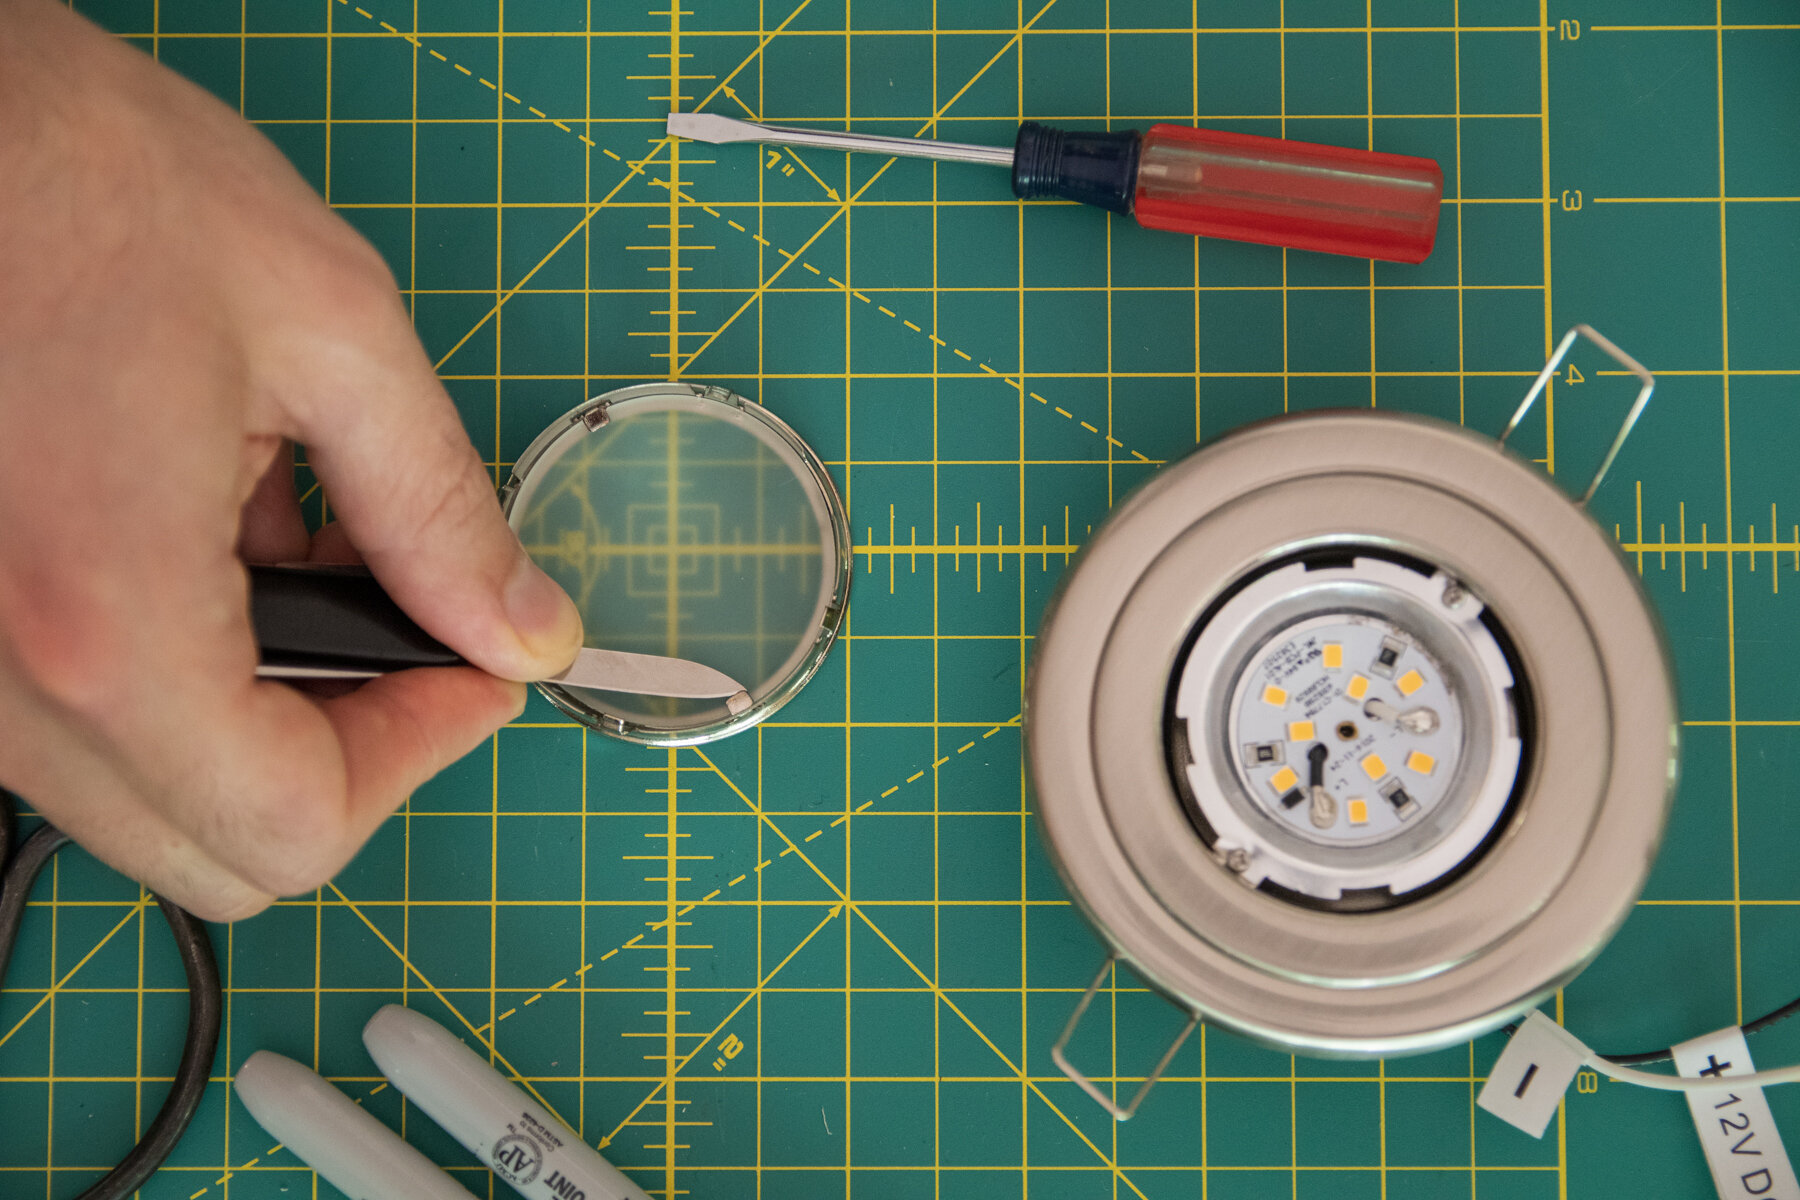
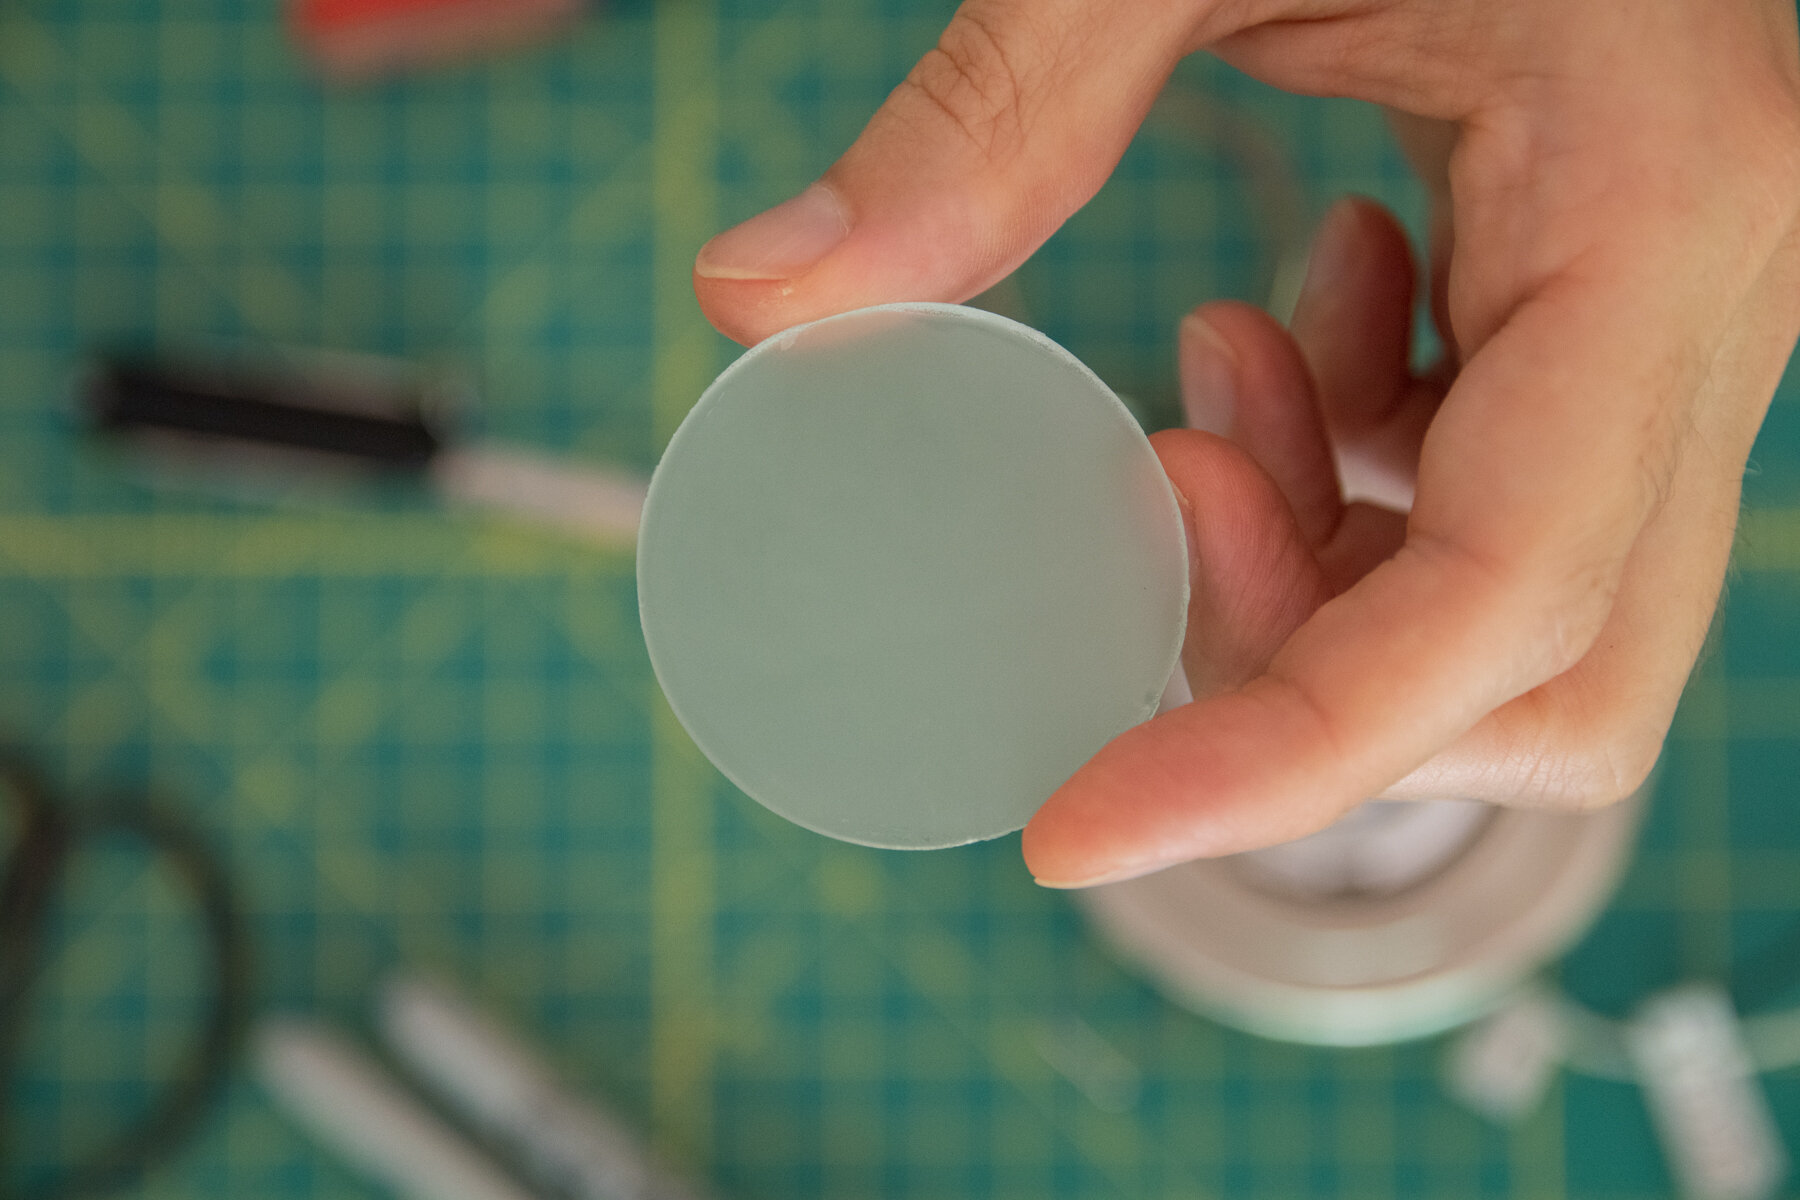
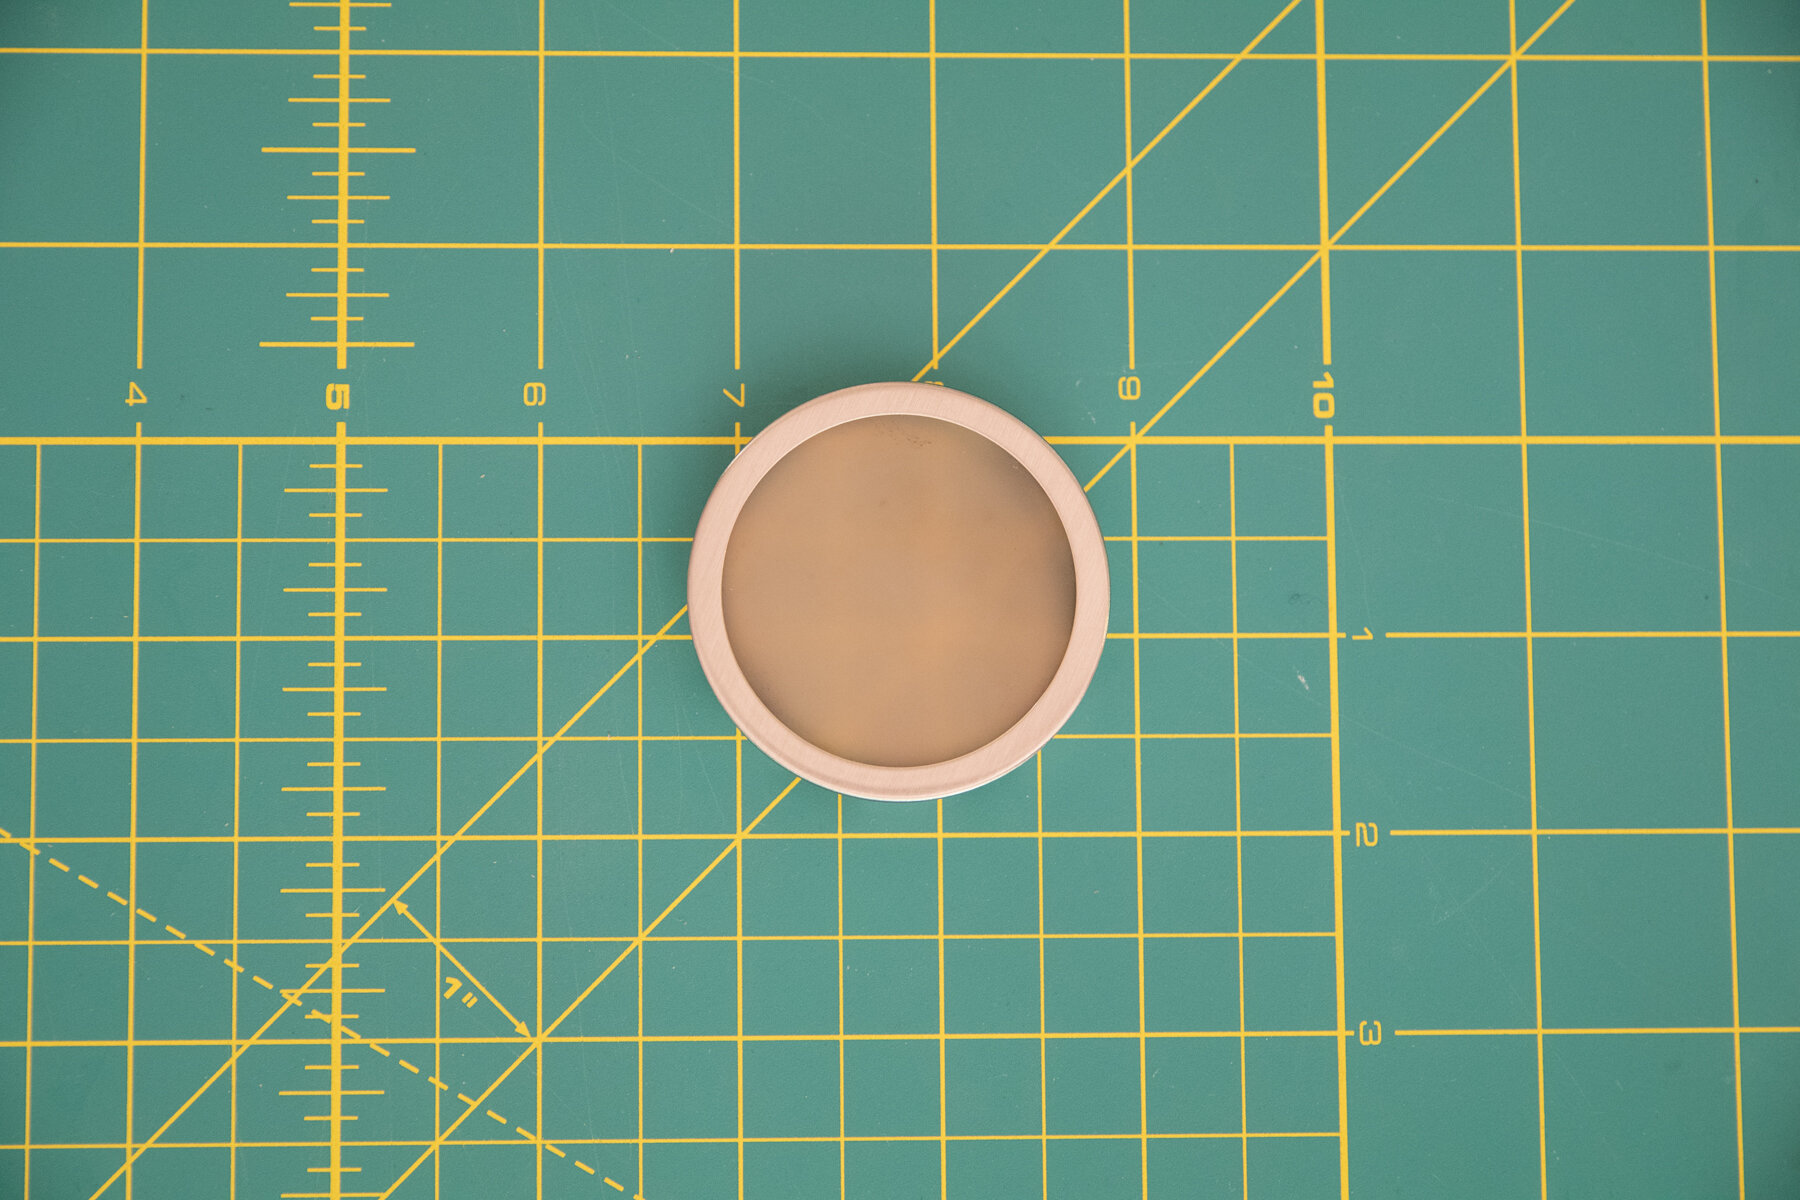
While we dropped off the Airstream at Woodland to start working on the booth and other upgrades we prioritized, we figured out a way to life-hack the harsh “Bright White” lighting. We could either have purchased new LED replacement bulbs for over 25 ceiling and cabinet lights or altogether bought brand new puck light sets as a more expensive but less labor intensive option.
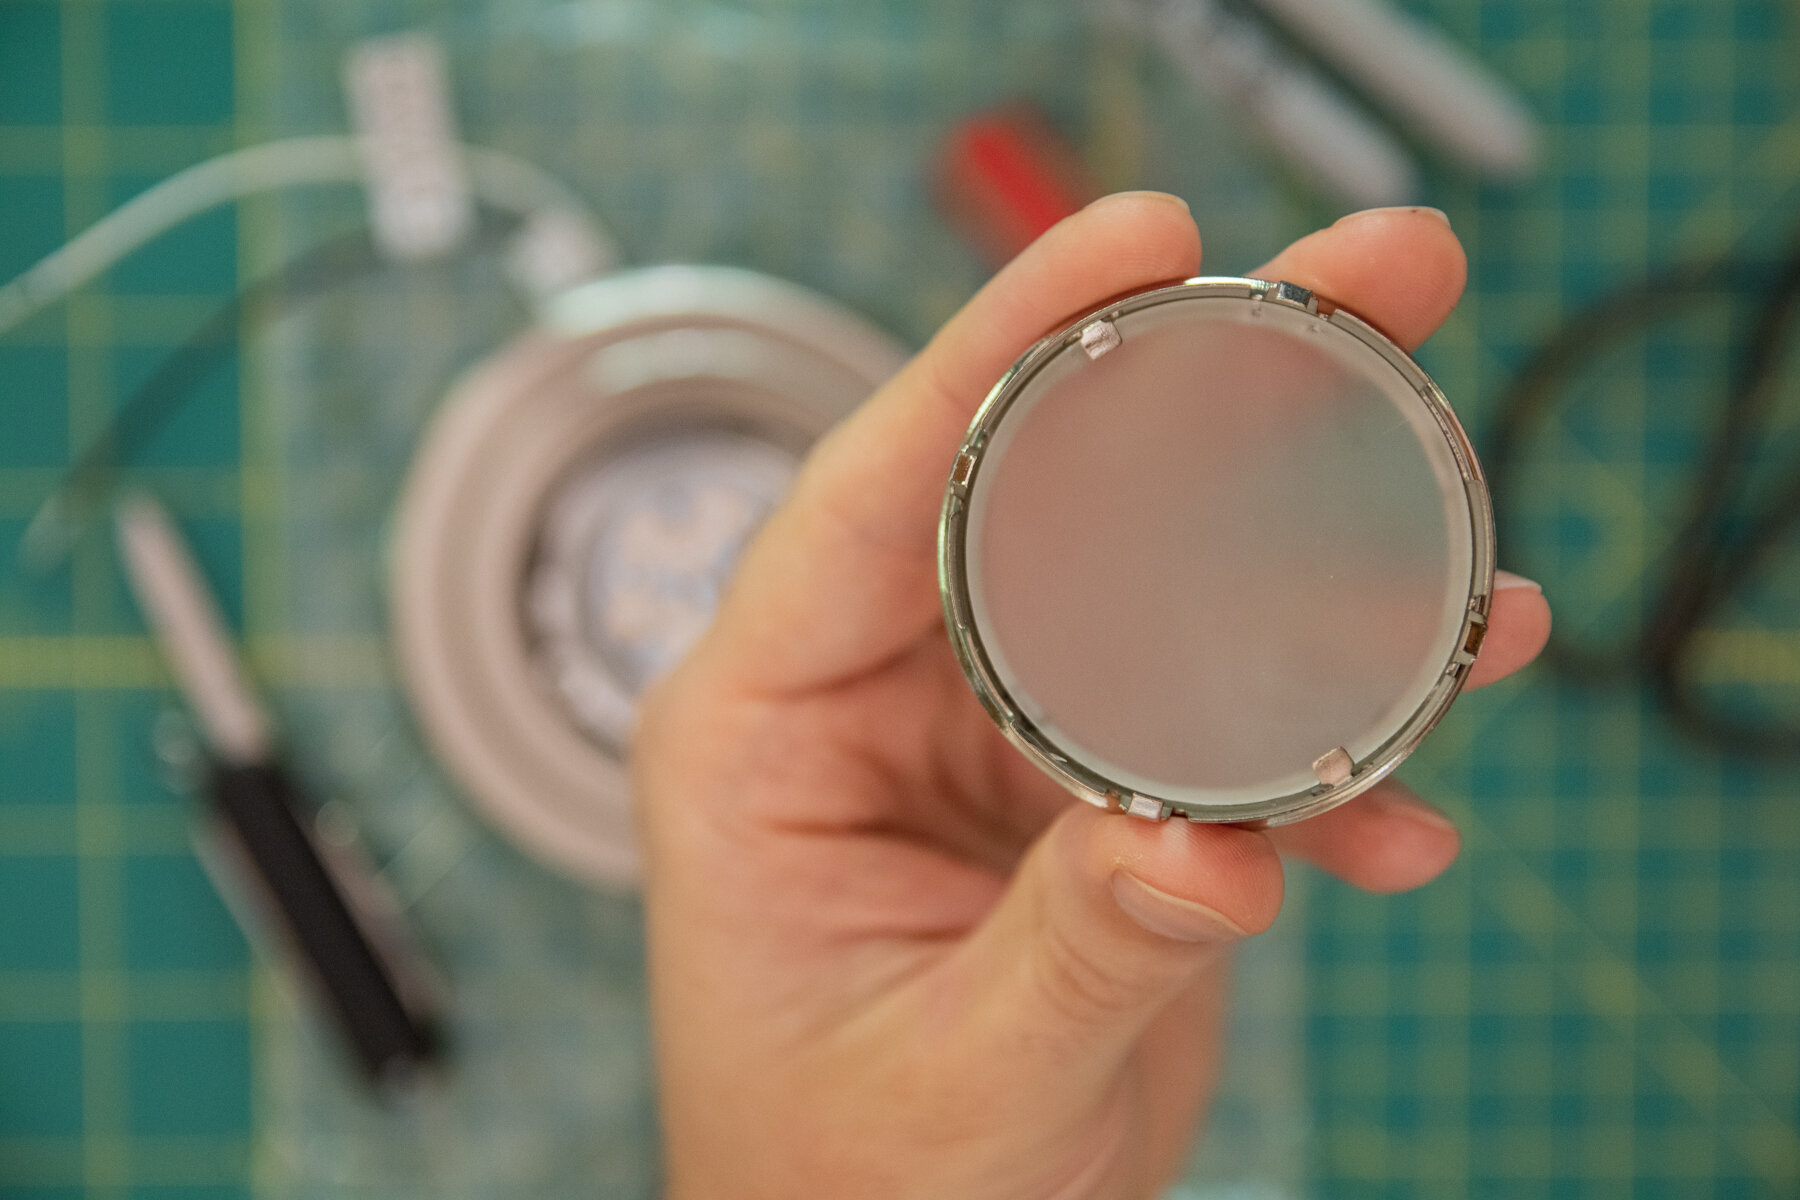
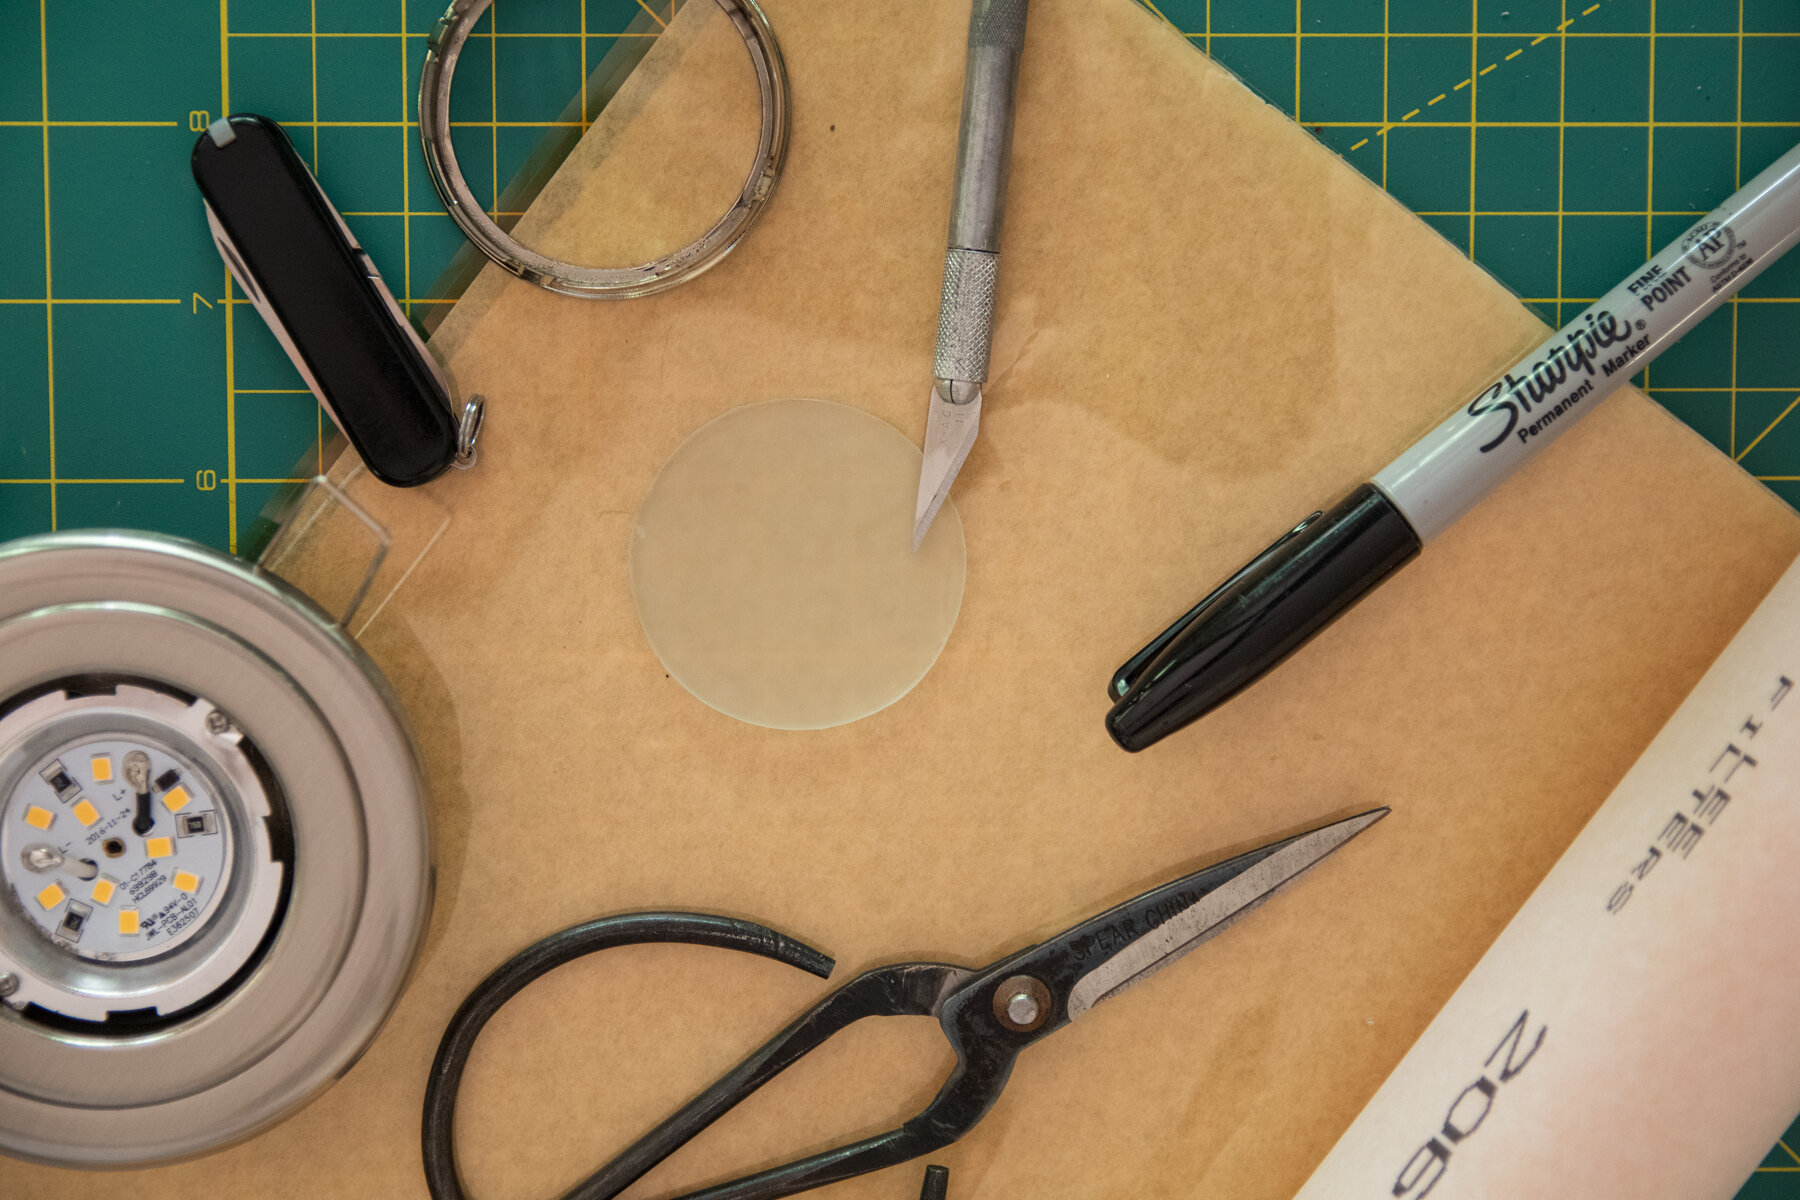
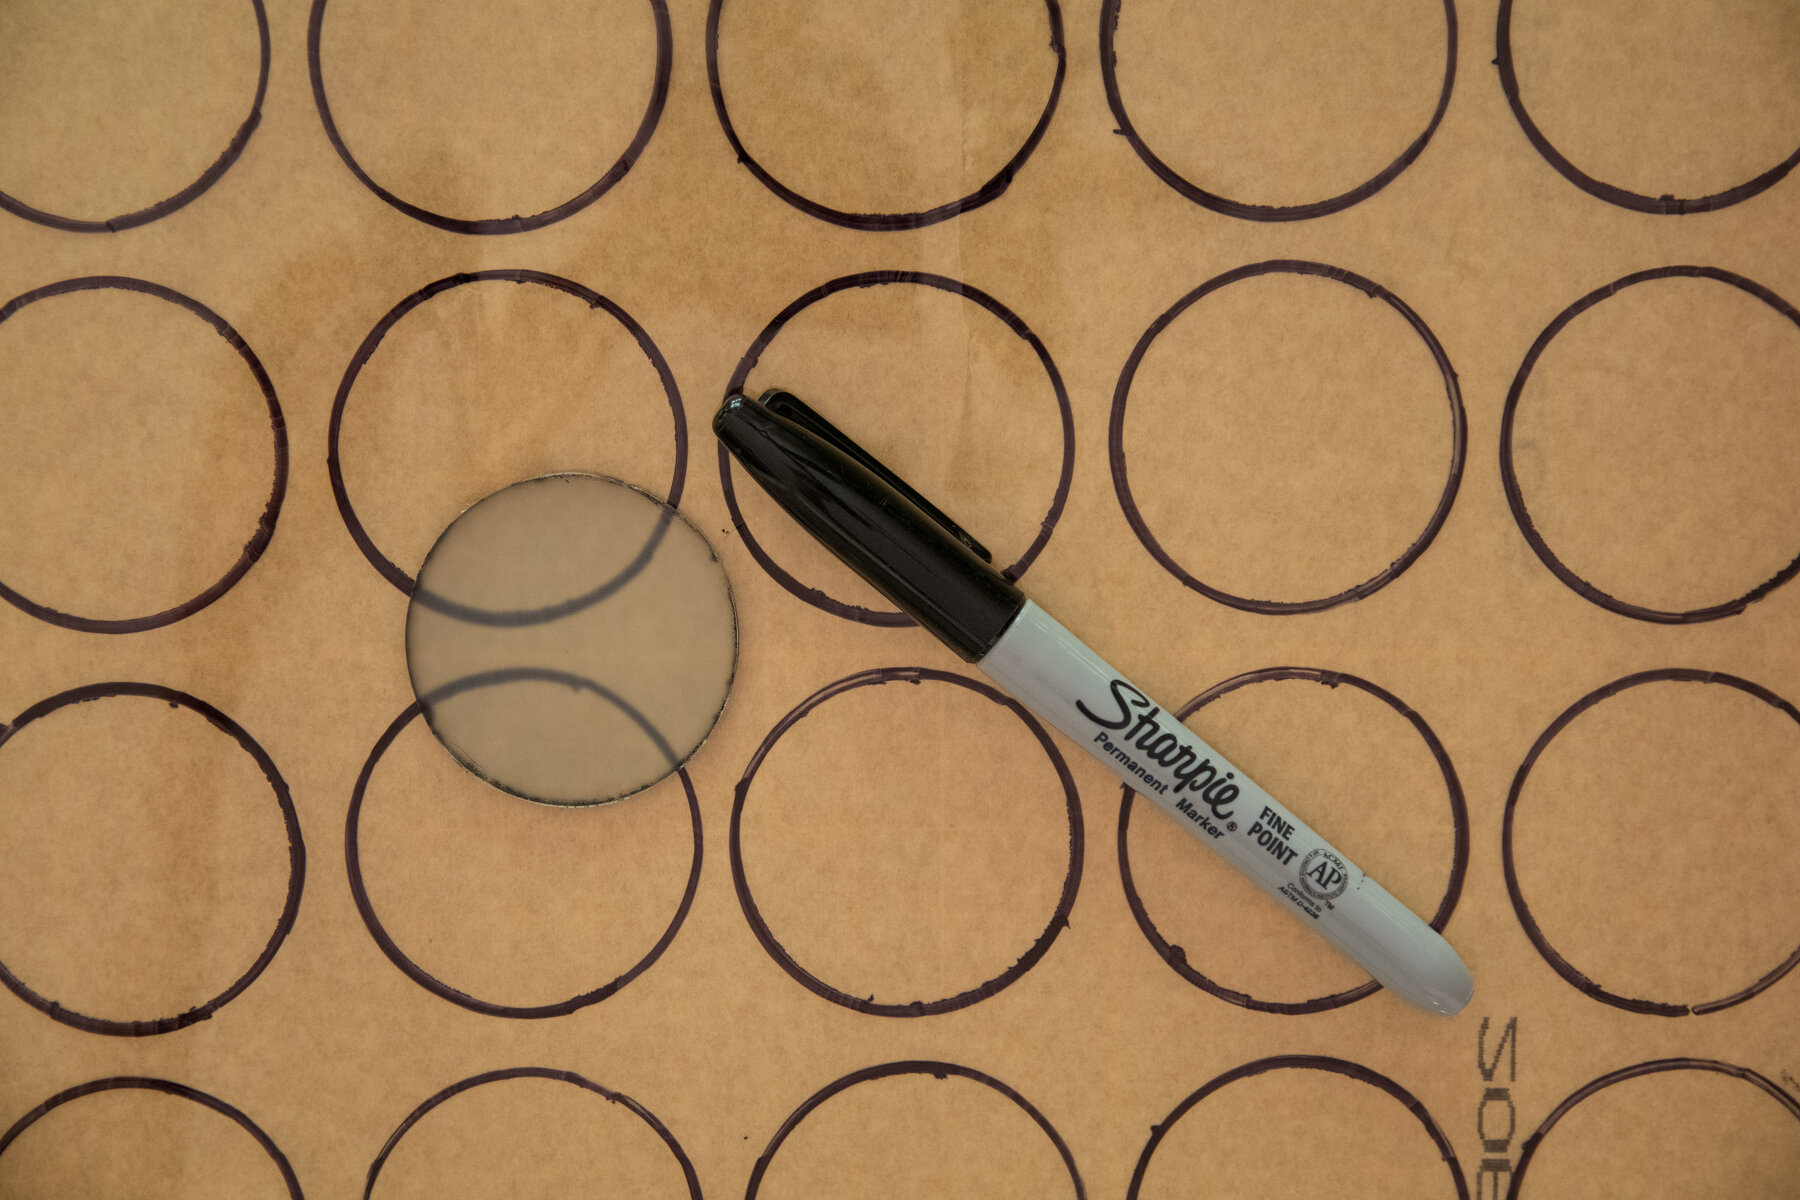
Instead, we bought tinted gel sheets from a photography store and cracked open a spare light puck and discovered we could trim circular tints to install behind the frosted glass. This was quite the time-consuming process, but it did save us over $2,000 in parts and labor. We ended up layering three gel cut-outs to give us the warmer white vibe we wanted to better enjoy our evenings when we’re not outside around the campfire.


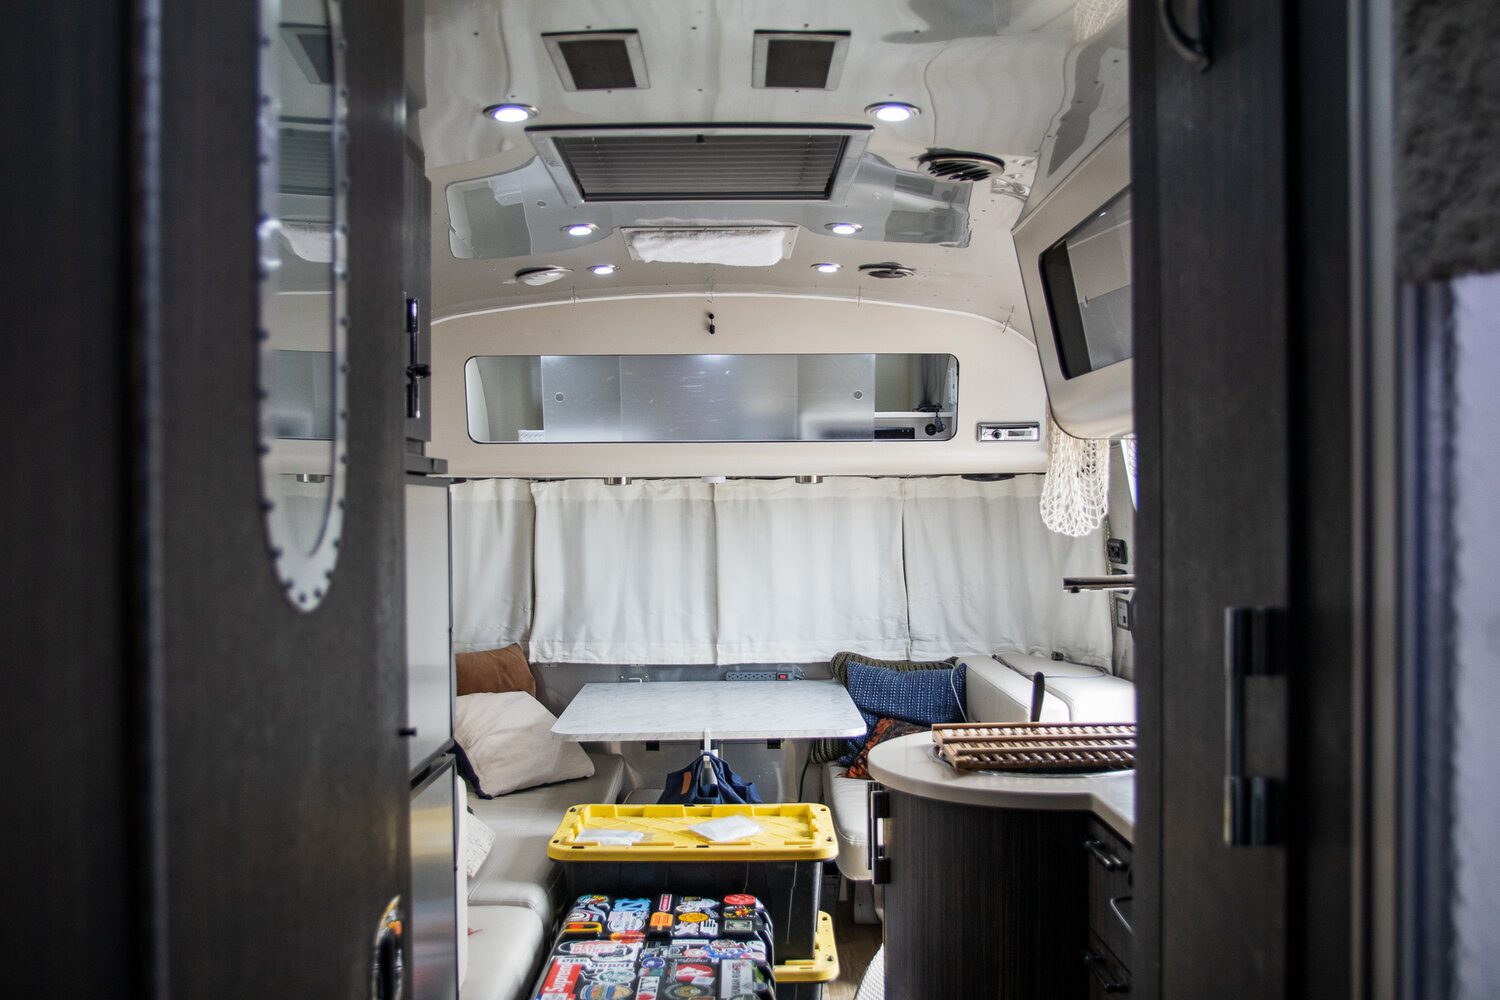
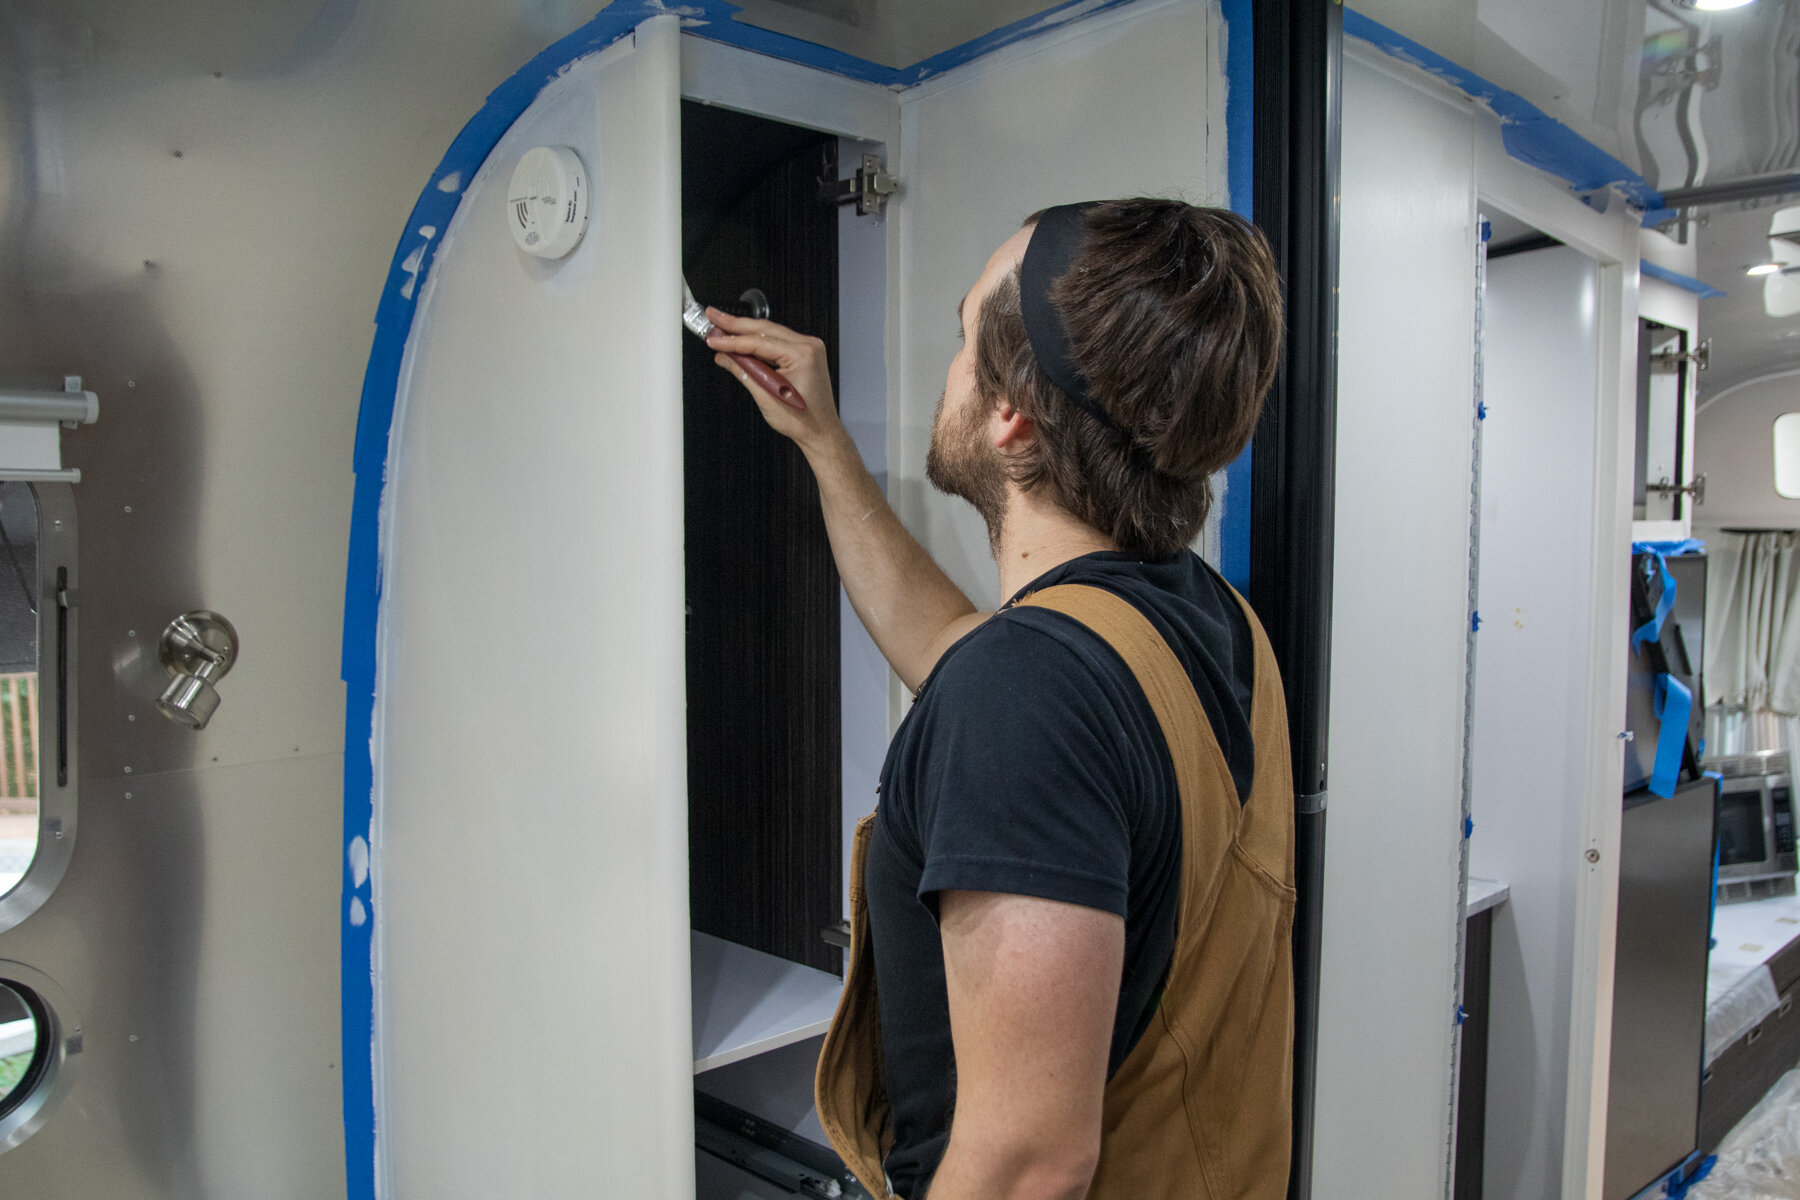
Another big “I wish we could change this,” thought we grew to have throughout the last couple years was the overall darkness of the interior. We still prefered this wood finish than the other options they had when we purchased it, but when there’s too much of it surrounding you, you begin to feel like you’re in a cave — which made the small space seem even smaller.
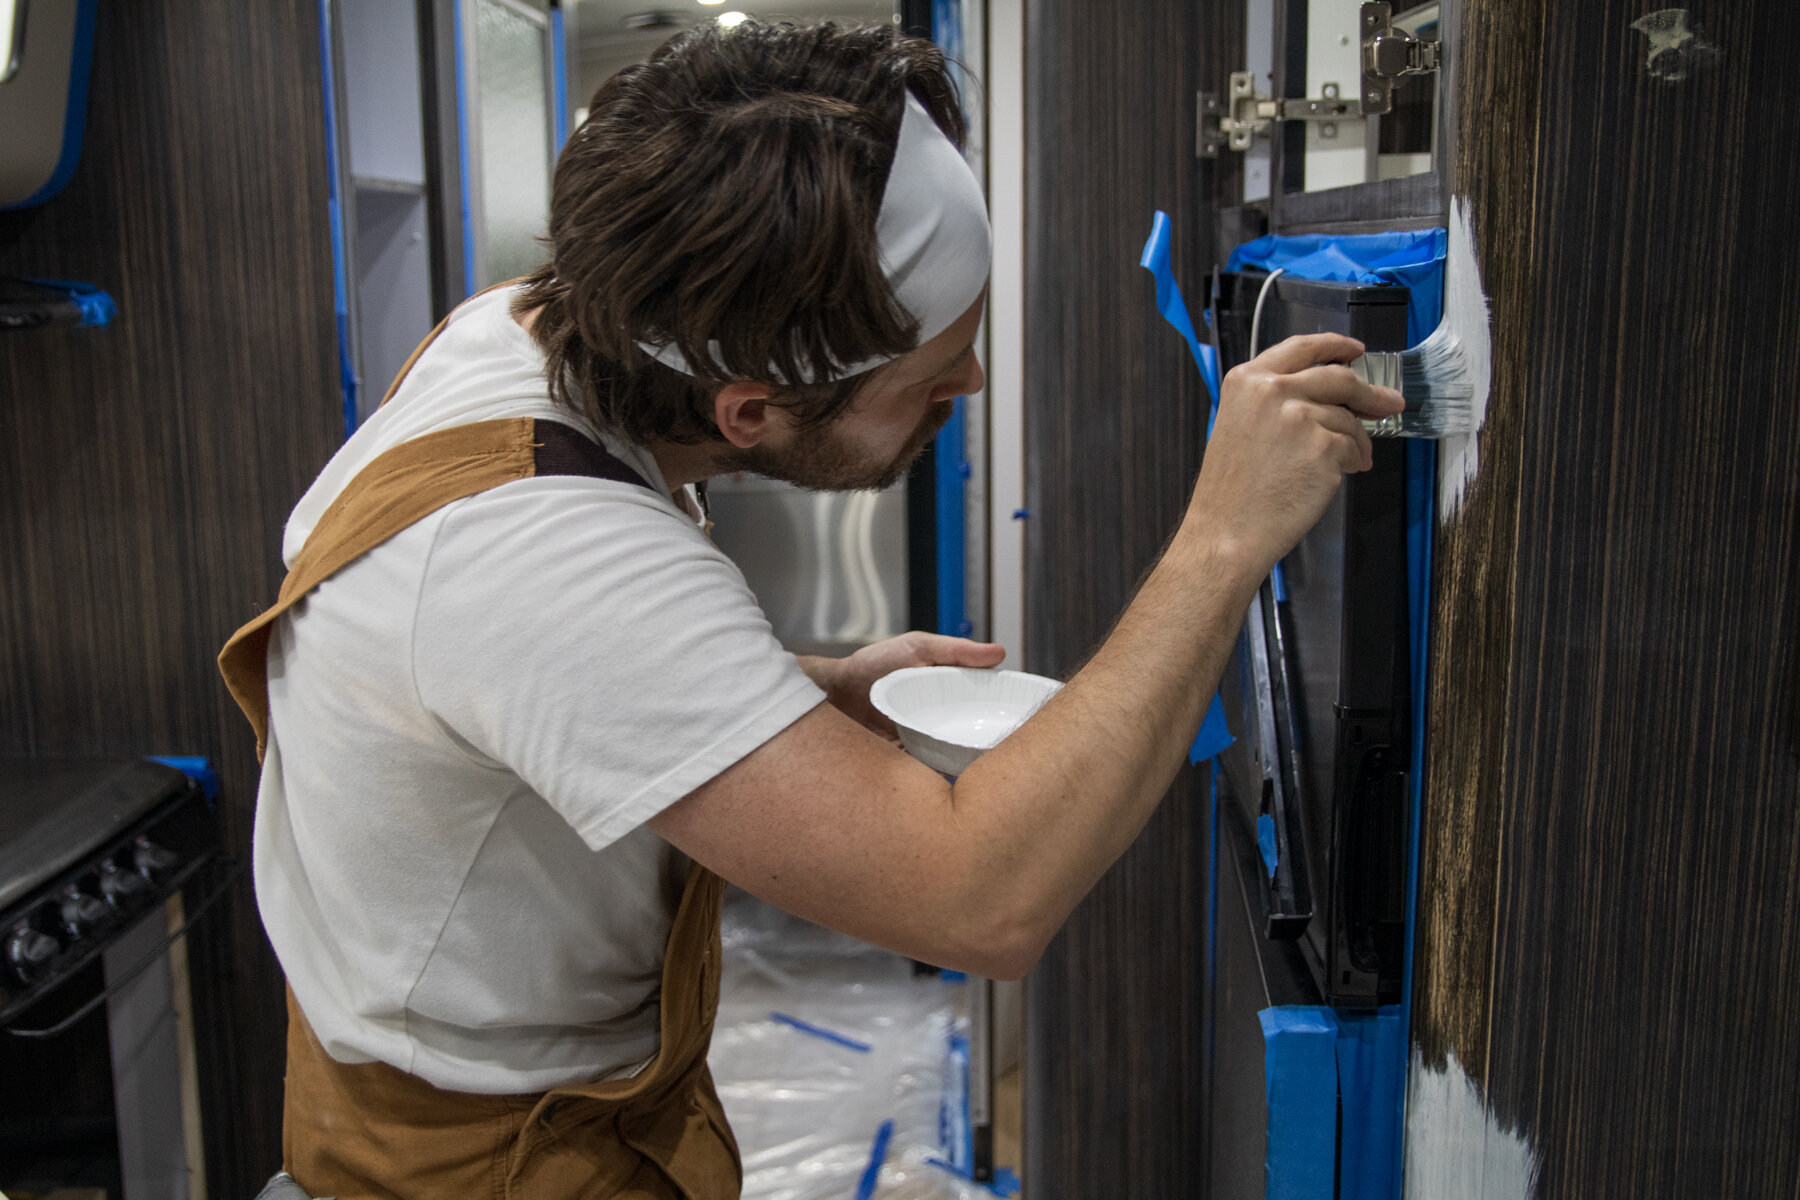
We decided to do the unthinkable when you buy a new RV — paint it.
I’m not sure why it felt so wrong, especially when painting your house is such a common way to refresh your living space, but we had to overcome this fear of if it wasn’t stock that it would hurt the resale value. But then we asked ourselves, why are we worried about the resale value? We had no plans to sell it anytime soon, especially with this new opportunity to work with Campspot.
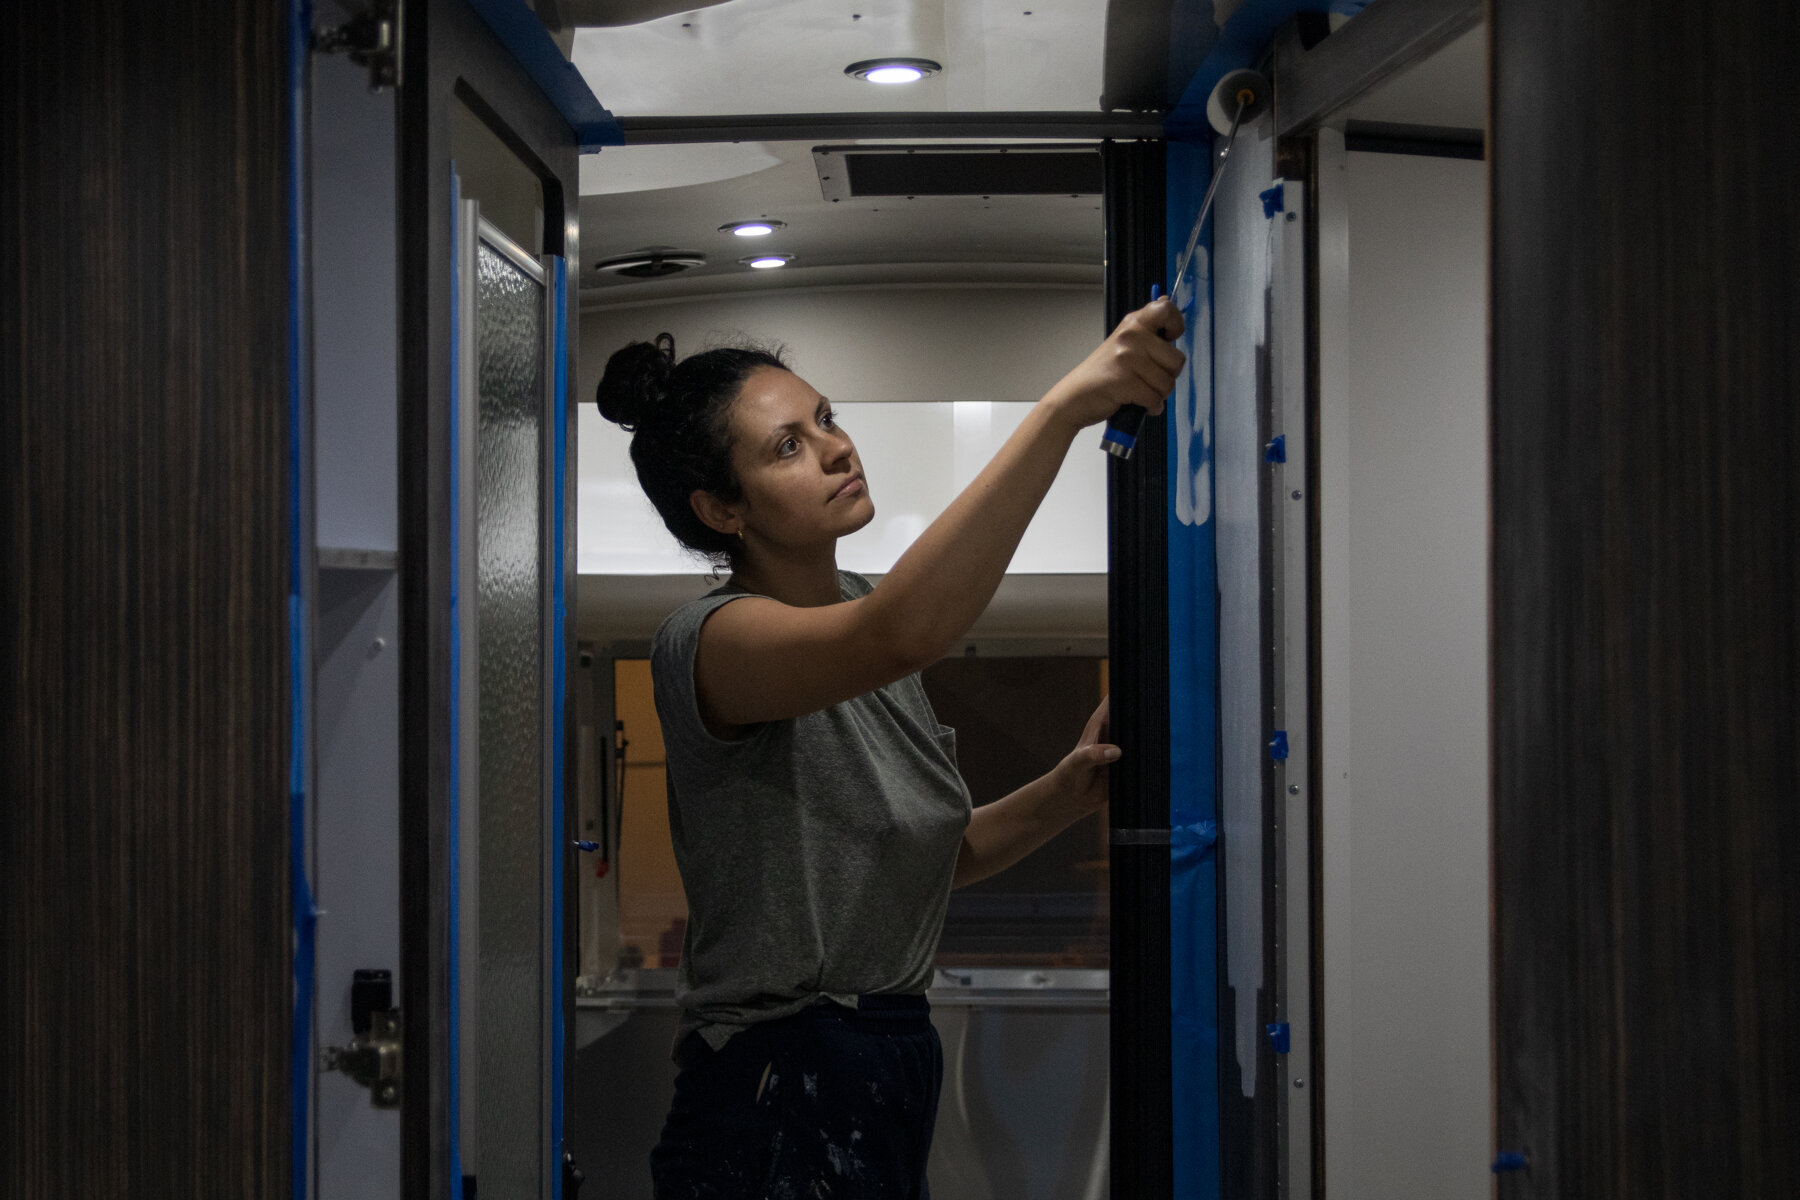
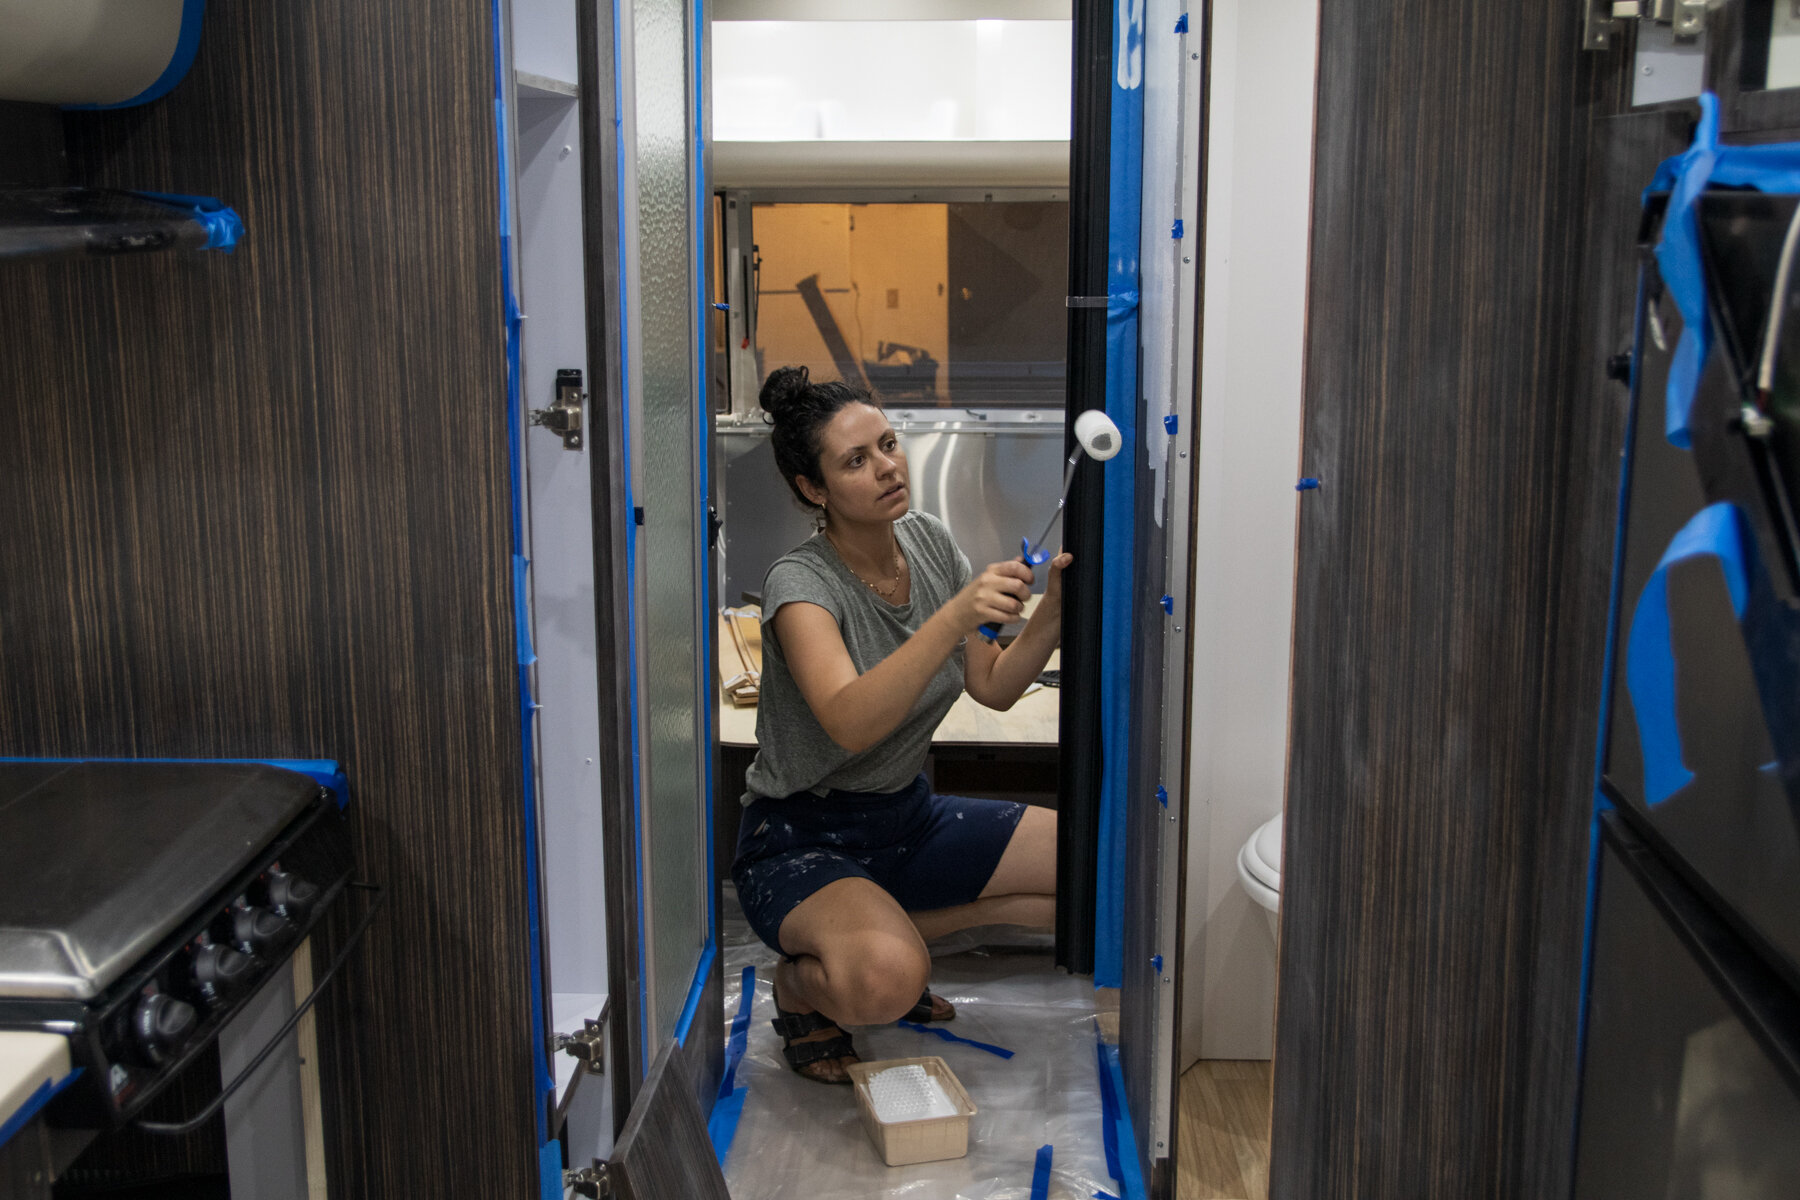
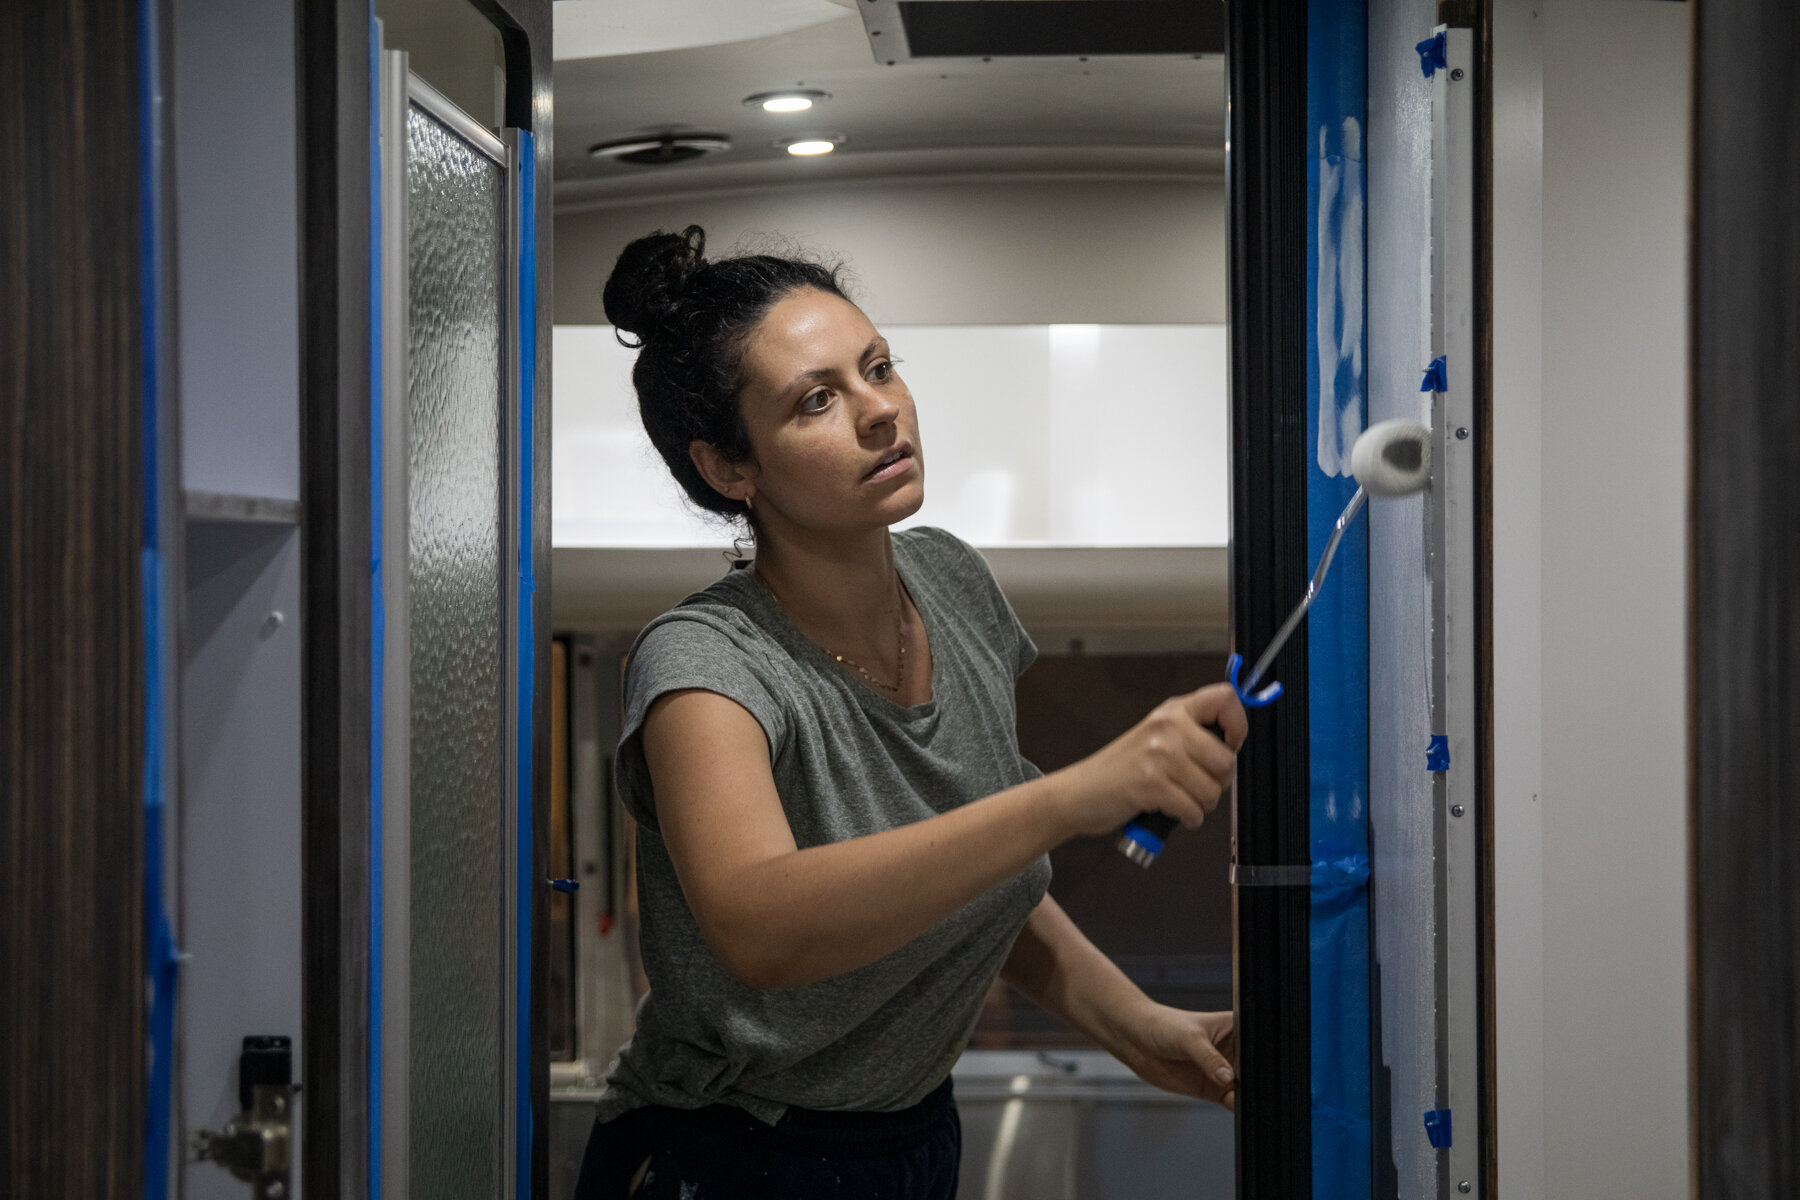
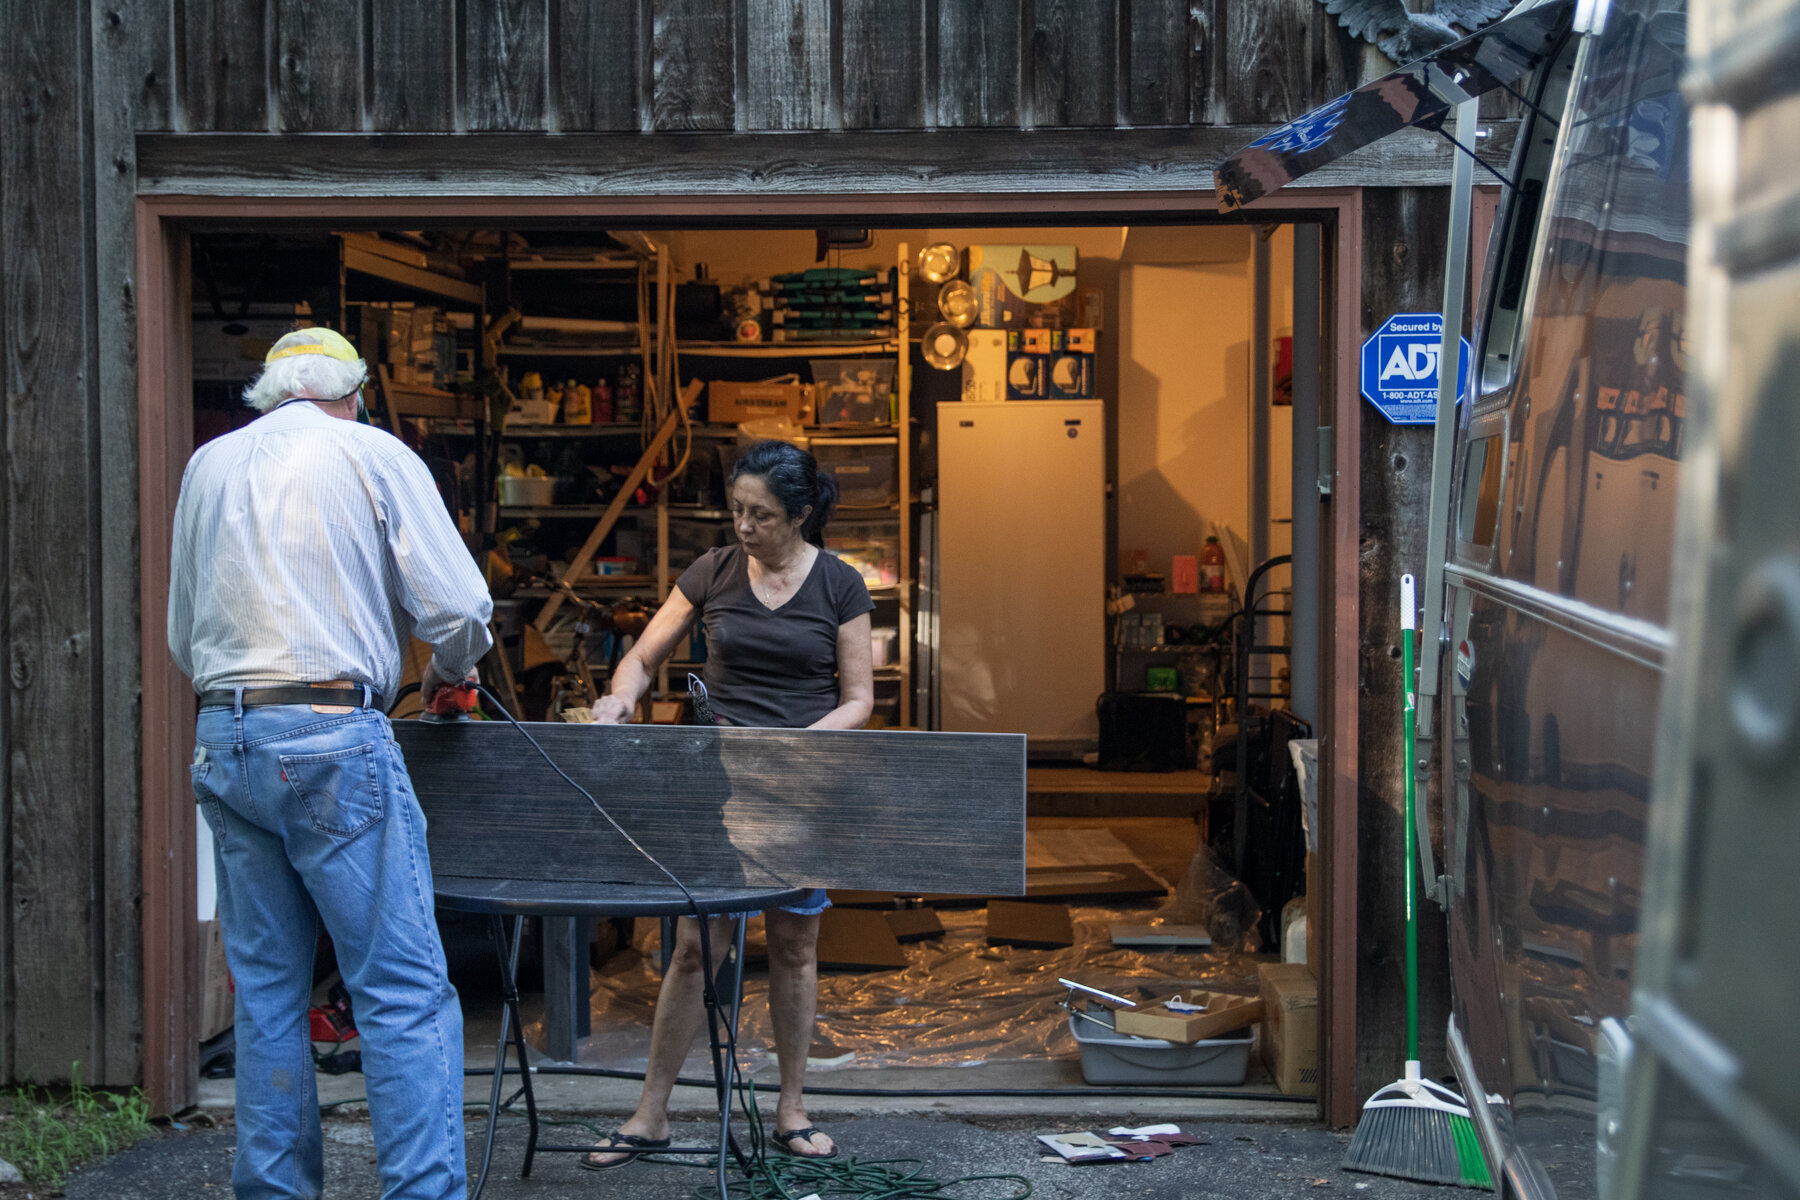
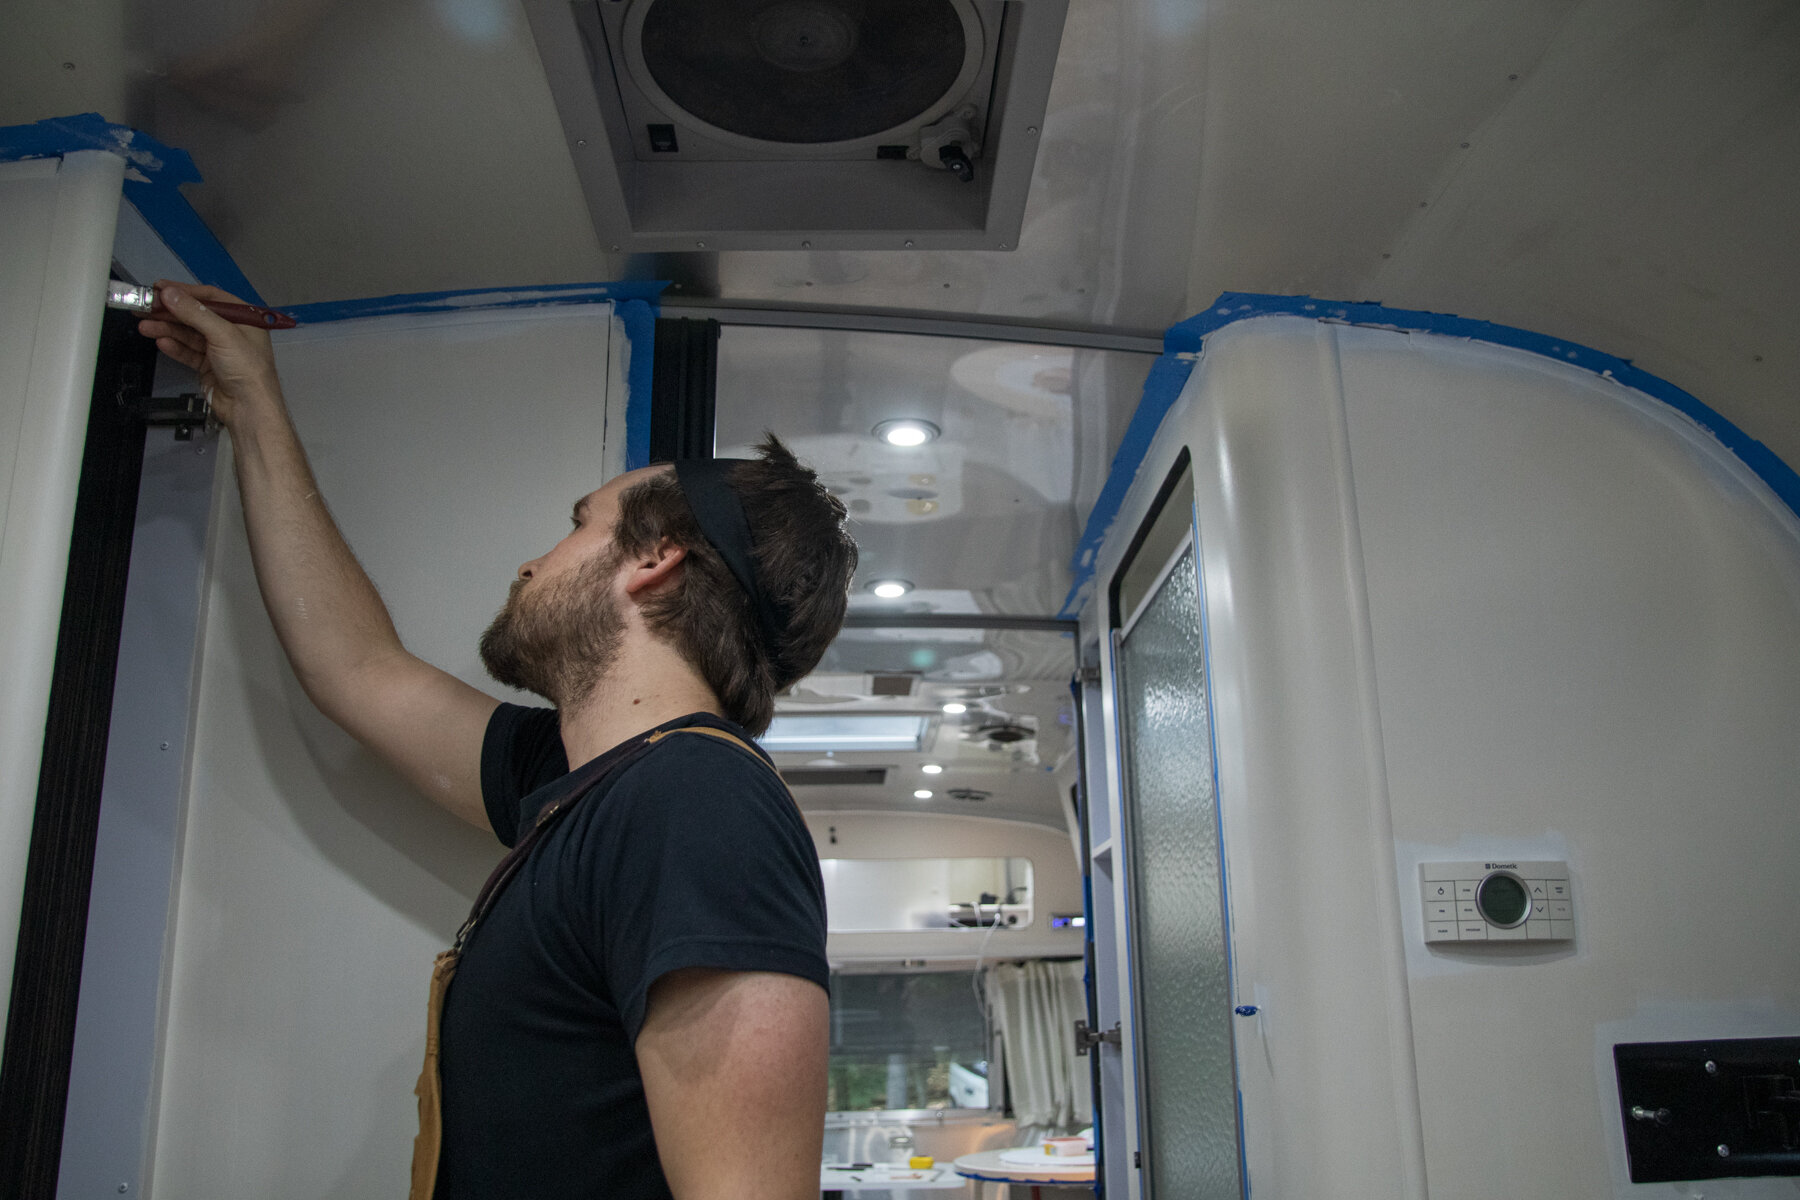
So we did your typical color swatch and paint sample research, which was difficult during a nationwide pandemic, but eventually landed on the off-white Pearl color in a satin finish. After a couple days of prep work cleaning, sanding, and taping, it took a few more days and a couple coats of KILZ primer and a couple more coats of the Valspar Signature to cover the dark brown.
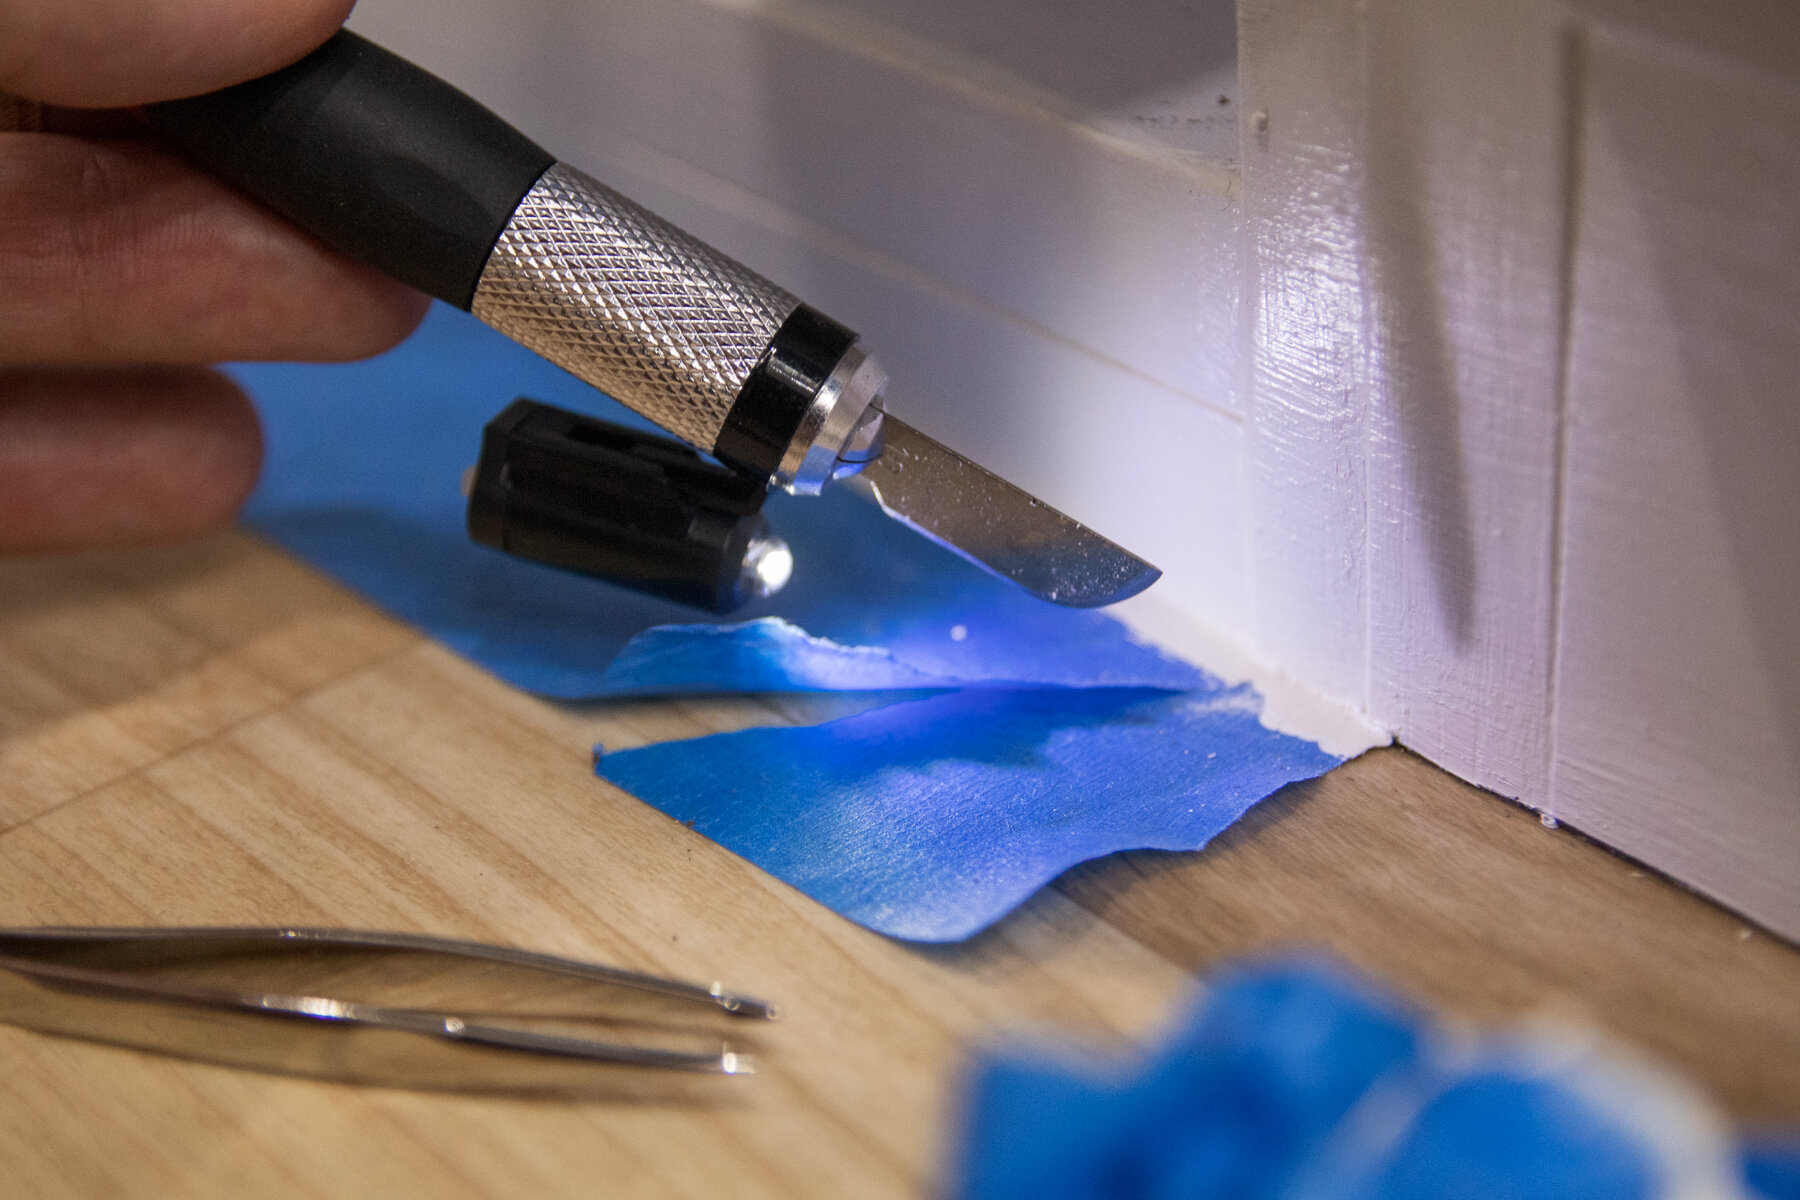
It was a very tedious week of contorting your body in various ways while trying not to back-in to the fresh painted wall behind you, but we kept reminding ourselves it’ll be worth it in the end. NOTE: I’d suggest using the green Frog tape instead of the blue painter’s tape — we had to manually trim off a variety of bleed areas with an exacto knife.


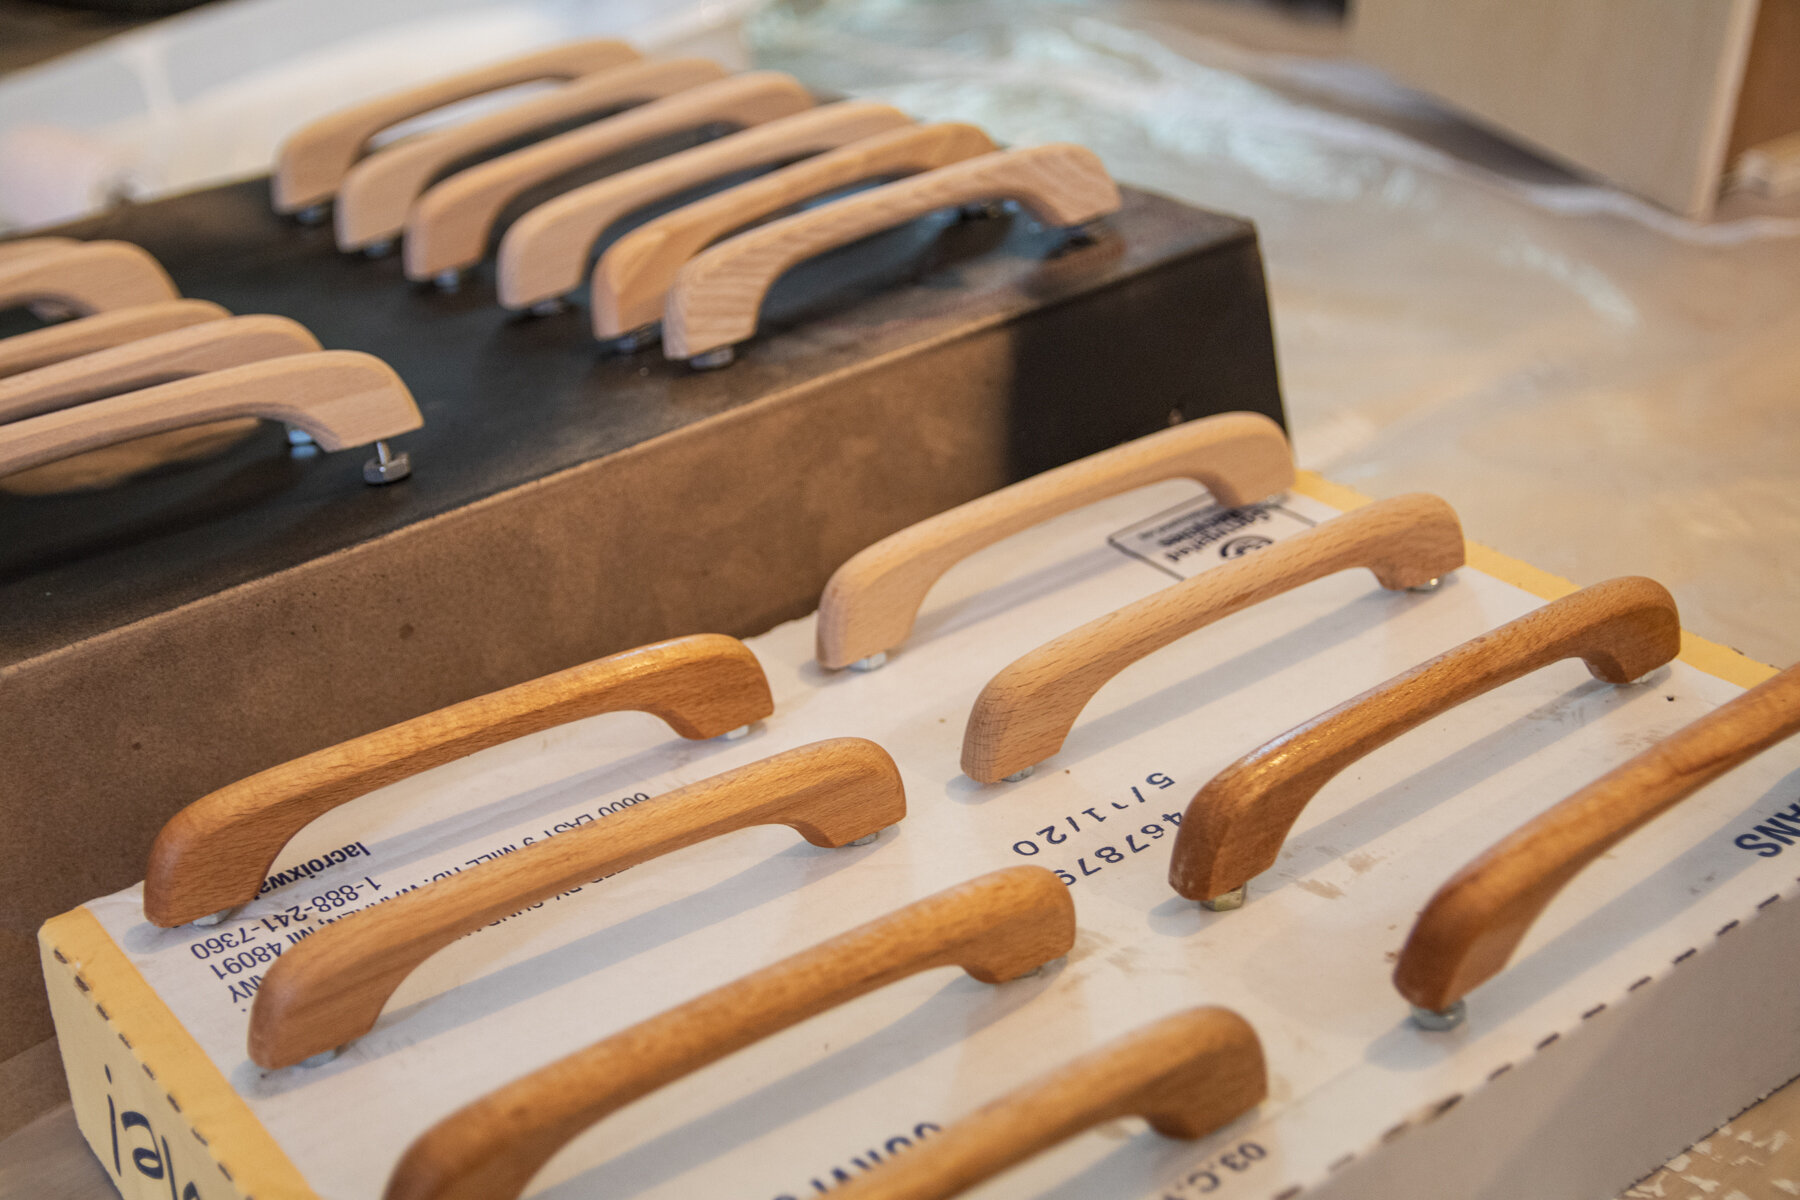
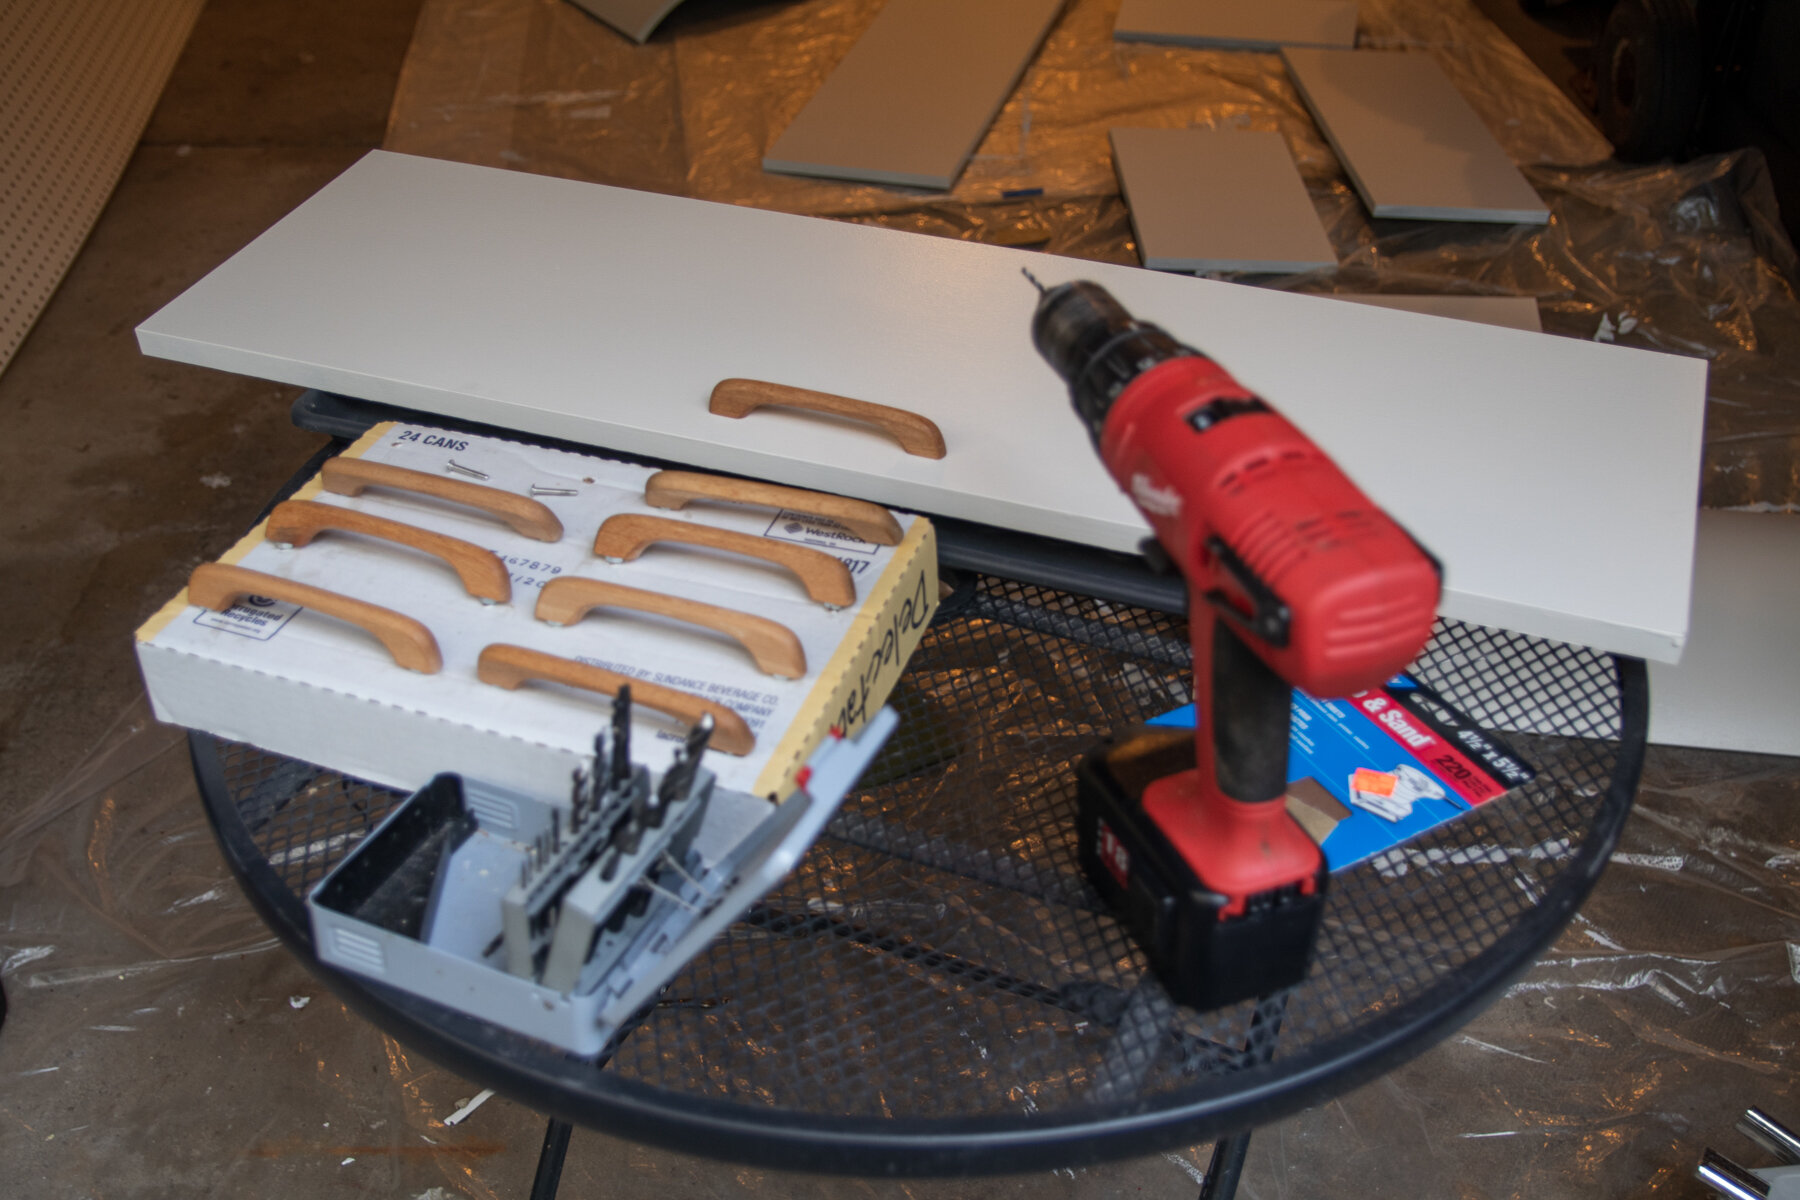
It’s the little details and personal touches that make a house a home, even one on the road. As if being in an aluminum tube wasn’t enough metal, the cabinets had these awful chrome-plated handles and everywhere else you looked were chrome faucets, towel bars, and bathroom mirrors.
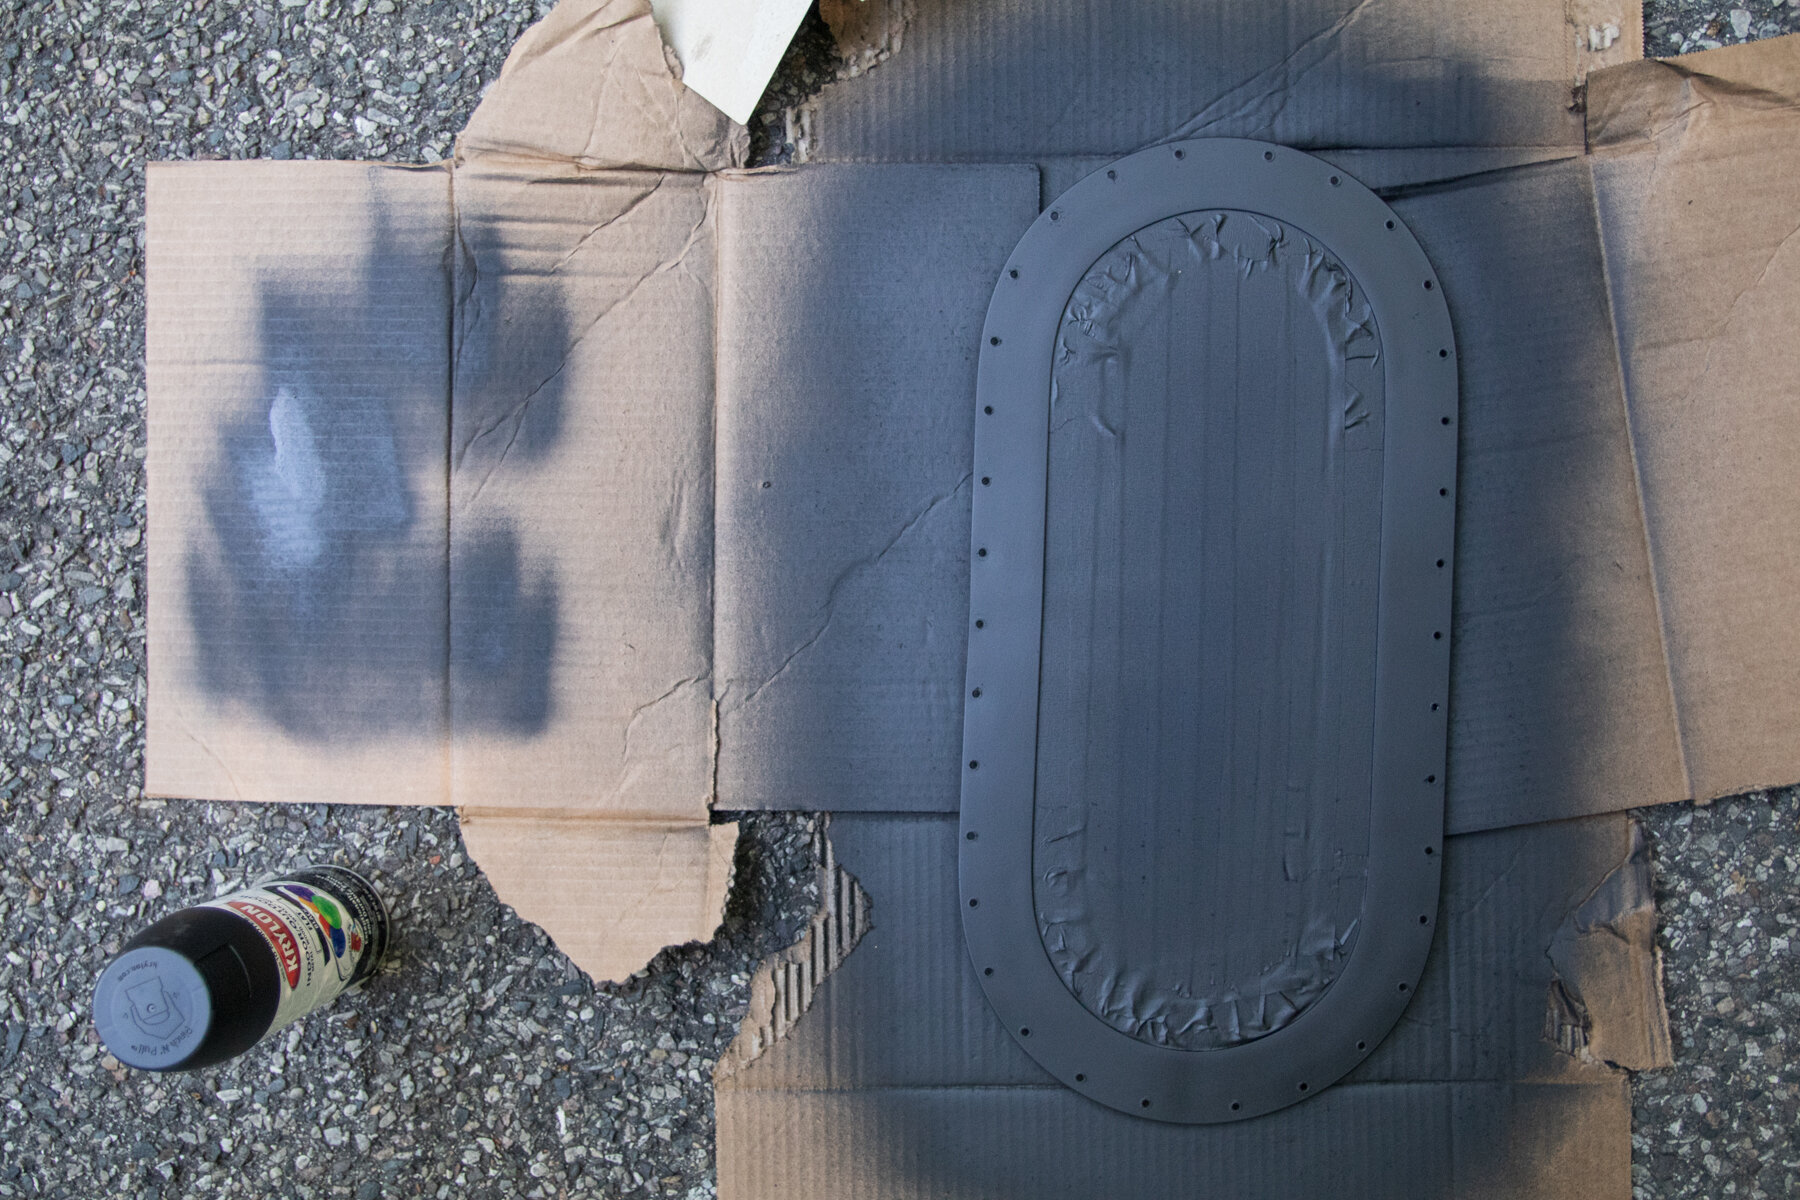
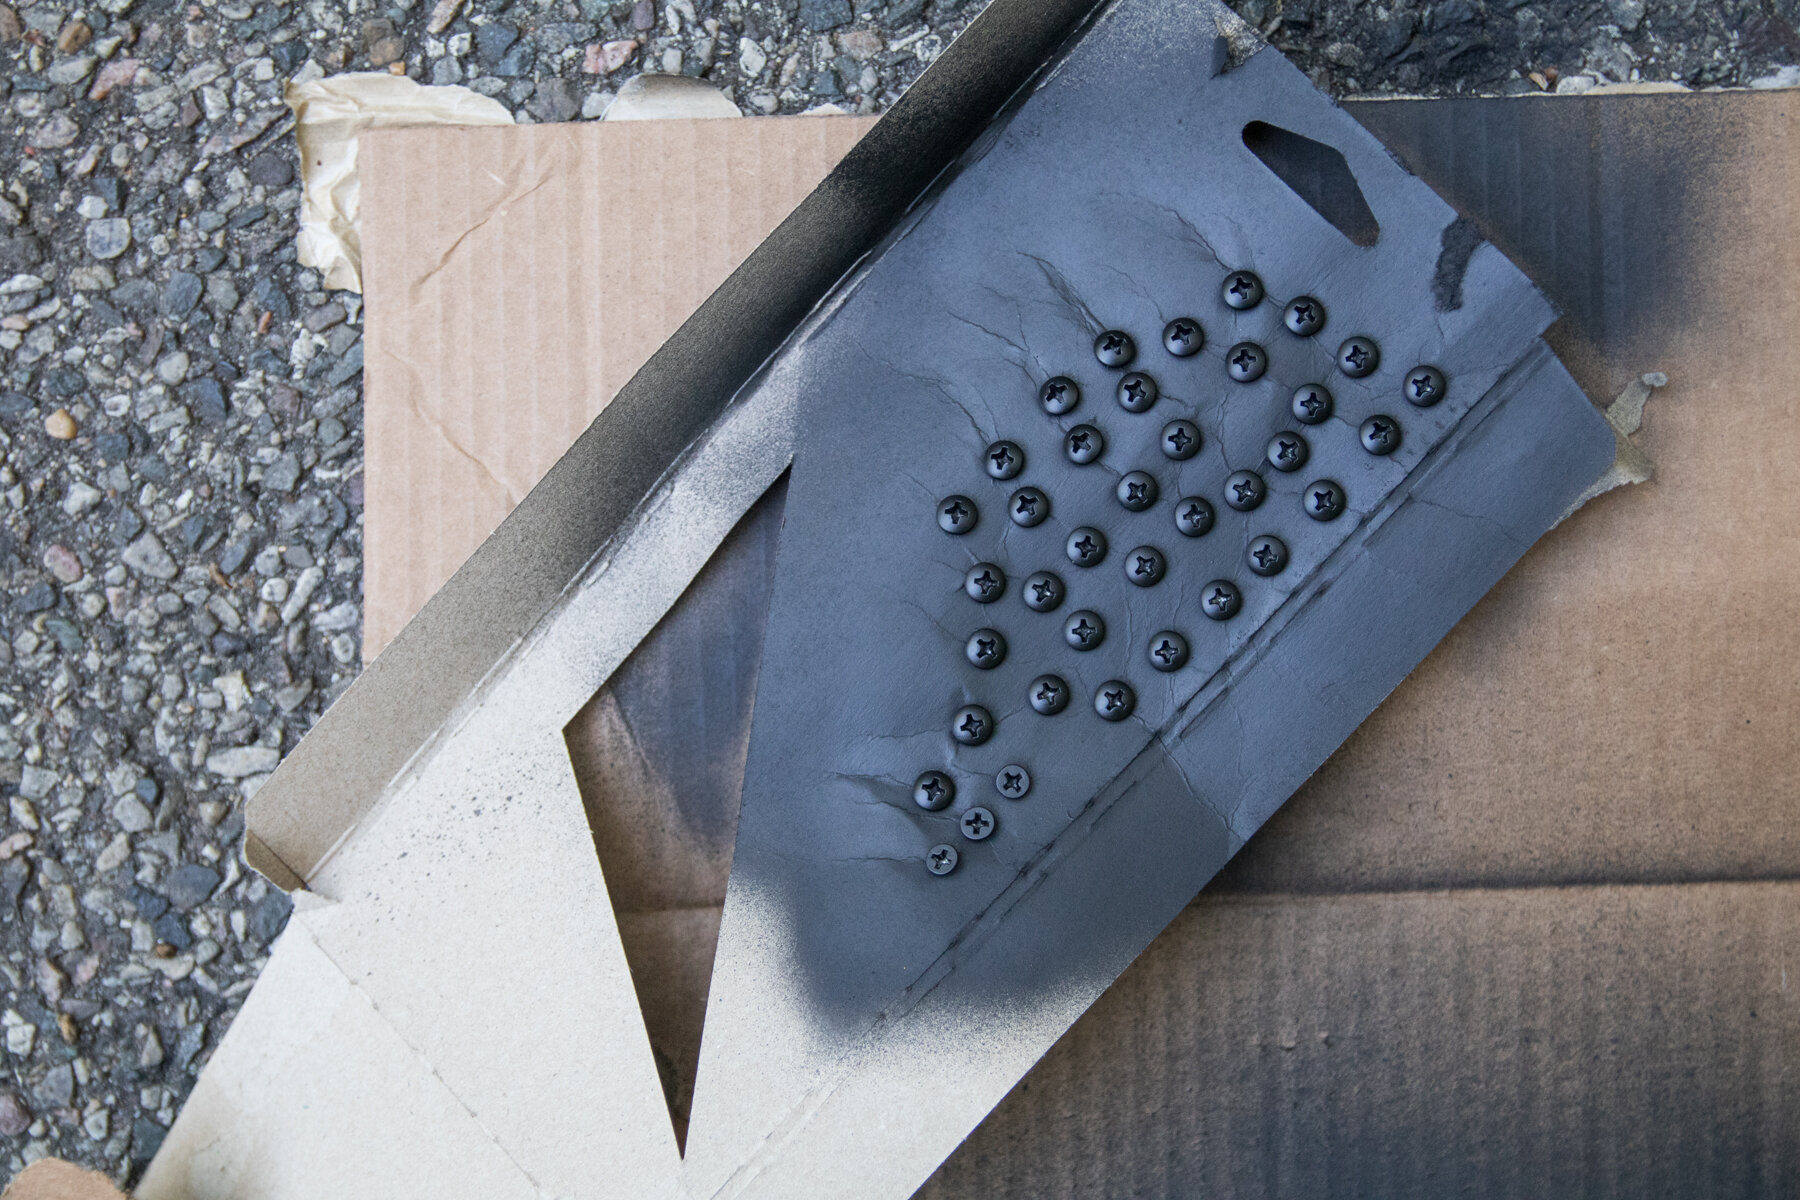
To make our space more warm and natural, we took out everything chrome and changed the handles to a simple wood pull that we stained in a matte clear finish, swapped out the kitchen and sink faucets to black, and coated any remaining metal pieces we could to matte black.
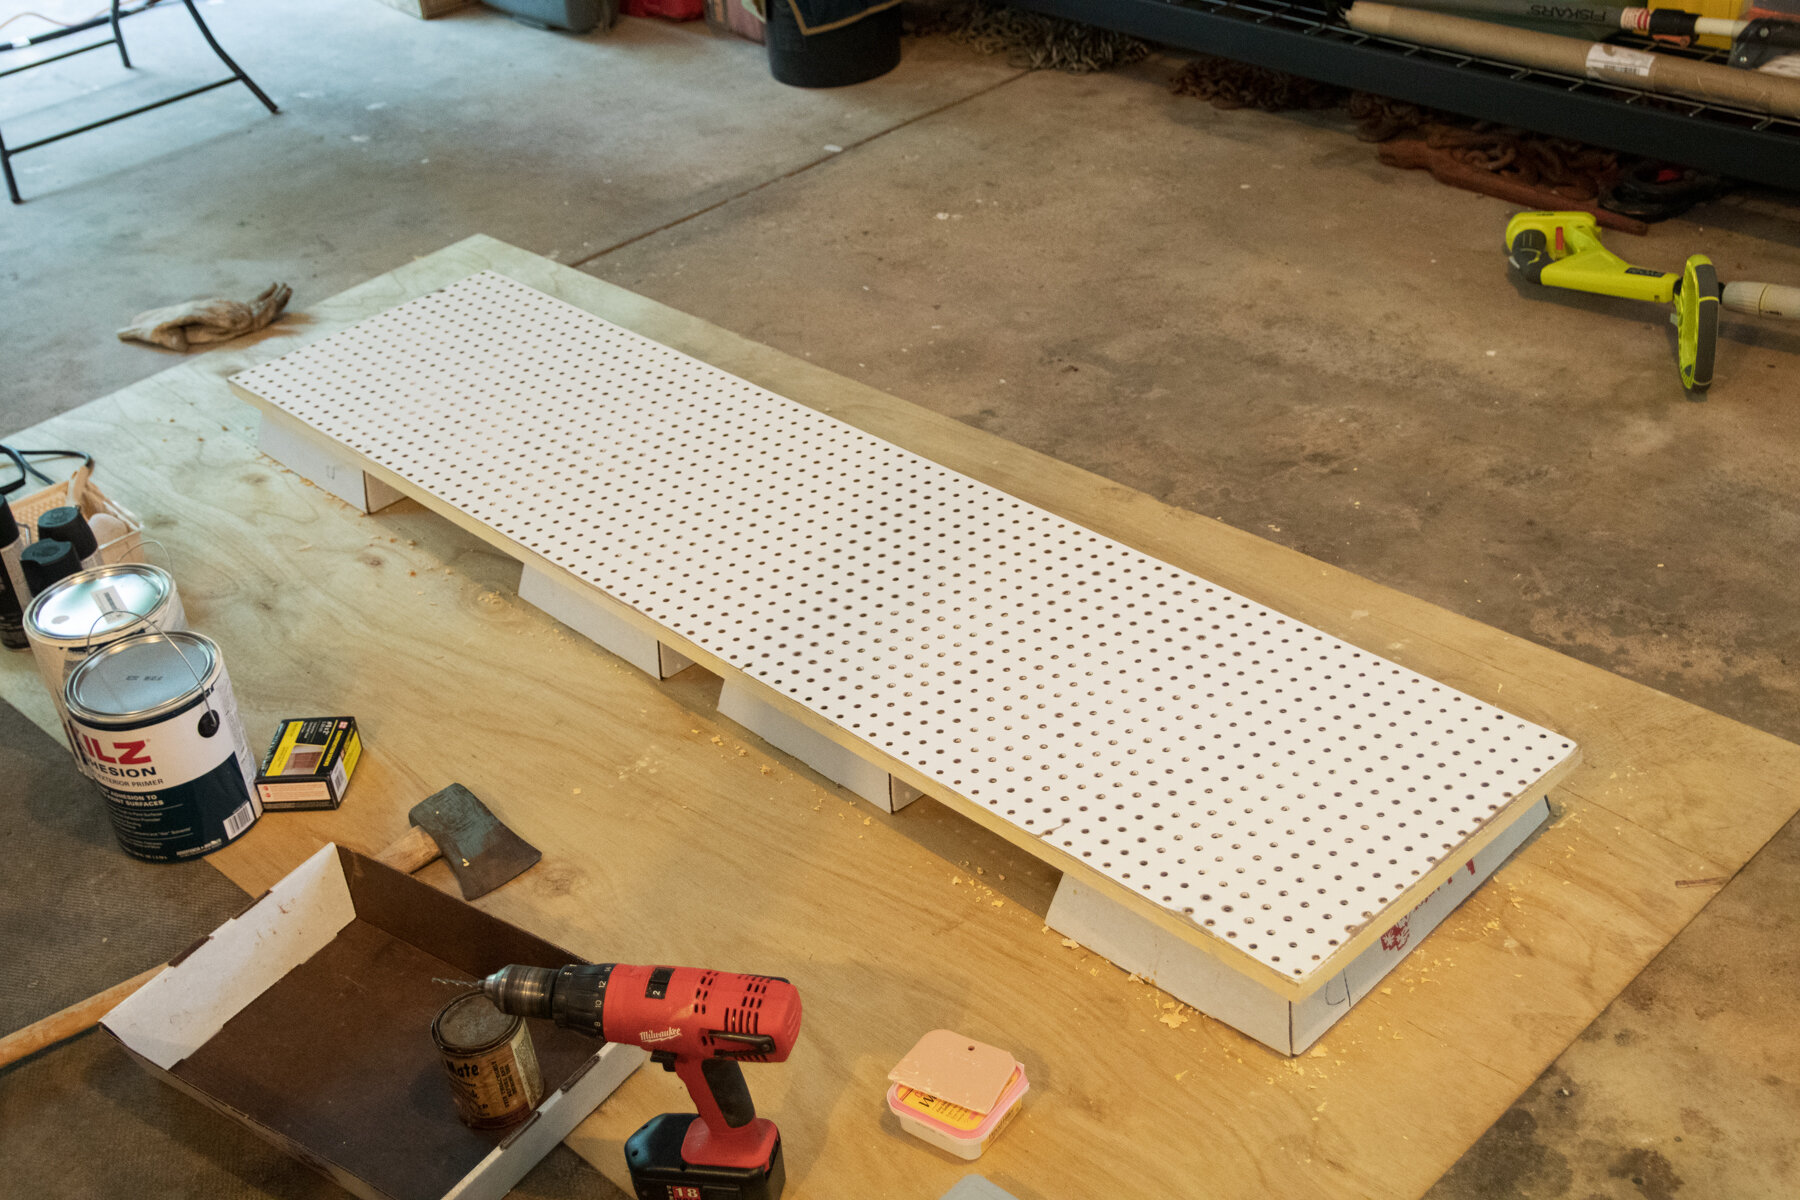
The last renovation piece was one that I wasn’t sure if Kendra would let me add or not, but it was one that I believed would be extremely useful: a pegboard wall.
There was a narrow wall in the hallway that was literally blank. We previously put two 3M hooks on it that held some lightweight jackets, but they weren’t our favorite and also were pretty limiting. I’ve been fascinated with pegboard walls for years now and love how adaptable and utilitarian they can be. Unfortunately, they’ve gotten a bad rap due to cheap store displays, but I thought there’d be a way to seamlessly have one in our Airstream if done correctly. I built a little 3/4” frame and coated the pegboard in the same off-white paint and soon received the approval of the boss to install it. I can proudly say, it made it in!

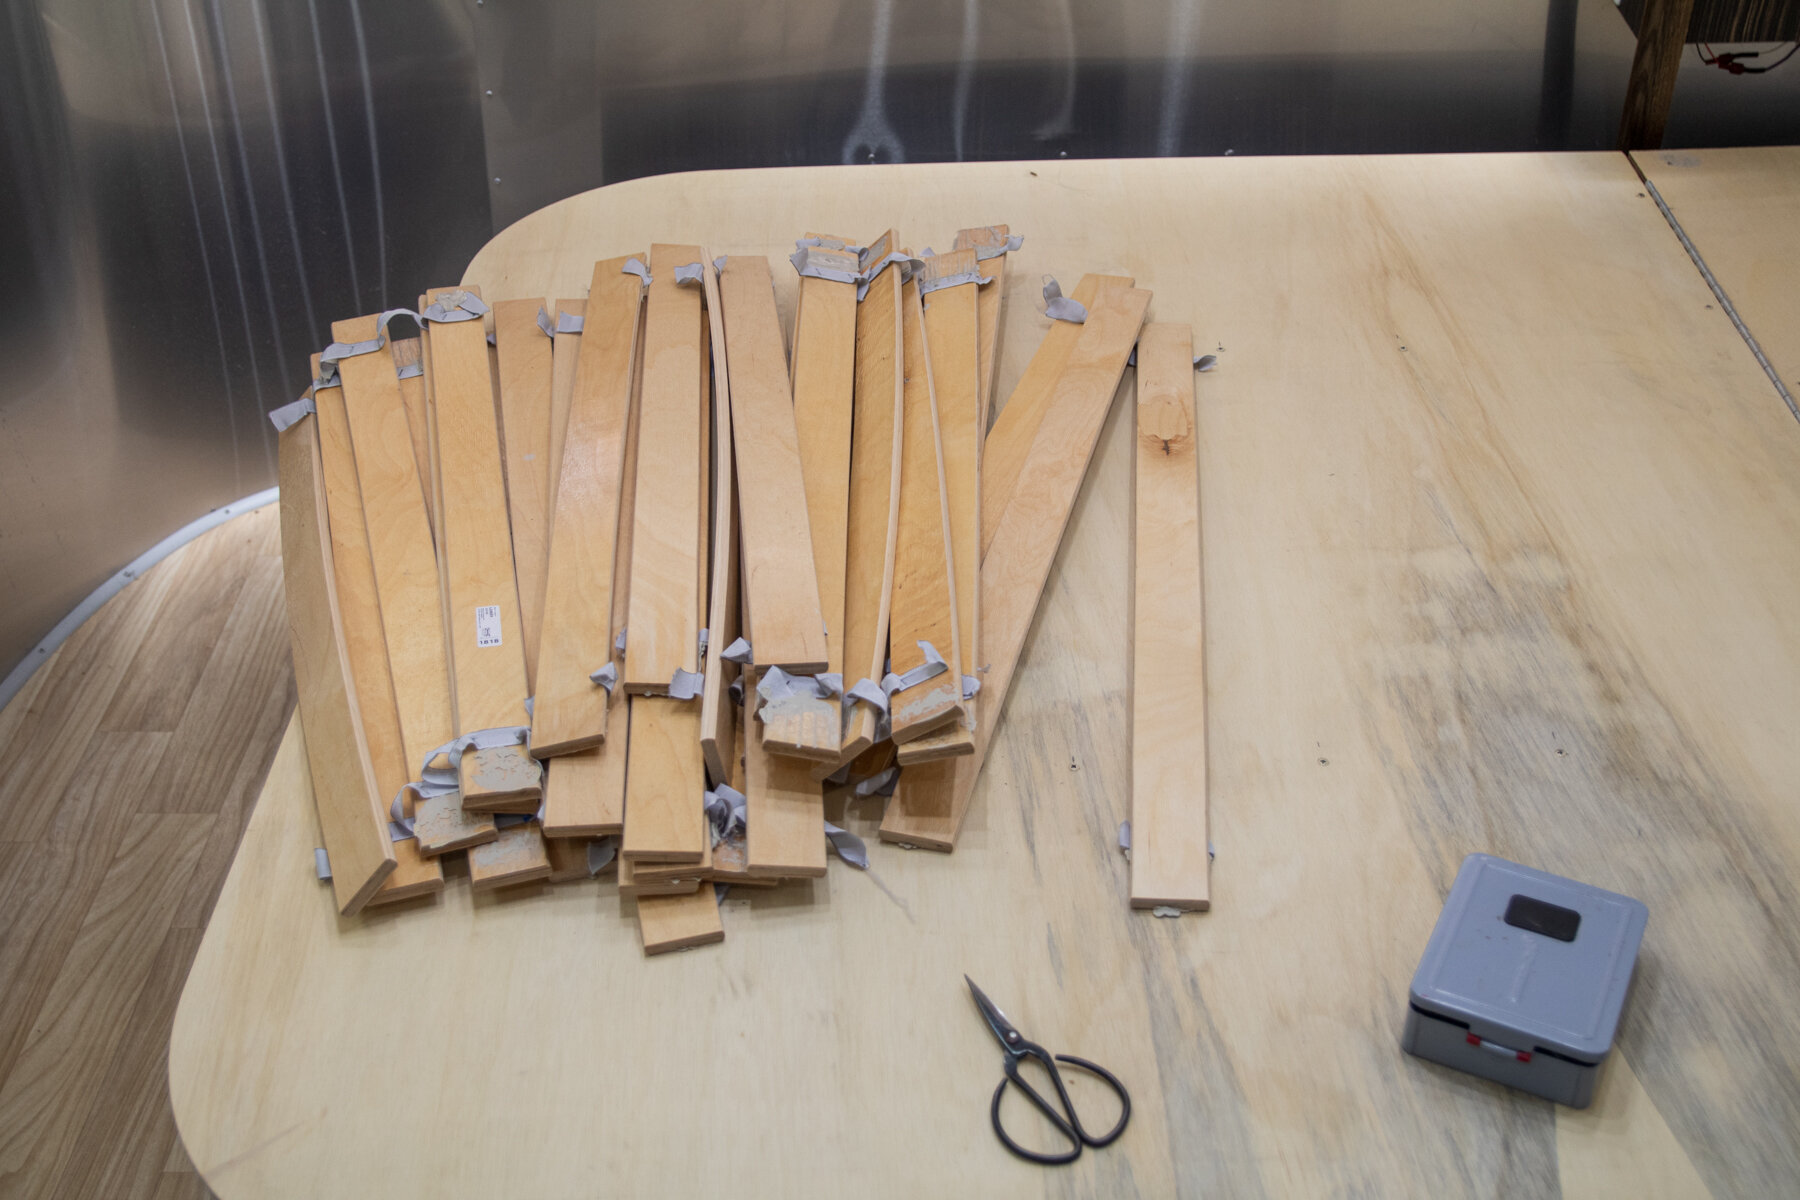
Not all of the renovations were surface-level, though. While living on the road during the Winter months, there was the constant battle of cold air outside and a heated space inside that we discovered led to a moldy bed frame. The plywood slab lifts up to underneath storage, including a door that opens on the outside, but there is no air circulation to allow the air to pass through.
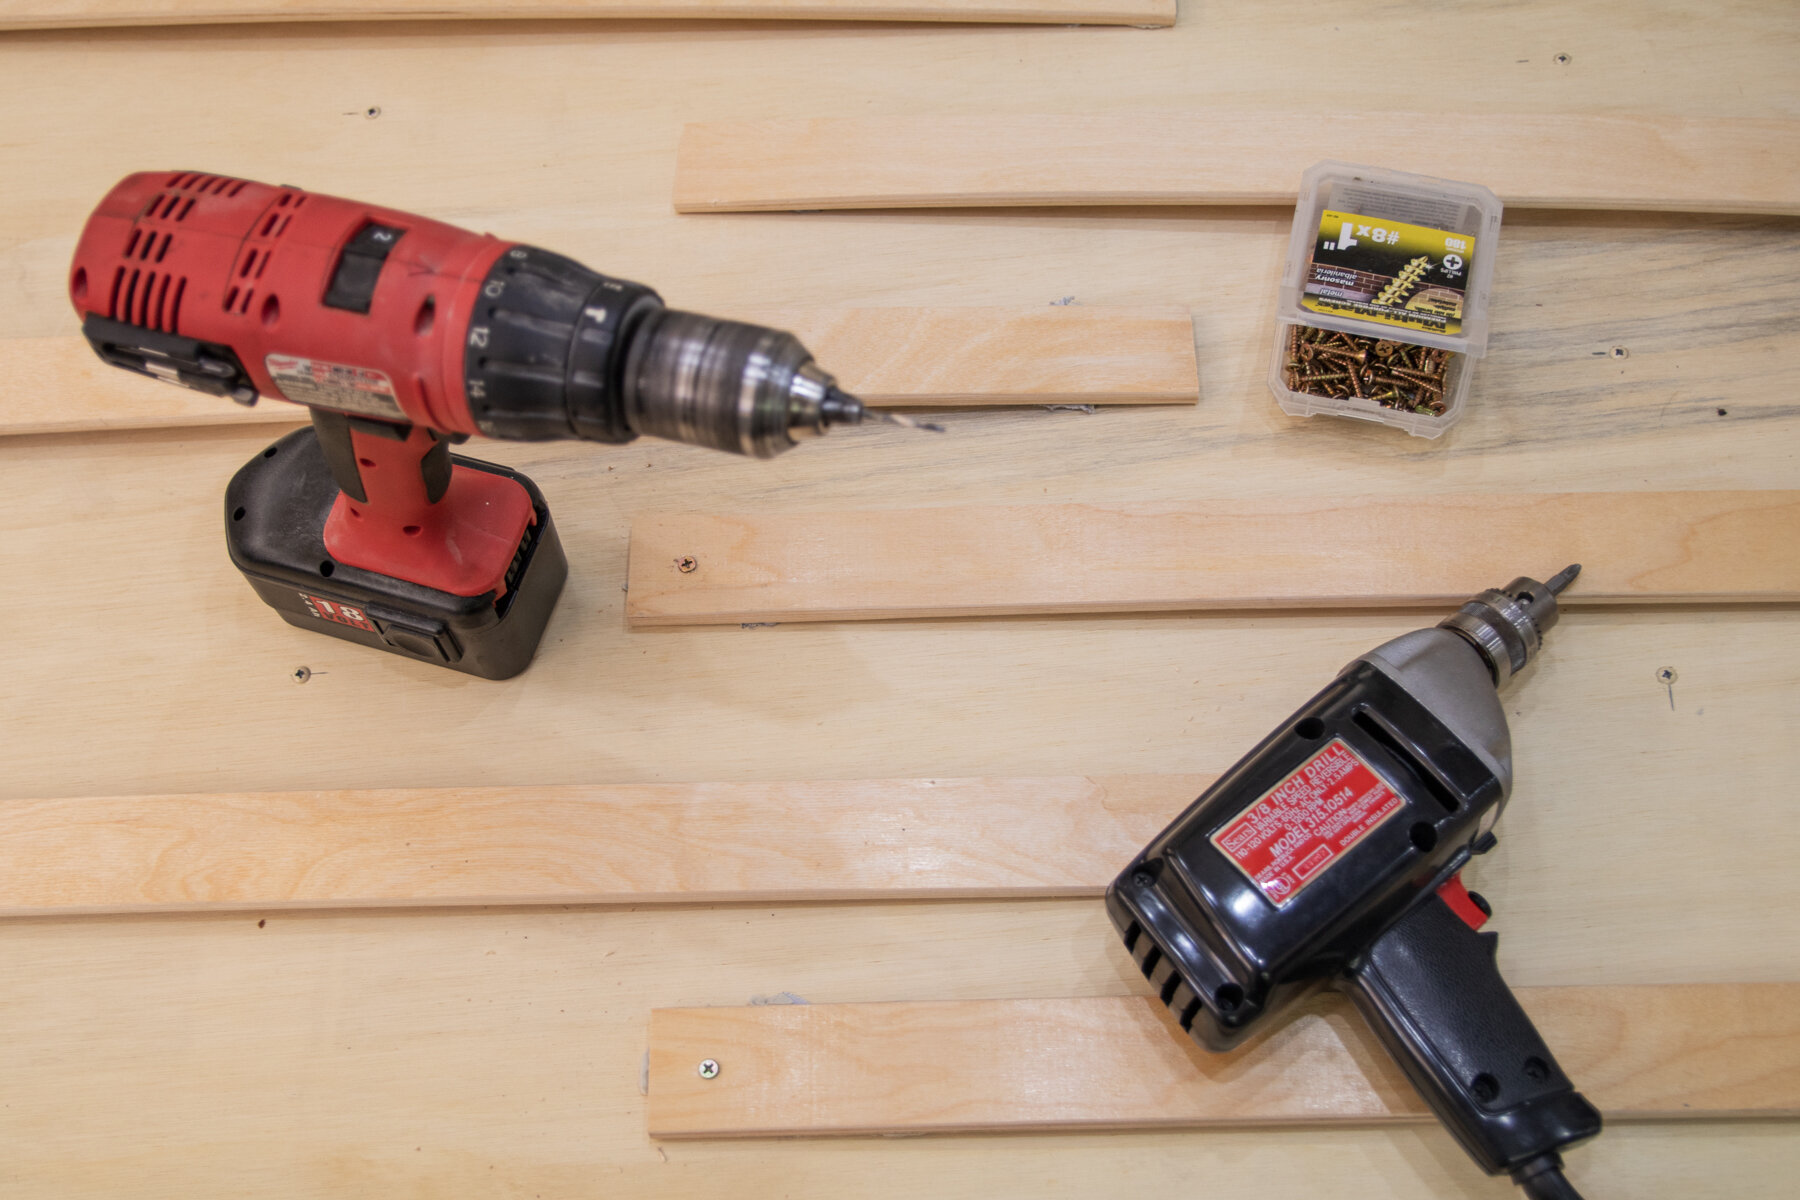
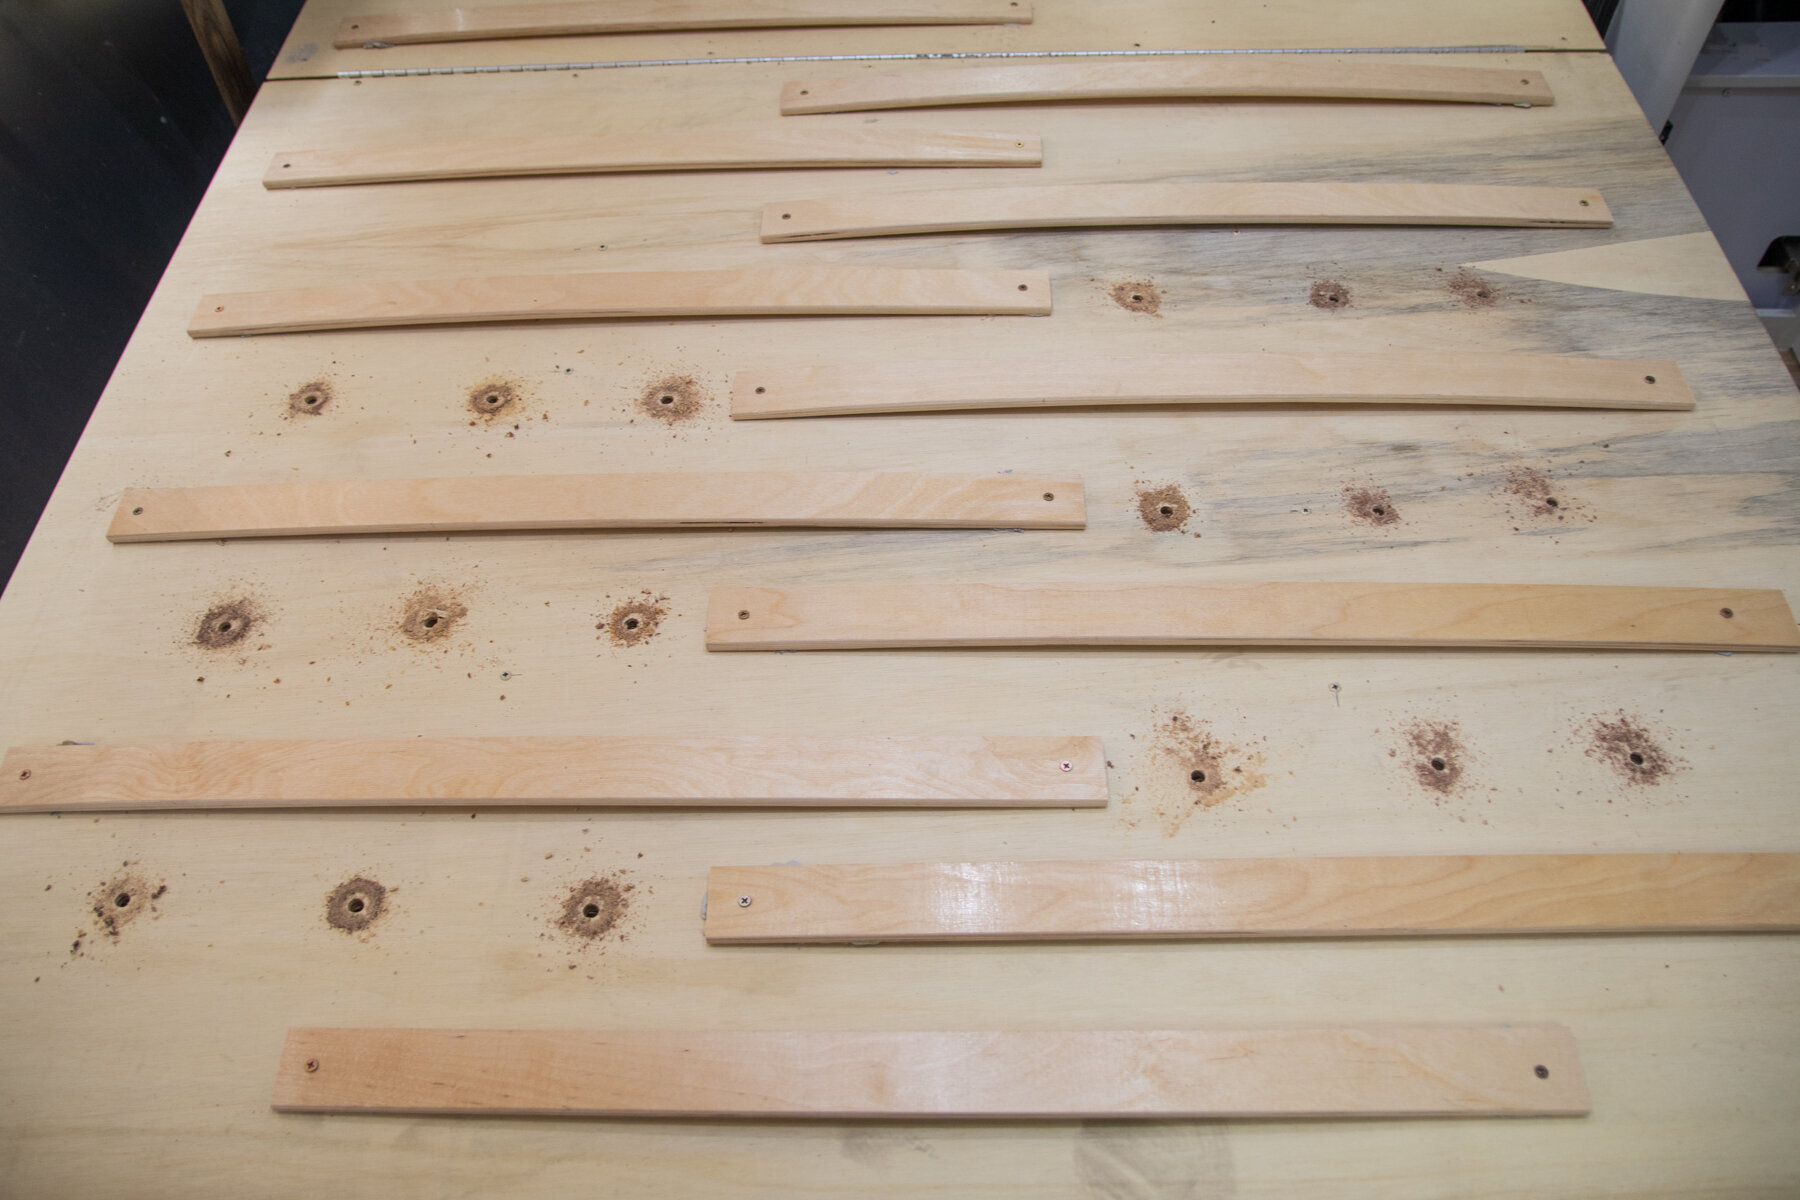
We were able to kill off the mold from our custom-made CopPure mattress that Kendra’s dad and brother-in-law made for us before we hit the road in 2017 (see how it was made!), but we wanted to make sure that wouldn’t happen again. We had the wood replaced and then remembered IKEA sells arched wood slats for some of their bed frames and thought that might be a way to let air pass down and through. To further help, we drilled some holes in the plywood to let the mattress breath.
For awhile, Airstream never admitted to this being a problem, but we have recently noticed their Airstream Supply Company website now sells a range of mattress airflow layers.

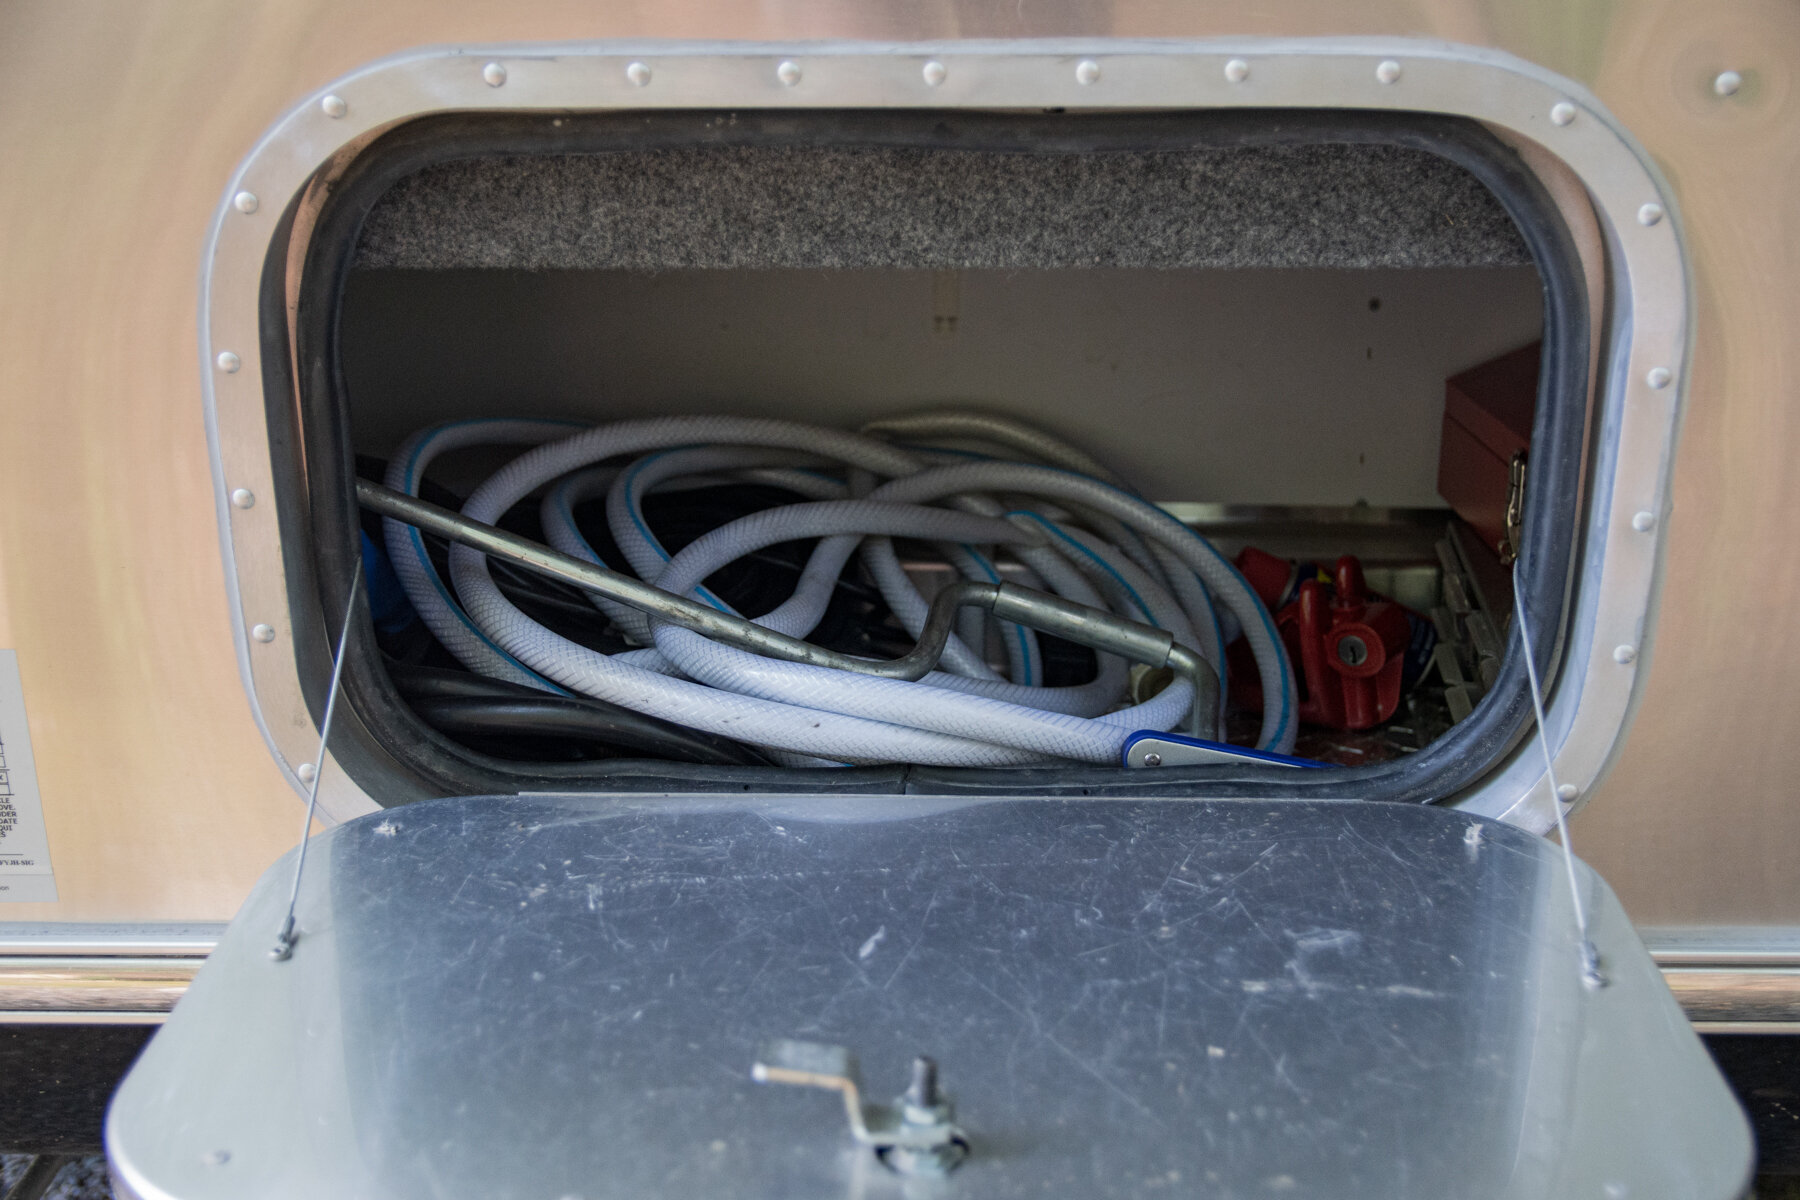
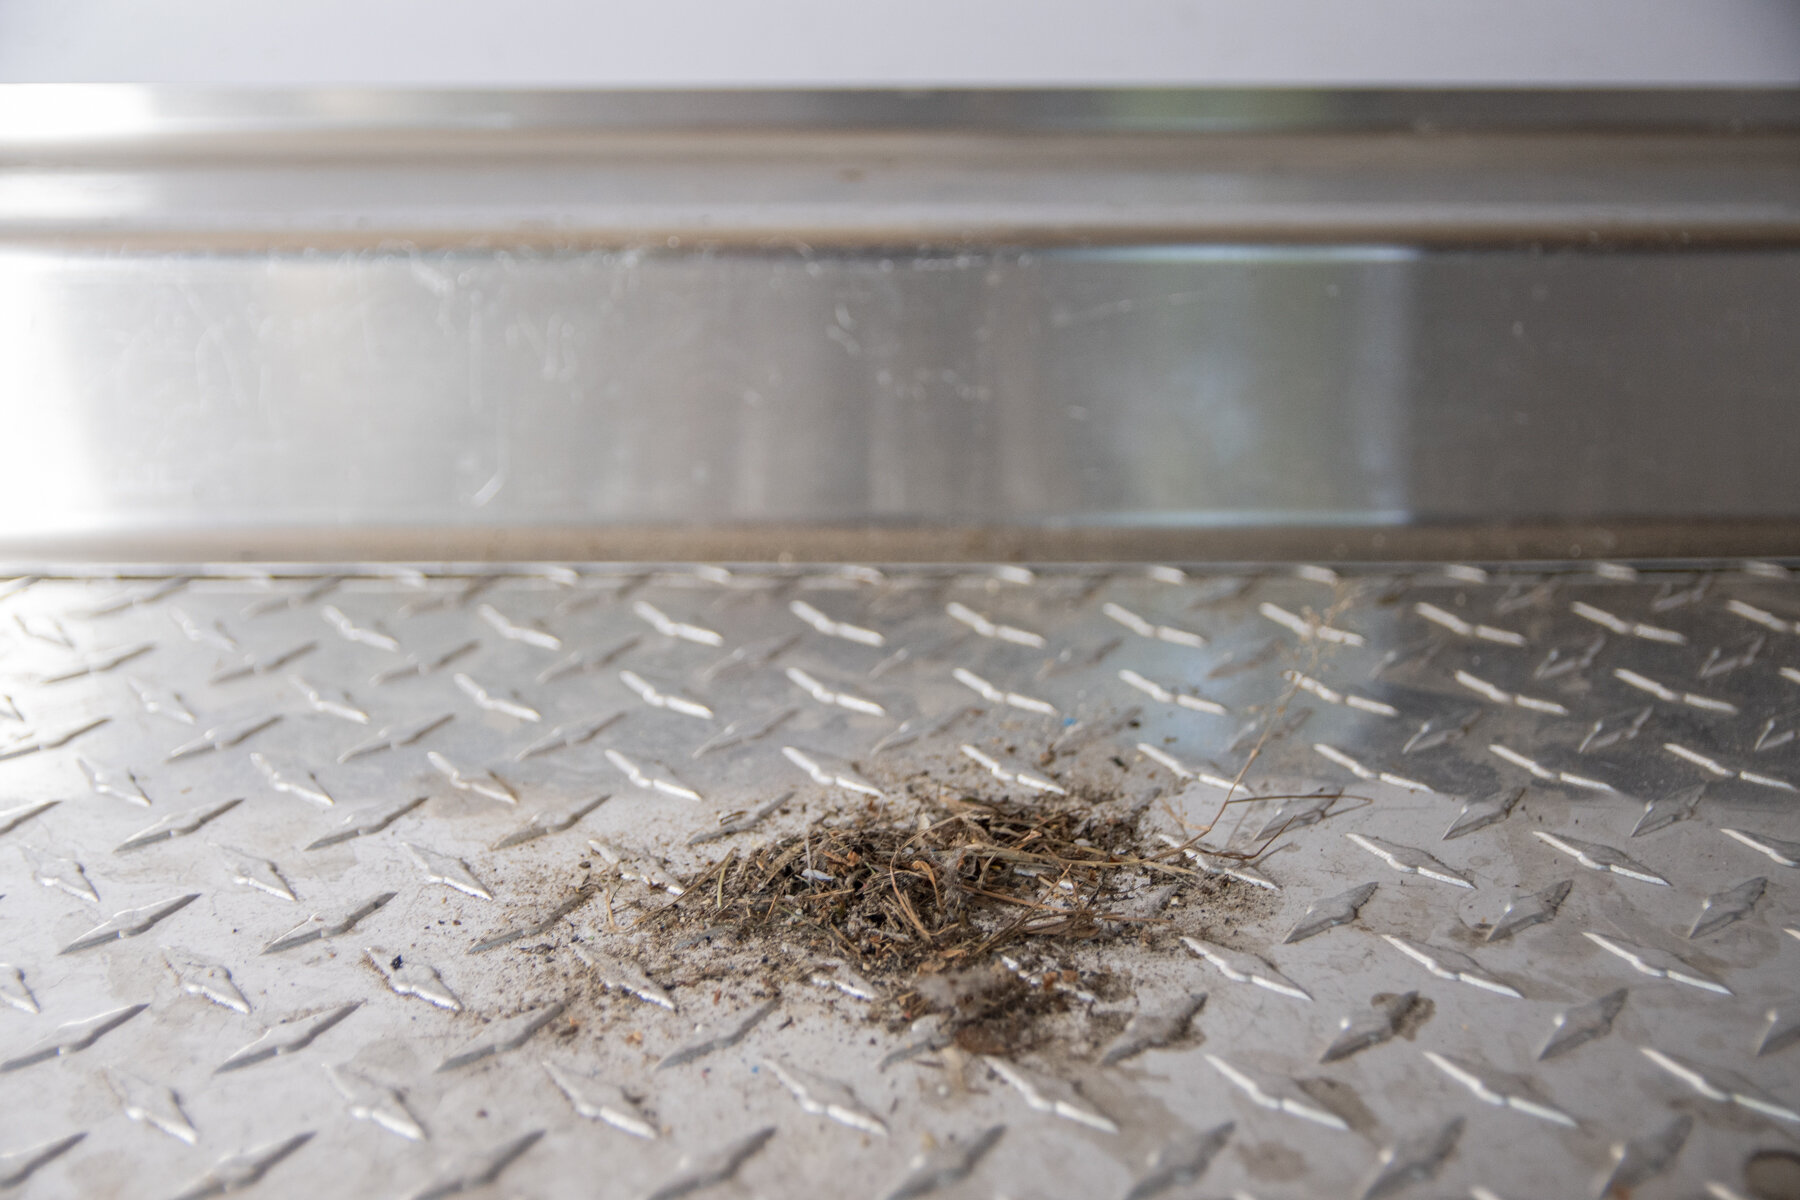
One of the pain points for us has been storage. No shocker there in a 25-foot trailer. There are just two exterior storage compartments: one of them we converted into a cat litter bin underneath the head of our bed and the other holds hoses, cords, tools, and set-up supplies. Both tend to get very dirty and cluttered rather quickly. The worst of which is kitten litter that somehow ends up everywhere.
Within the first month of being back on the road, enough was enough.
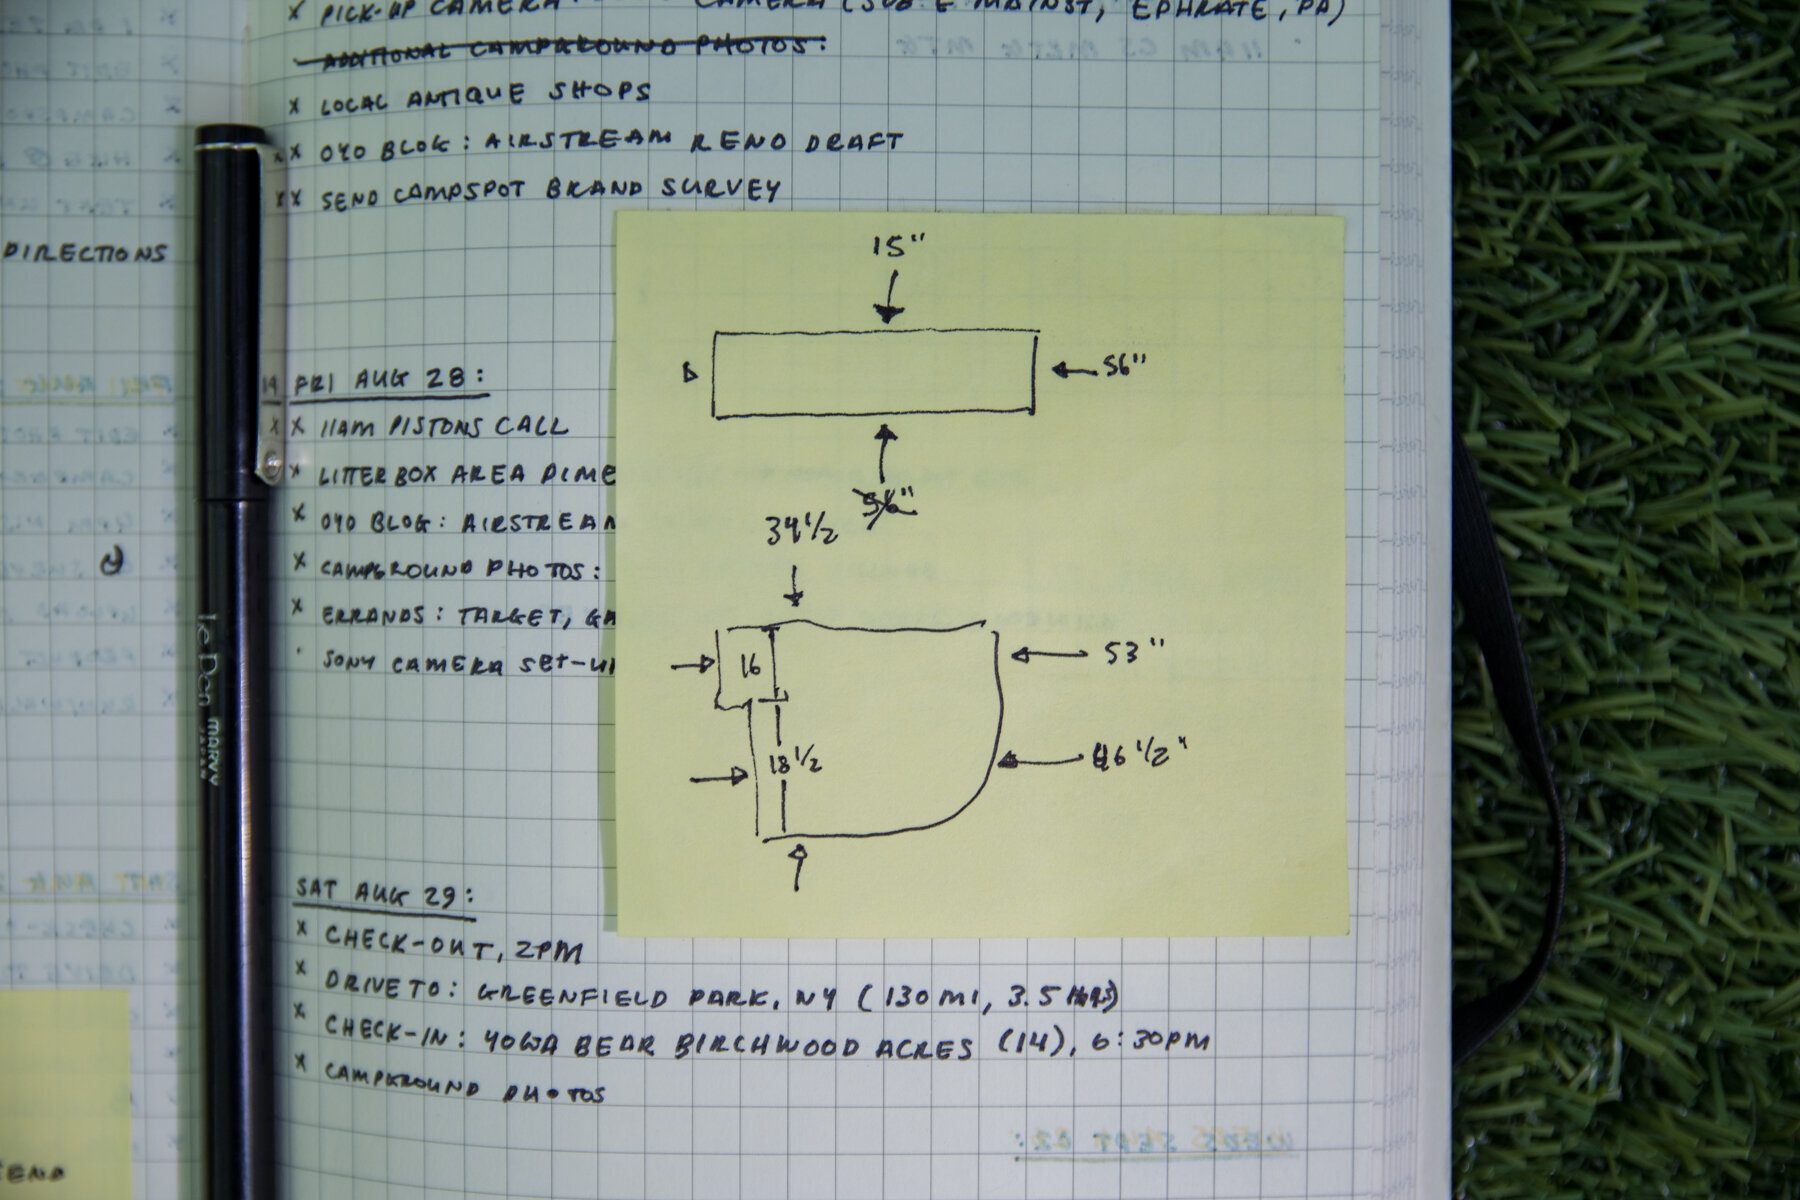
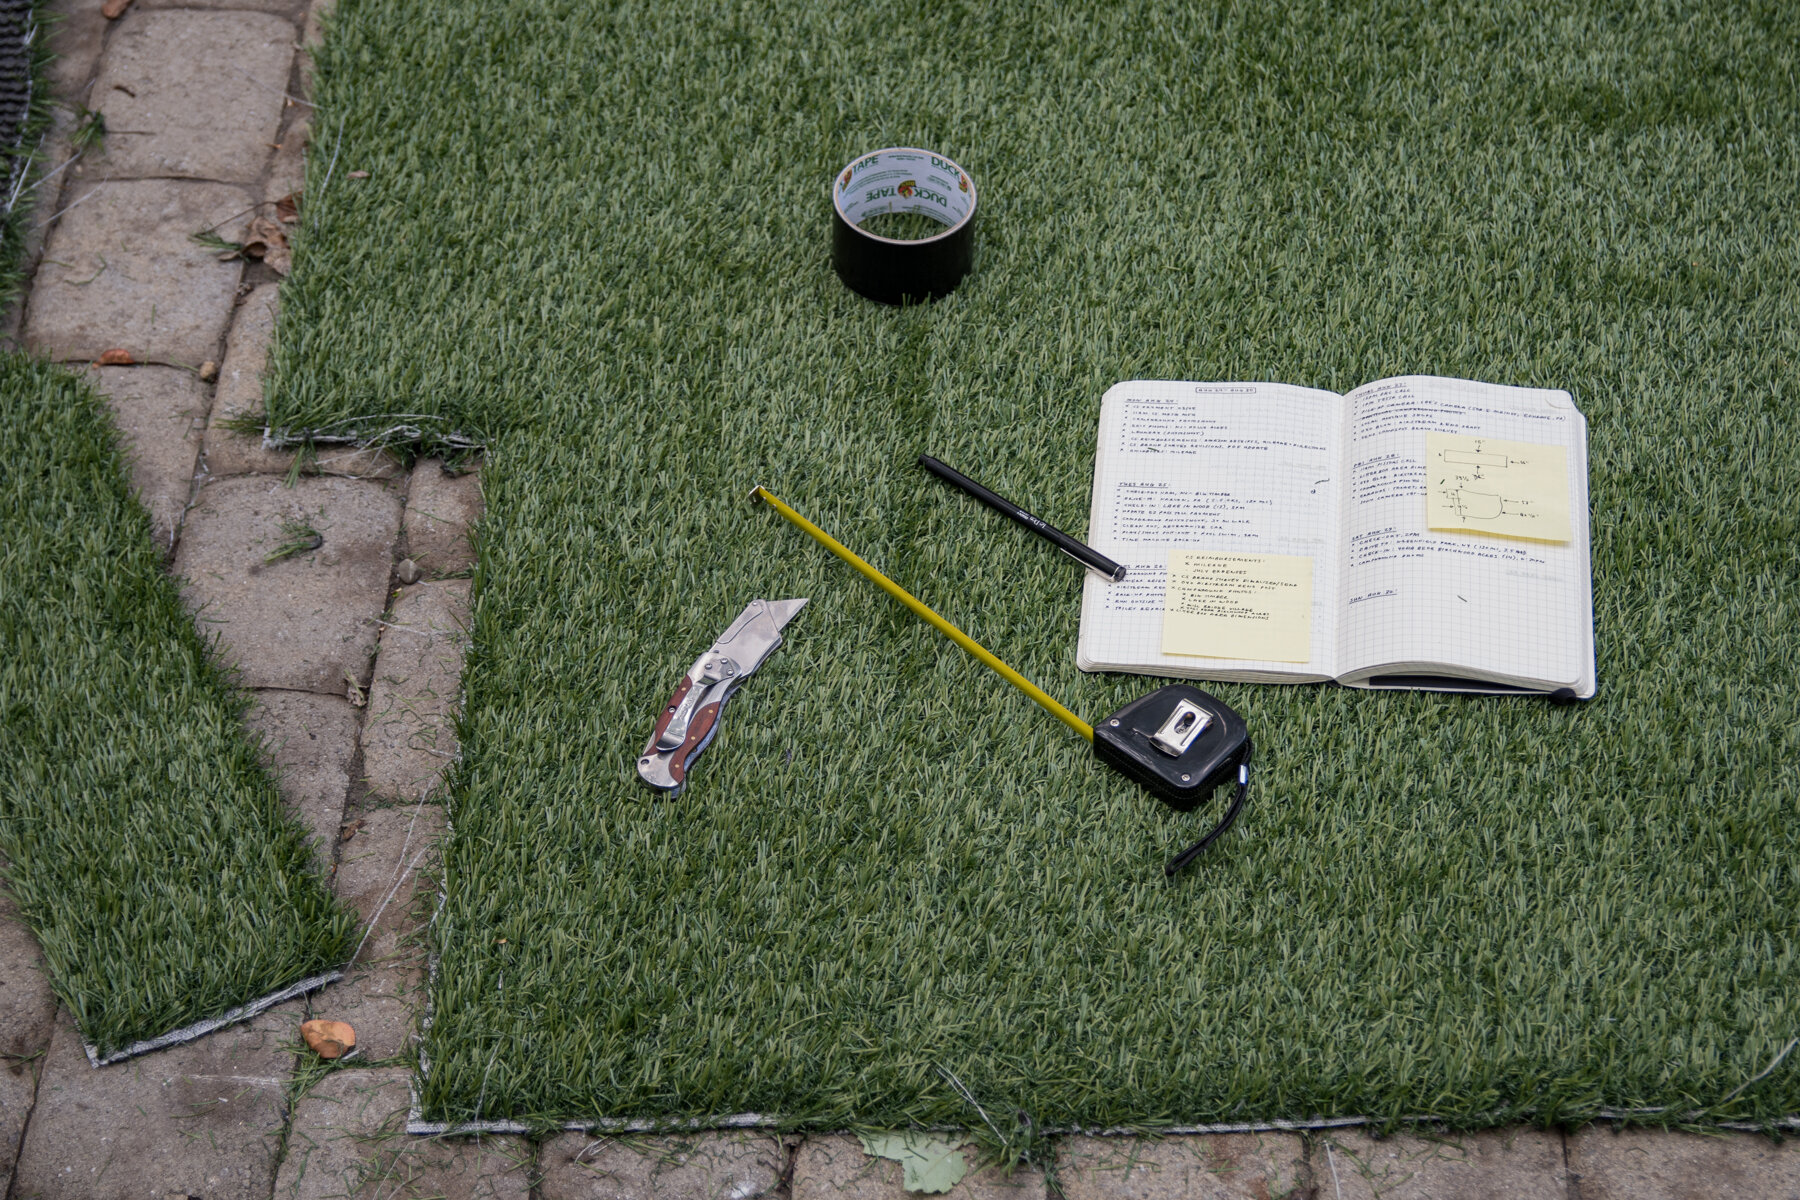
I did a deep clean of each area and sealed off the gaps on the bottom in the litter box area before heading to a nearby Home Depot with the plan to line each compartment with artificial turf. My thought process was that it could easily be trimmed to size, would gently rub the litter from their fluffy paws as they walk out from the box, and also hold onto the loose dirt from the outdoor hoses and power cords while also durable enough to be washed, dried, and easily slipped back into place again and again.


We’re excited to share the final product with all the changes soon, both big and small, that we invested into creating this metal tube into our home on wheels for the next foreseeable future as we once again get to travel our country, safely.
Until then, Contact Us if you have any questions in case you’re tackling a DIY project of your own.